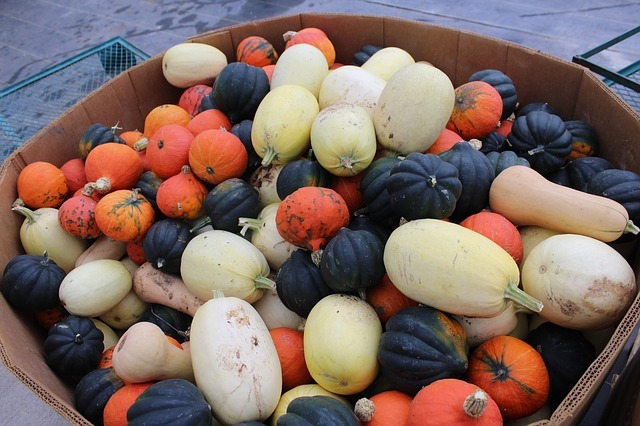
If you recall from posts I made late last spring, we had a bumper crop of buttercup and butternut squash. We even got a few acorn squashes. It was a beautiful thing.
Fast forward to now.
Last week I went into my pantry to use a few of the buttercup squashes only to find that they had all become incredibly soft and that a soft, white mildewy layer was growing all over them and all over the bin they were in. Yuck. Homestead fail.
However, my loss is your gain. I started researching to figure out what I had done wrong and how to fix it. Luckily none of my butternut squash was affected but I did compost ALL of the buttercup squash. Bummer.
Harvesting for Storage
When you harvest your winter squash for storage, be sure to do the following:
- Wait until vines begin to dry and the rinds are hardened.
- Test the hardness of the rinds by pressing a thumbnail into the skin. It shouldn’t leave a mark.
- Cut the squash from the vine leaving three inches of stem.
Curing
Here’s where I dropped the ball. I did not cure my squash. When you cure, do the following:
- Place freshly picked squash in a warm area with good air circulation.
- Placing the squash on a screen is a good idea.
- Let it cure for 10-14 days.
The reason for curing is to allow some of the excess water to escape, thus extending shelf life. It also concentrates the sugars in the squash for a sweeter flavor. Finally, it allows the skin to further harden for storage.
Storing
Once cured, store your squash.
- First, wipe it down with a vinegar and water solution to kill/remove any fungus spores (obviously I did not do this).
- Place it in a cool dry place – 55 degrees is perfect but not lower than 50.
- Allow for good air circulation.
Length of Time
- Acorn, Delicata and Spaghetti Use within 1-2 months
- Hubbard, Pumpkins, and Buttercup Use within 4-5 months
- Butternut and Cushaws – These last a really long time and may last longer than 6-8 months if stored properly.
How about you? Do you have any other good tips and tricks for getting winter squash to last longer?