Different Methods for Storing Homegrown Food on the Homestead
Preserving food is one of the most rewarding aspects of homesteading. Whether you’ve harvested a bumper crop of tomatoes, a stash of apples, or a bounty of fresh herbs, knowing how to store your produce properly ensures that none of your hard work goes to waste. More importantly, these methods help you enjoy the fruits (and vegetables) of your labor all year round.
In this guide, we’ll explore five practical methods for storing homegrown food: freeze-drying, dehydrating, canning, root cellaring, and fermentation. These techniques allow you to maximize your harvest, minimize waste, and maintain a well-stocked pantry.
Freeze-Drying for Long-Term Preservation
Freeze drying is one of the most advanced and effective ways to preserve food. This process removes moisture through a combination of flash freezing and sublimation, turning frozen water directly into vapor. While the equipment might require an initial investment, the results are worth it. Freeze-dried foods can last up to 30 years when properly packaged, making this method perfect for long-term storage.
Benefits of Freeze-Drying
- Retains up to 97% of the food’s nutrients.
- Preserves the original texture, flavor, and color.
- Lightweight and easy to store, making it ideal for emergency supplies or compact storage.
How It Works Freeze-drying involves freezing the food quickly and then placing it in a vacuum chamber. The water in the food sublimates, leaving it dry and shelf-stable. Fruits, vegetables, meats, and even full meals can be freeze-dried.
Uses and Practical Tips Rehydrating freeze-dried food is as simple as adding water. For instance, freeze-dried strawberries make excellent snacks or can be revived for baking. Invest in a home freeze-dryer if your homestead produces large quantities of food, or start by trying professionally freeze-dried products to see their potential.
Dehydrating Fruits and Vegetables
Dehydrating is one of the oldest and simplest methods of food preservation. By removing moisture from produce, you create lightweight, shelf-stable foods that are versatile and nutritious. It’s an excellent choice for homesteaders who want a relatively low-cost and beginner-friendly method.
Why Dehydrate? Dehydrating maintains much of the original nutrition in fruits and vegetables, with the added benefit of concentrating flavors. It also takes up less space than canning or freezing.
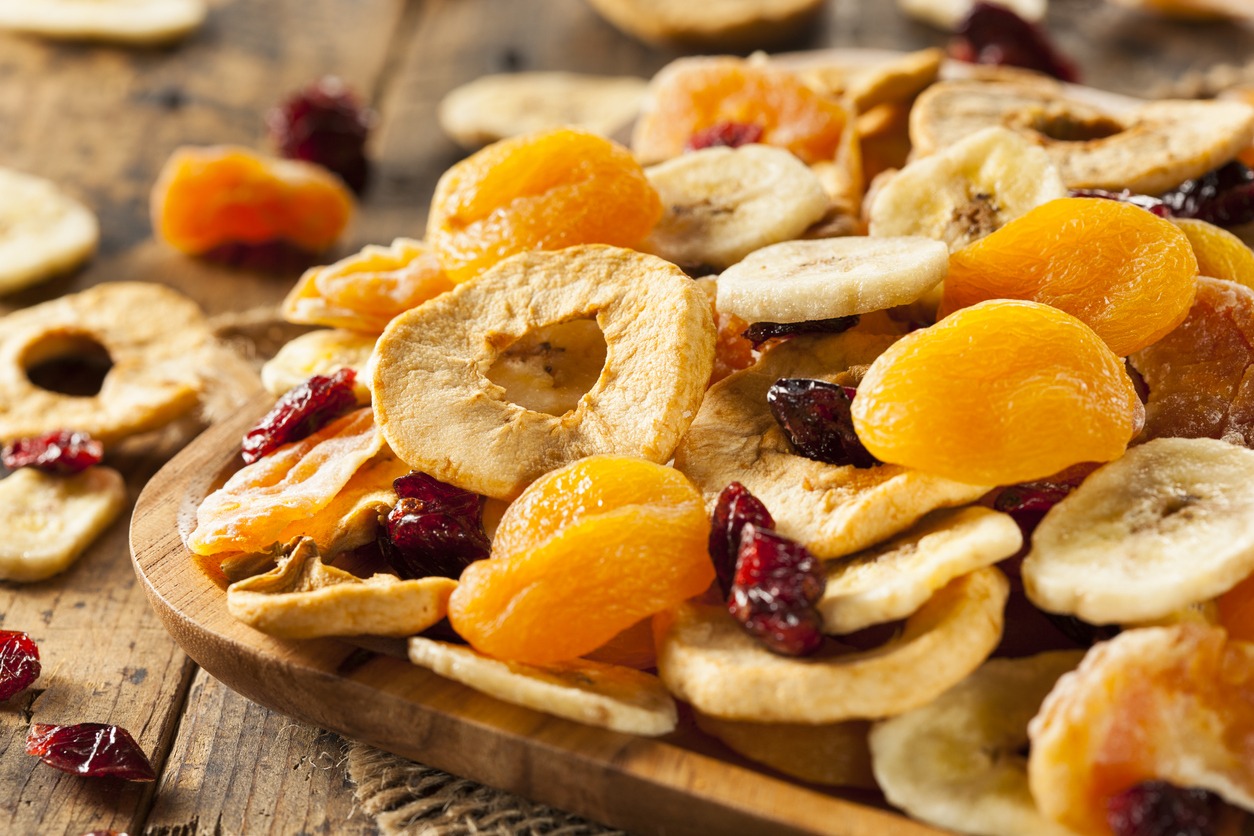
Getting Started: You’ll need an electric dehydrator or a solar dehydrator, although an oven set at a low temperature can work for small batches. Set the temperature between 95-135°F and monitor the process. For fruits like apples or bananas, slice them evenly for consistent drying. Drying times range from 4 to 24 hours, depending on the food and method.
Storage and Use: Once dehydrated, foods should be leathery or crisp with no visible moisture. Store them in airtight containers or vacuum-sealed bags to extend their shelf life, typically up to a year. Dried apple chips, banana slices, and tomato powder are versatile pantry staples. Herbs like oregano and basil can be dried to flavor meals throughout the year.
DIY Idea: If you’re looking for a sustainable approach, consider building a solar dehydrator. With simple materials like wood and mesh, you can harness the power of the sun to preserve your produce.
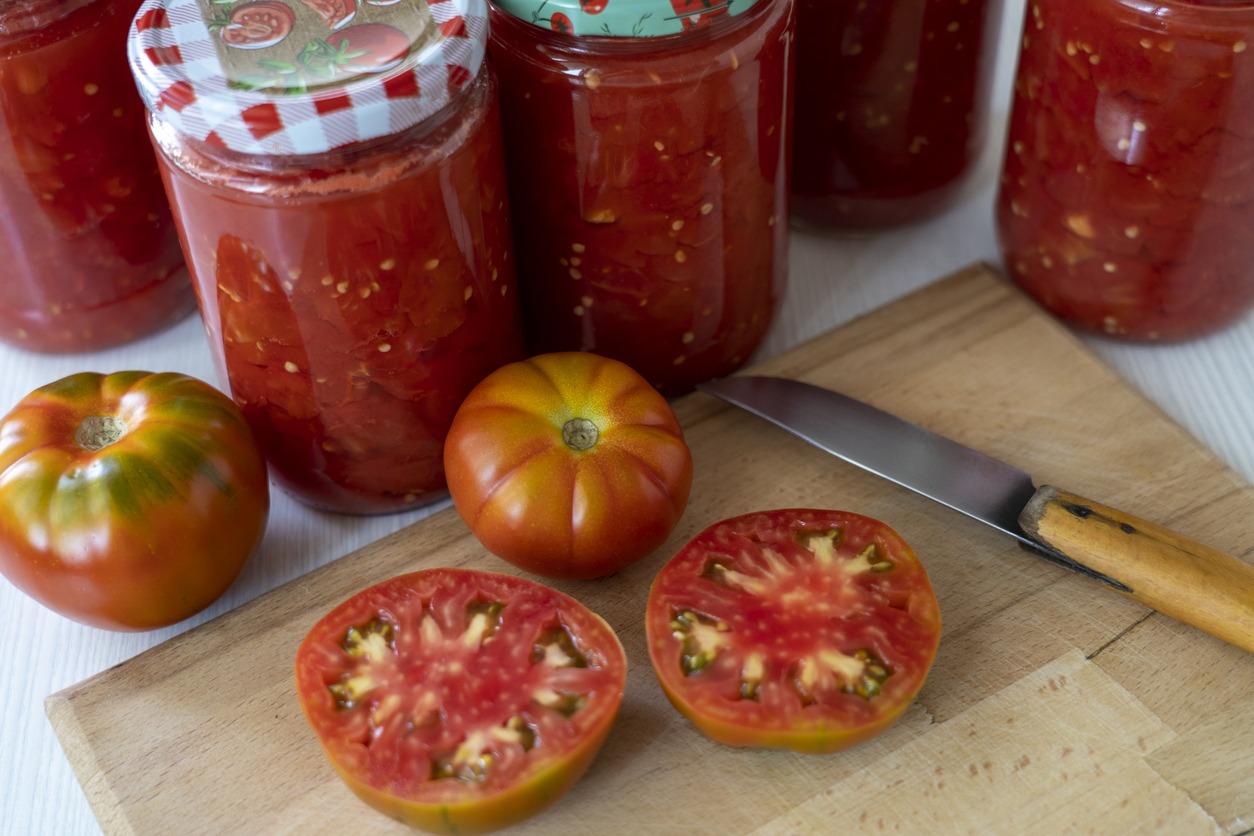
Canning Techniques and Safety
Canning has been a cornerstone of food preservation for centuries. It’s perfect for preserving high-acid foods like fruits, jams, and pickles, as well as low-acid foods such as meats and vegetables when using the correct method.
Why Canning Matters: Canning not only preserves food but also makes it ready-to-eat. A jar of canned peaches or salsa can be opened and enjoyed immediately, making it a convenient option for busy homestead days.
Safety First: Proper canning techniques are essential to avoid botulism, a rare but serious foodborne illness. Follow these basic guidelines:
- Sterilize jars before filling them.
- Use a water bath canner for high-acid foods and a pressure canner for low-acid foods.
- Follow tested recipes and adhere to the recommended processing times.
Tools You’ll Need: Invest in basic equipment like jars, lids, a canner, and a jar lifter. The upfront cost is small compared to the value of preserved food.
Storage Tips: Label each jar with the contents and the date of canning. Store your jars in a cool, dark place to maximize their shelf life, which typically ranges from 1 to 5 years.
Root Cellaring Basics
Root cellaring is a low-tech, eco-friendly method that has stood the test of time. With proper conditions, you can store fresh produce for months without the need for electricity.
How It Works: Root cellars rely on cool temperatures (45-50°F), high humidity, and good ventilation to keep produce fresh. Common root cellar crops include potatoes, carrots, beets, cabbages, and apples.
Setting Up Your Root Cellar: If you don’t have a traditional root cellar, don’t worry. A basement corner, insulated shed, or even a buried container can serve as a makeshift storage area. Key considerations include:
- Ventilation to regulate temperature and prevent spoilage.
- High humidity to keep produce firm and hydrated.
- Pest control measures to protect your harvest.
Organized Storage: Use crates, bins, or sand to store your produce. Keep vegetables like potatoes and carrots away from ethylene-producing fruits like apples to prevent premature ripening.
Why It’s Worth It: Root cellaring is one of the most cost-effective and sustainable ways to store large quantities of food. With minimal effort, you can reduce reliance on refrigeration and enjoy fresh produce long into the winter.
Fermentation and Brine Curing
Fermentation and brine curing use natural processes to preserve food while enhancing its flavor and nutritional value. These ancient techniques create foods rich in probiotics, which promote gut health.
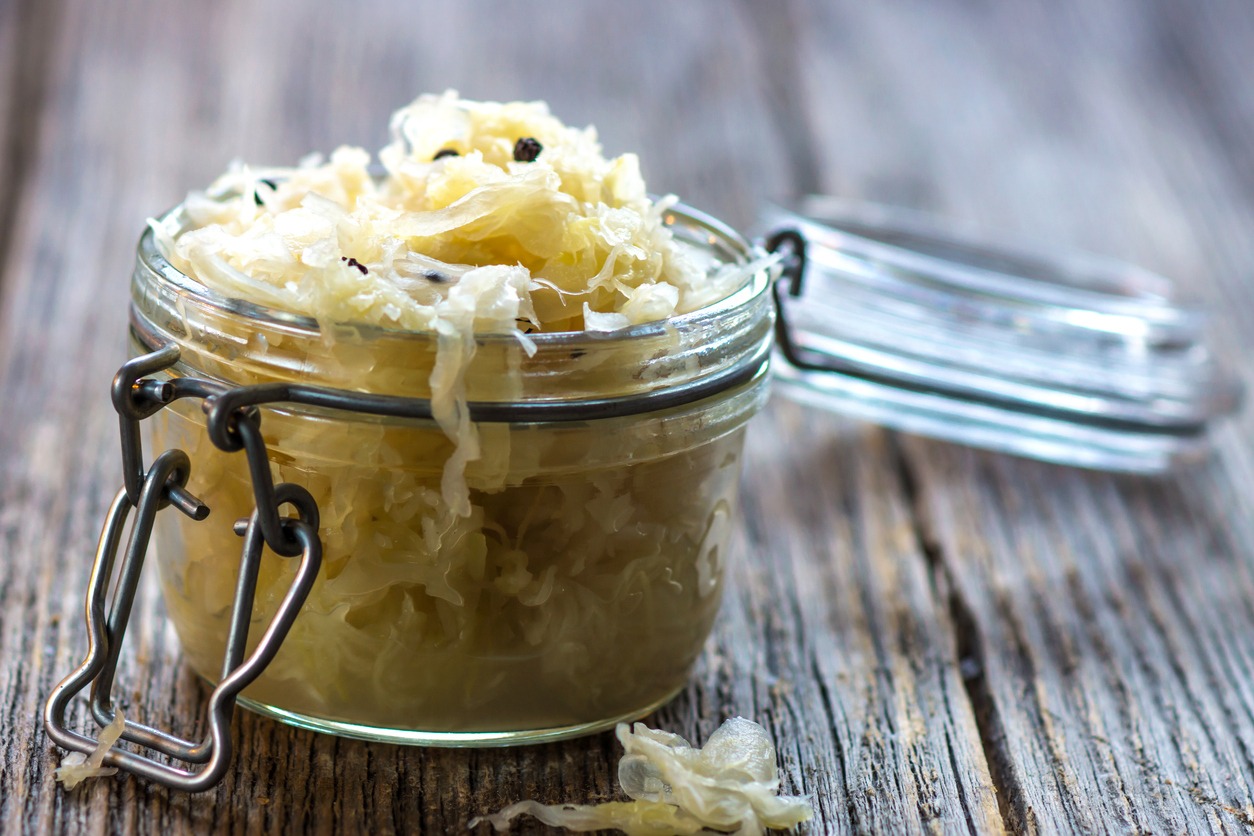
How Fermentation Works: Fermentation relies on beneficial bacteria to break down sugars and create an acidic environment. This process preserves foods like sauerkraut, pickles, and kimchi. Brine curing, on the other hand, involves submerging food in a saltwater solution, which inhibits harmful bacteria.
Getting Started: Fermentation requires little more than jars, weights, and breathable lids. Add vegetables like cabbage or cucumbers, mix with salt, and let nature take its course. Within days or weeks, you’ll have tangy, preserved foods.
Benefits Beyond Preservation: Fermented foods are packed with probiotics and nutrients, making them a healthy addition to your diet. They also store well in a cool, dark place for several months.
Simple Recipes to Try:
- Homemade sauerkraut: Shred cabbage, add salt, and pack tightly into a jar.
- Pickles: Use cucumbers, dill, garlic, and saltwater brine for a classic recipe.
Choosing the Right Method for Your Homestead
Each preservation method has its strengths, and the right one for you depends on your needs, resources, and produce.
- Freeze-Drying: Best for long-term storage and emergency preparedness.
- Dehydrating: Ideal for lightweight snacks and compact storage.
- Canning: Great for ready-to-eat meals and pantry staples.
- Root Cellaring: Perfect for storing fresh produce with minimal technology.
- Fermentation: Adds probiotics and enhances flavors naturally.
Consider combining methods to diversify your food storage options. For example, can your tomatoes, dehydrate your herbs, and ferment your cabbage to create a well-rounded pantry.
Conclusion
Food preservation is an essential skill for any homesteader, turning your garden’s harvest into a year-round resource. By learning and experimenting with freeze-drying, dehydrating, canning, root cellaring, and fermentation, you can ensure that nothing goes to waste and that your pantry stays full. These methods not only support a sustainable lifestyle but also give you the peace of mind that comes with self-sufficiency.
So, what are you waiting for? Start small, try a new preservation technique, and discover the joy of enjoying your harvest all year long.
Related posts