How to Grow and Use Mushrooms With Your Homegrown Produce
Growing mushrooms alongside your homegrown produce is an enriching and practical way to elevate your gardening and cooking experience. Mushrooms not only complement your fruits and vegetables but also contribute to soil health and sustainability. Whether you’re looking for a new gardening challenge or a way to diversify your harvest, mushrooms are an excellent addition to any garden. In this comprehensive guide, we’ll explore everything you need to know to grow and use mushrooms effectively.
Understanding Mushroom Basics
At first glance, mushrooms may seem like unusual garden companions. Unlike plants, they are the fruiting bodies of fungi, a group of organisms that thrive in unique ways. What you see as a mushroom is only a small part of the organism—the equivalent of a tree’s fruit. Beneath the surface lies mycelium, a sprawling network of thread-like structures that feed on organic matter, breaking it down into nutrients that plants can absorb.
This symbiotic relationship between fungi and plants is part of what makes mushrooms so valuable. In the natural world, fungi play critical roles in decomposition, nutrient cycling, and even plant communication. Adding mushrooms to your garden mimics these natural processes, fostering a healthier and more diverse ecosystem.
Nutritionally, mushrooms are also a powerhouse. They’re low in calories but rich in essential nutrients like B vitamins, selenium, potassium, and antioxidants. Some varieties, like shiitake and Lion’s Mane, are even prized for their potential medicinal properties, including immune support and cognitive health benefits.
Benefits of Growing Mushrooms with Homegrown Produce
Growing mushrooms doesn’t just benefit your kitchen—it also has far-reaching advantages for your garden and the environment. Here’s why you should consider adding them to your gardening routine:
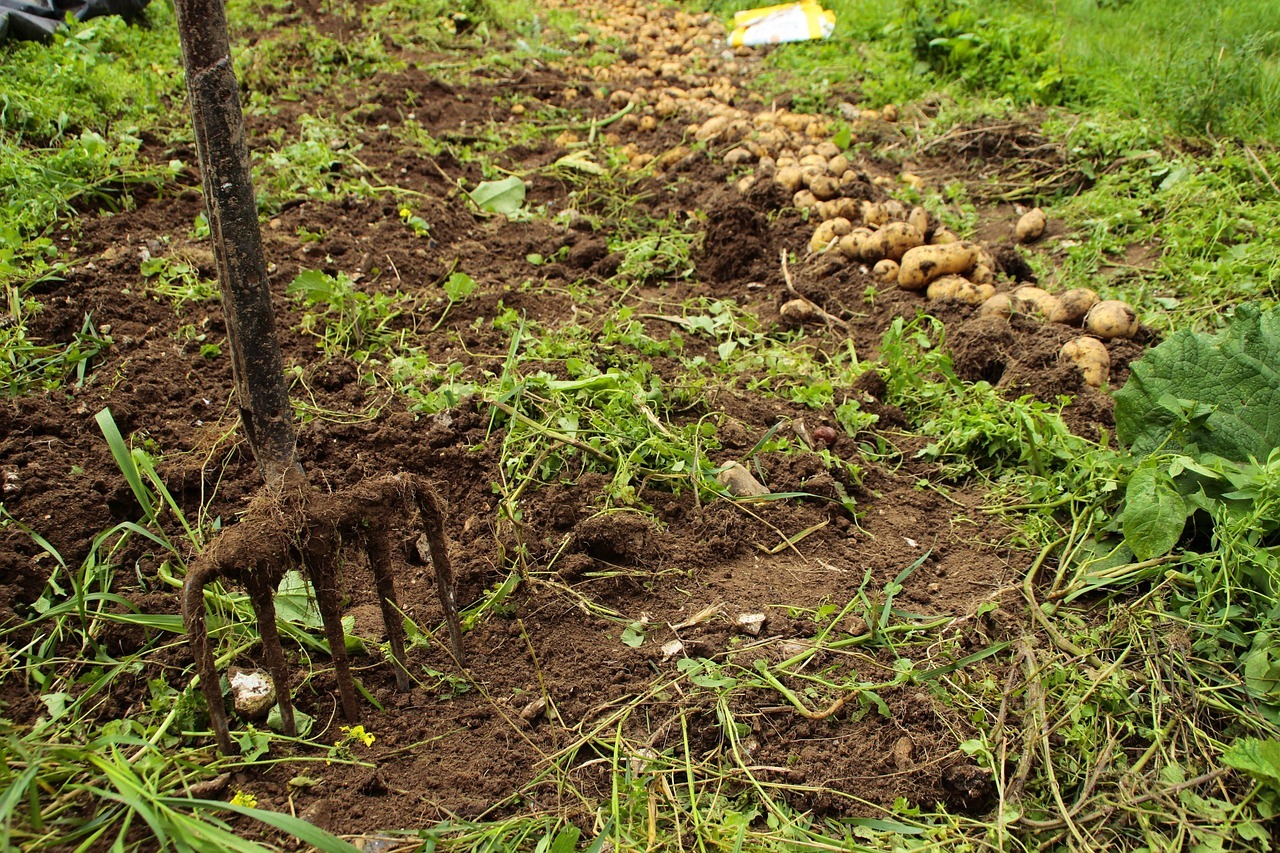
- Soil Enrichment: Mushrooms improve soil quality by decomposing organic material. Their mycelium network breaks down plant debris and turns it into rich, organic matter that enhances the soil’s structure and nutrient content. This, in turn, supports healthier vegetable and fruit crops.
- Sustainable Gardening: Mushroom cultivation can help reduce waste by utilizing materials you might otherwise discard. Coffee grounds, cardboard, and sawdust are all excellent substrates for growing mushrooms. Repurposing these items not only saves money but also reduces your environmental impact.
- Pest Control: Some mushroom species attract beneficial insects that help manage pests in your garden. This natural pest control reduces the need for chemical interventions, promoting a healthier ecosystem for all your plants.
- Biodiversity Boost: Introducing fungi into your garden diversifies its ecosystem. A more diverse garden is more resilient to diseases, pests, and environmental stress, making it easier to maintain in the long run.
By growing mushrooms with your produce, you create a symbiotic environment where plants and fungi thrive together.
Choosing Mushroom Varieties
Not all mushrooms are created equal when it comes to home cultivation. Each variety has unique growth requirements and culinary uses. Here’s a closer look at some popular options:
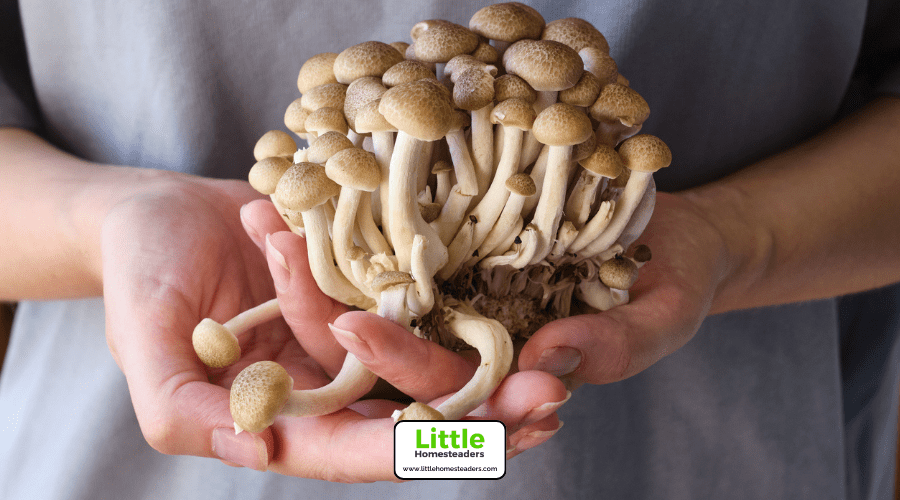
- Button Mushrooms: These are the classic white mushrooms you see in grocery stores. They’re perfect for beginners because they grow well indoors and require minimal effort. Button mushrooms produce firm caps in just 3–4 weeks, making them a fast and rewarding choice.
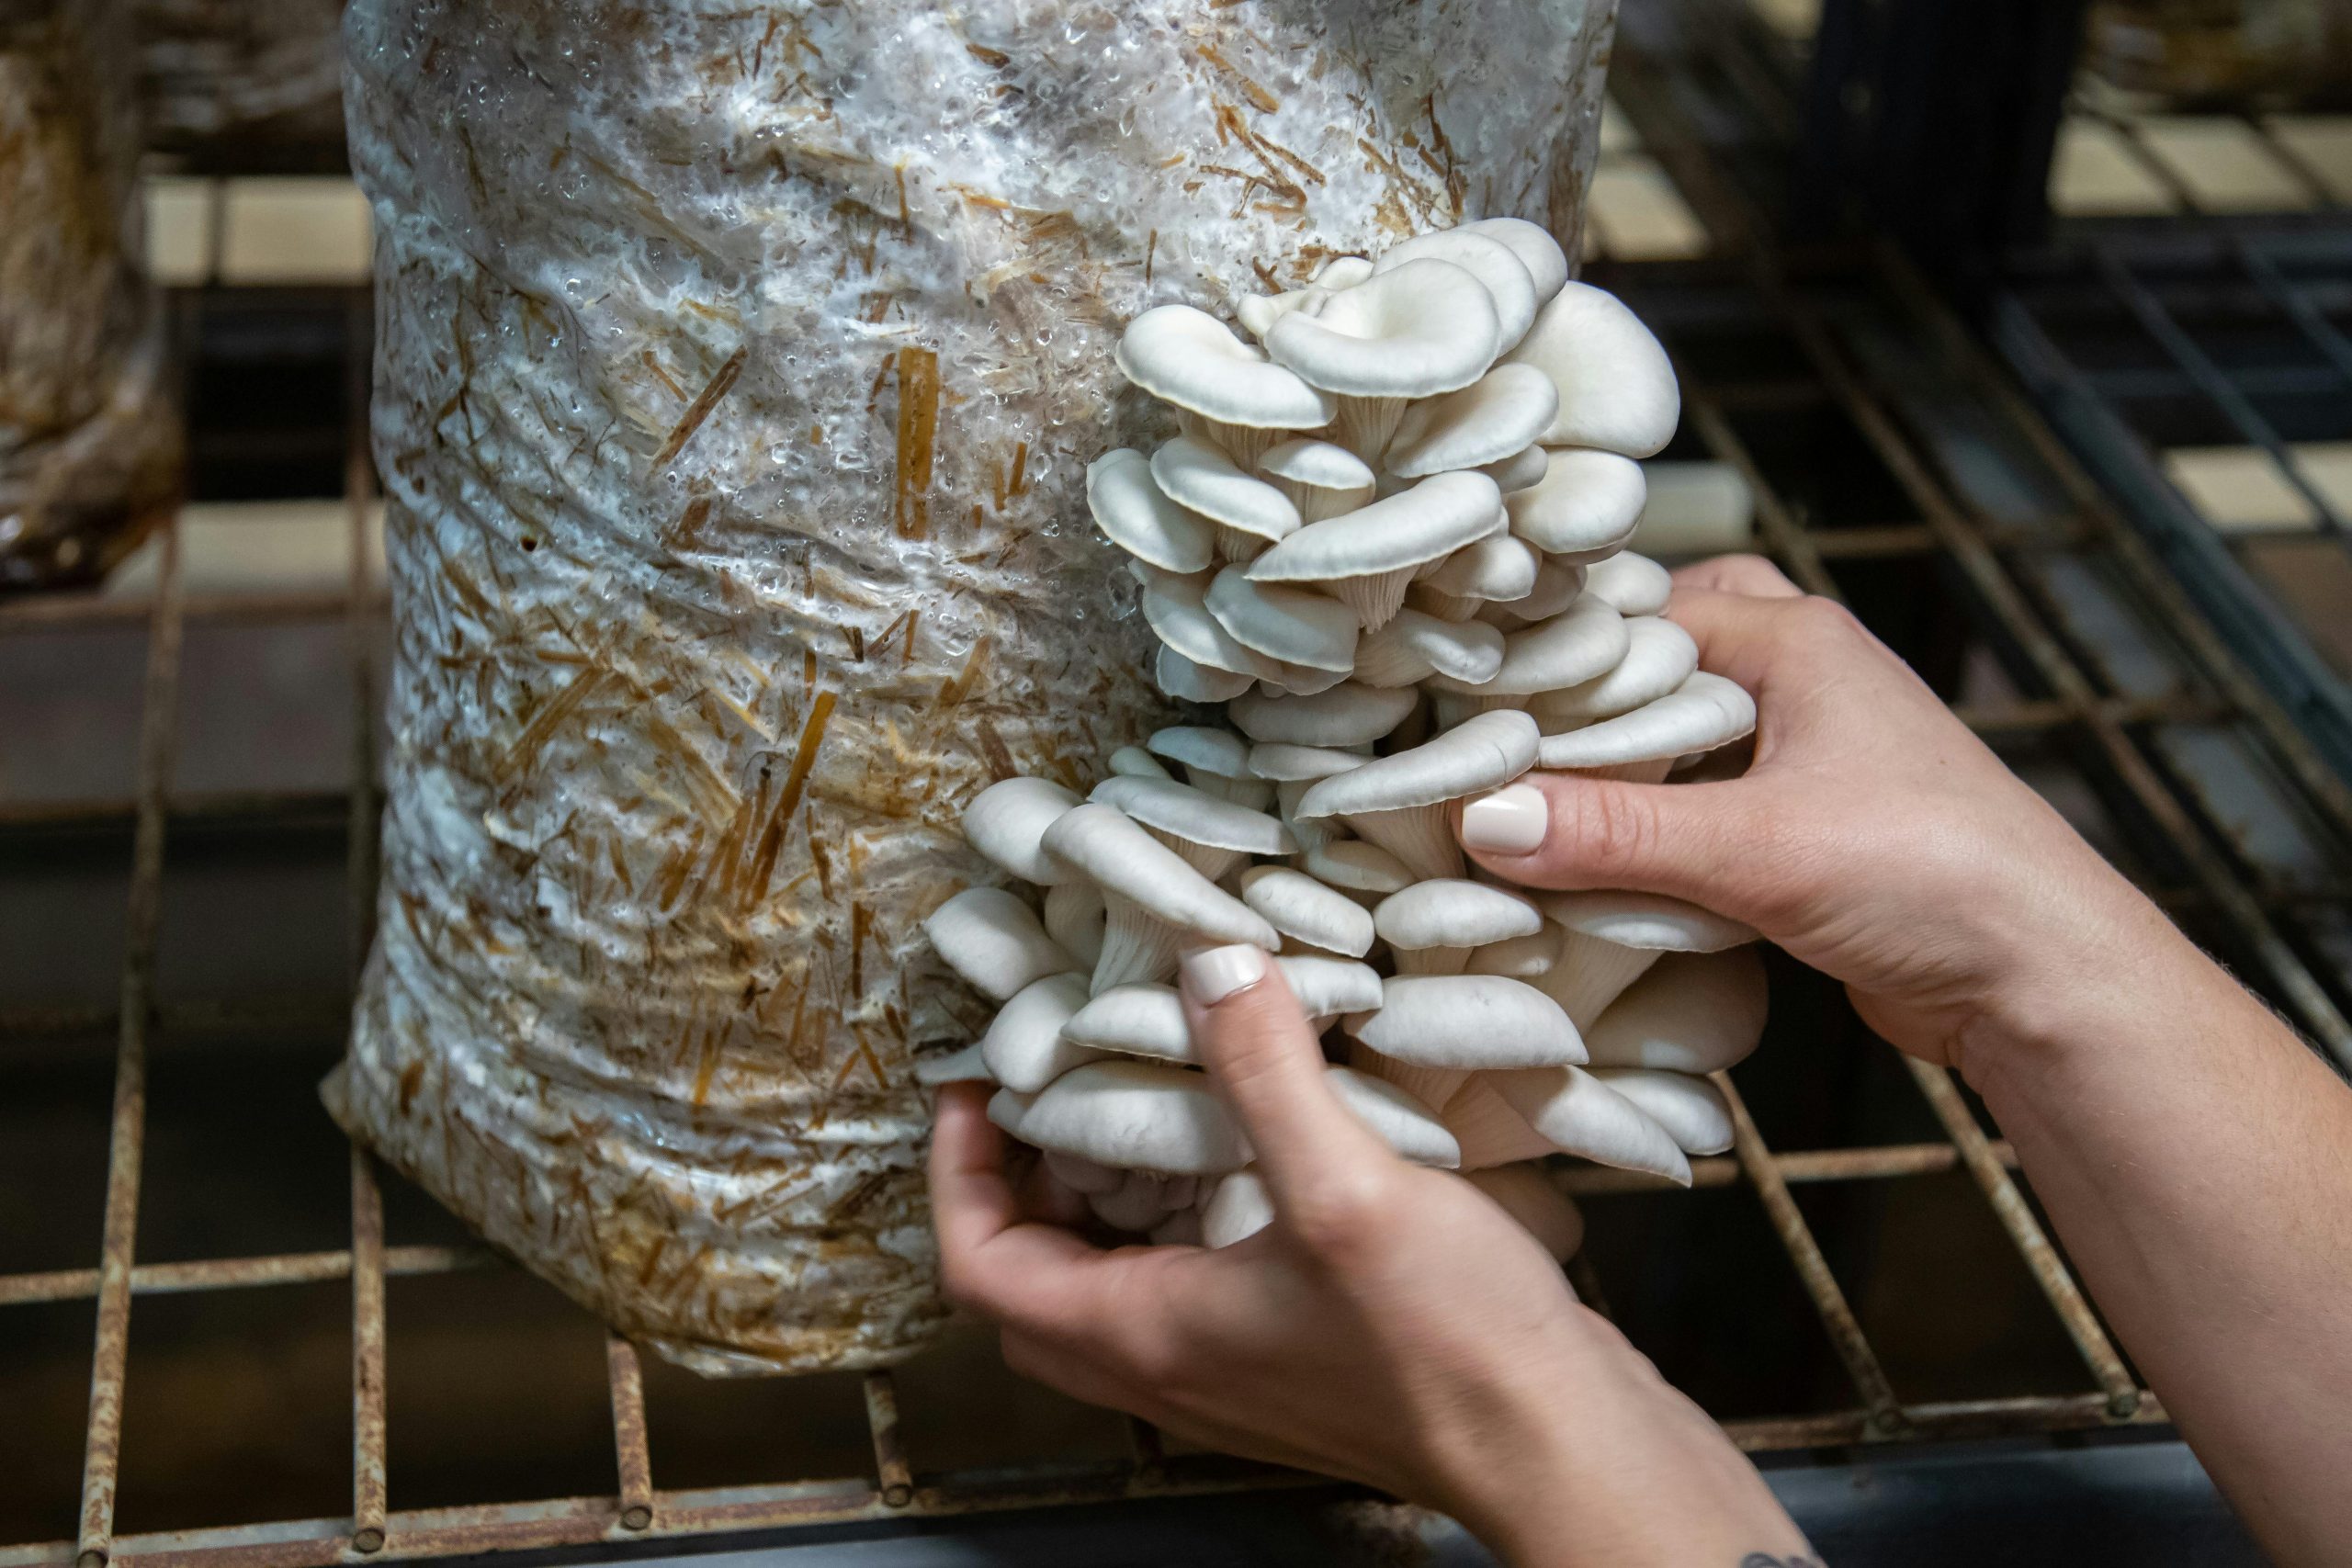
- Oyster Mushrooms: These are versatile and grow quickly, often within 2–3 weeks. Their delicate texture and mild flavor make them ideal for stir-fries, soups, and sautéed dishes. Oyster mushrooms are also adaptable to different growing mediums, including straw and coffee grounds.
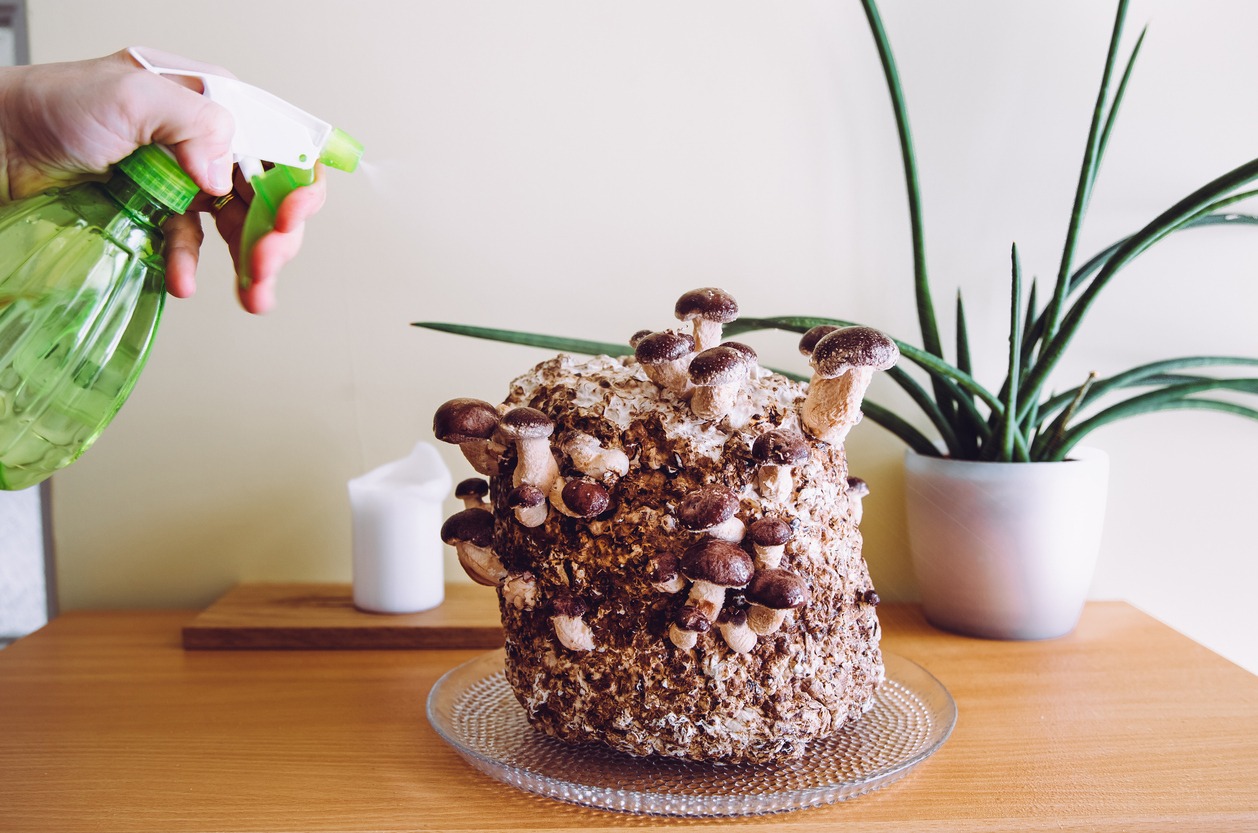
- Shiitake Mushrooms: Renowned for their rich, umami flavor, shiitake mushrooms take longer to grow—typically 6–12 months—but the results are well worth the wait. They grow best on logs, which makes them a great choice for outdoor cultivation.
- Lion’s Mane Mushrooms: With their fluffy, pom-pom-like appearance and unique seafood-like flavor, Lion’s Mane mushrooms are a standout choice. They’re not only delicious but also celebrated for their potential brain-boosting properties. They require 2–3 months to mature.
- Enoki Mushrooms: These long, slender mushrooms thrive in cool, dark environments. They grow in compact clusters and are ready for harvest in about 2–3 weeks. Enoki mushrooms are perfect for soups and salads.
When choosing which mushrooms to grow, consider your climate, available space, and preferred cooking styles. If you’re new to mushroom cultivation, start with a fast-growing variety like oyster or button mushrooms.
Preparing Your Growing Space
Mushrooms require specific conditions to thrive, but don’t let that intimidate you. Setting up your growing space can be simple with a little preparation:
- Location: Select a clean, shaded, and well-ventilated spot. Indoors, basements or garages work well, while shaded corners of your garden are ideal for outdoor cultivation.
- Sterilization: Mushrooms are highly sensitive to contamination, so sterilize your tools, containers, and growing mediums. This step is crucial to prevent mold or competing fungi from disrupting your crop.
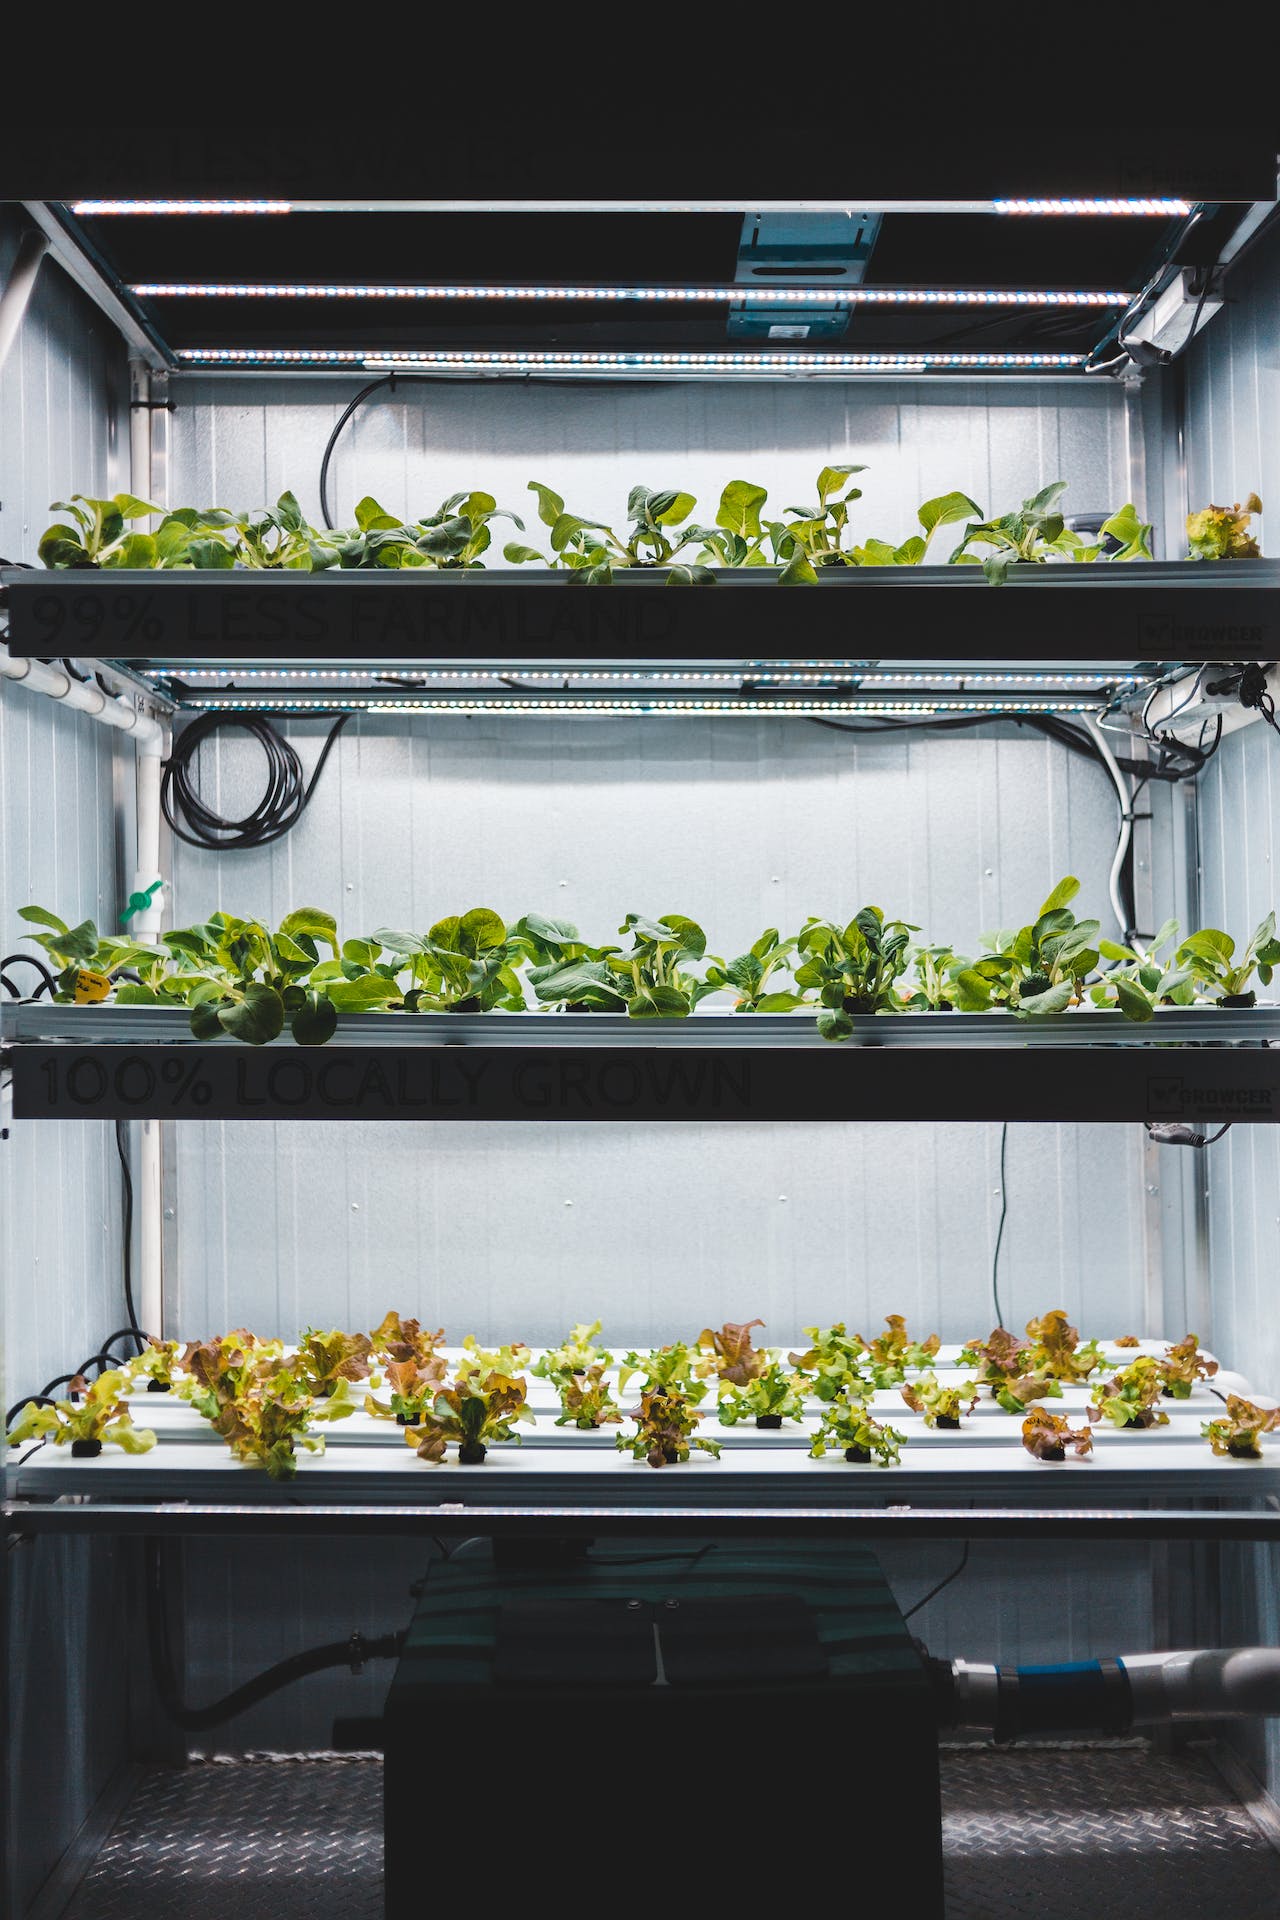
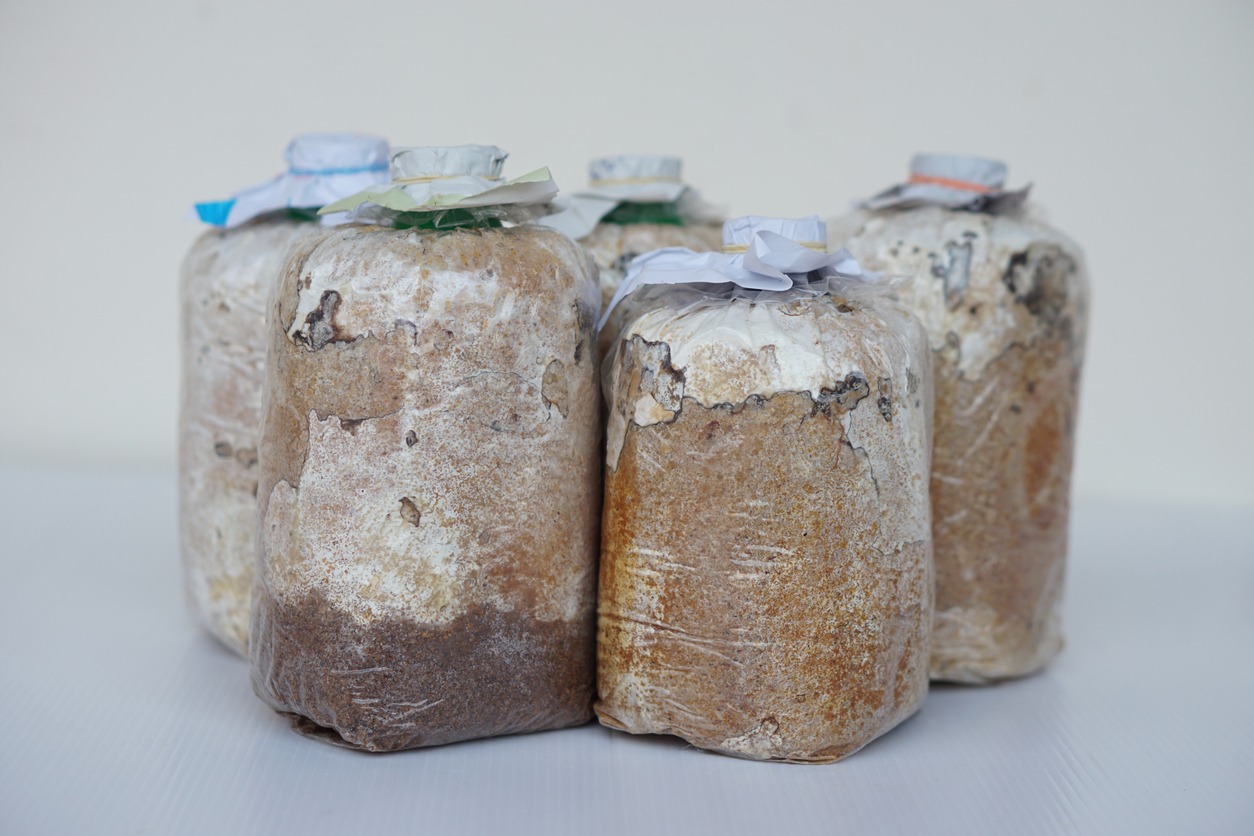
- Growing Medium: The substrate is the foundation of mushroom growth. Options like straw, sawdust, compost, and coffee grounds work well, depending on the variety. Beginners might find pre-prepared substrates or mushroom growing kits especially helpful.
- Humidity and Temperature: Mushrooms thrive in humid environments (85–95% humidity) and moderate temperatures (60–75°F). Use a hygrometer to monitor humidity levels and mist your growing space regularly to maintain the ideal conditions.
- Lighting: While mushrooms don’t require direct sunlight, they benefit from 6–8 hours of indirect light daily. Too much light or heat can dry out the substrate and hinder growth.
Creating the right environment is essential for healthy mushroom development, so take the time to set up your space carefully.
Inoculating Substrate and Logs
Once your space is ready, it’s time to inoculate your chosen substrate or logs with mushroom spawn. The process differs depending on the method:
- Substrate Inoculation: Mix mushroom spawn evenly into your substrate. Spread the mixture in trays, grow bags, or containers, ensuring it’s moist but not waterlogged. This method is versatile and works well for indoor cultivation.
- Log Inoculation: Drill holes into freshly cut logs and insert mushroom plugs or dowels. Seal the holes with wax to protect the spawn and retain moisture. Logs should be placed in a shady, humid outdoor area.
After inoculation, monitor your growing medium closely. Mushrooms take time to establish, so be patient as the mycelium colonizes the substrate or log.
Maintaining Ideal Growing Conditions
Consistency is key when it comes to mushroom cultivation. Pay attention to the following factors:
- Temperature: Keep the growing area within the recommended range for your mushroom variety.
- Humidity: Mist the substrate regularly to maintain high humidity levels. For logs, soaking them periodically helps ensure adequate moisture.
- Air Circulation: Stagnant air can lead to mold or poor growth. Ensure proper ventilation to prevent these issues.
- pH Levels: Most mushrooms prefer a slightly acidic pH (6.0–6.5). Test the substrate periodically to ensure optimal conditions.
Troubleshooting common problems, like contamination or slow growth, can make a big difference. With the right care, your mushrooms will reward you with a healthy harvest.
Harvesting and Storing Mushrooms

Harvesting mushrooms is a simple yet satisfying process. When the caps are fully open and the edges start to curl slightly, they’re ready to be picked. To harvest, gently twist and pull the mushrooms from the substrate. Avoid cutting them at the base, as this can introduce contamination.
For storage:
- Short-term: Fresh mushrooms can be stored in the refrigerator for up to a week in a paper bag. Avoid washing them until you’re ready to use them.
- Long-term: Dehydrate mushrooms in a food dehydrator or oven at low heat, then store them in airtight containers. Alternatively, sauté and freeze mushrooms to preserve their flavor and texture for up to 12 months.
Companion Planting with Mushrooms
Mushrooms can also play a valuable role in companion planting. Growing mushrooms alongside vegetables and fruit trees can enhance soil health and provide natural pest control. For example:
- Reishi Mushrooms: Improve nutrient uptake for fruit trees and protect against diseases.
- Oyster Mushrooms: Break down organic matter in garden beds, enriching the soil.
- Enoki Mushrooms: Thrive in shaded areas between crops, promoting composting.
Culinary Uses for Homegrown Mushrooms
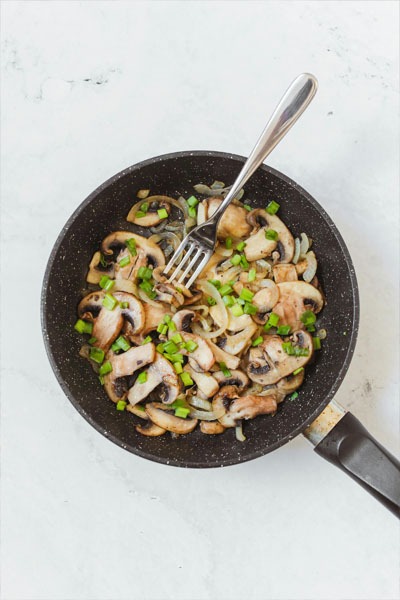
Homegrown mushrooms are incredibly versatile. Use them to create delicious dishes such as:
- Soups, Stews, and Stir-Fried Dishes: Mushrooms add depth and flavor.
- Pasta, Pizza, and Burgers: These delicious foods can be enhanced with sautéed mushrooms.
- Meat Substitute: Cutting off on meat? Mushrooms can be a meat substitute to dishes like burgers or meatloaf.
Preserve mushrooms for year-round enjoyment by drying, pickling, or freezing them. Expose mushrooms to sunlight during growth to increase their vitamin D content, boosting their nutritional value.
Conclusion
Growing mushrooms alongside your homegrown produce offers a wealth of benefits, from improving your garden’s health to enhancing your meals. With patience, care, and the right techniques, you can enjoy a bountiful harvest of fresh, flavorful mushrooms. Ready to start your mushroom-growing journey? Give it a try and discover how these fascinating fungi can transform your gardening and cooking experience.