How to Grow Mushrooms on Your Homestead: A Step-by-Step Guide
Mushroom cultivation is a rewarding and sustainable addition to any homestead. These fascinating fungi not only enhance your meals with rich flavors and nutrients but also play a vital role in decomposing organic materials and enriching the soil. Whether you’re a beginner or an experienced grower, this guide will walk you through every step of growing mushrooms on your homestead—from understanding their biology to harvesting and preserving your bounty.
Understanding Mushroom Biology
Mushrooms are not plants; they belong to the fungi kingdom. Unlike plants that rely on sunlight for photosynthesis, mushrooms get their nutrients by breaking down organic matter. This ability makes them excellent partners in recycling natural materials on your homestead.
At the heart of mushroom growth is mycelium, a web of thread-like structures that act as the fungus’s "roots." Mycelium absorbs nutrients and grows within a suitable substrate—like wood logs, straw, or compost—eventually producing mushrooms as its reproductive structures. These fruiting bodies release spores to propagate the species.
Understanding this lifecycle is crucial. By mimicking the natural conditions that encourage mycelium to thrive, you can cultivate mushrooms with ease. Plus, incorporating mushrooms into your homestead ecosystem supports sustainable practices by recycling organic waste and enhancing soil health.
Benefits of Growing Mushrooms at Home
Growing mushrooms is about more than just delicious meals. Here are some key benefits:
- Nutritional Value: Mushrooms are rich in protein, vitamins, antioxidants, and other essential nutrients.
- Sustainability: They help break down organic waste, reducing your environmental footprint.
- Economic Savings: Homegrown mushrooms are a fraction of the cost of store-bought gourmet varieties.
- Medicinal Uses: Certain species, like Reishi and Turkey Tail, are renowned for their health-boosting properties.
Choosing the Right Mushroom Species
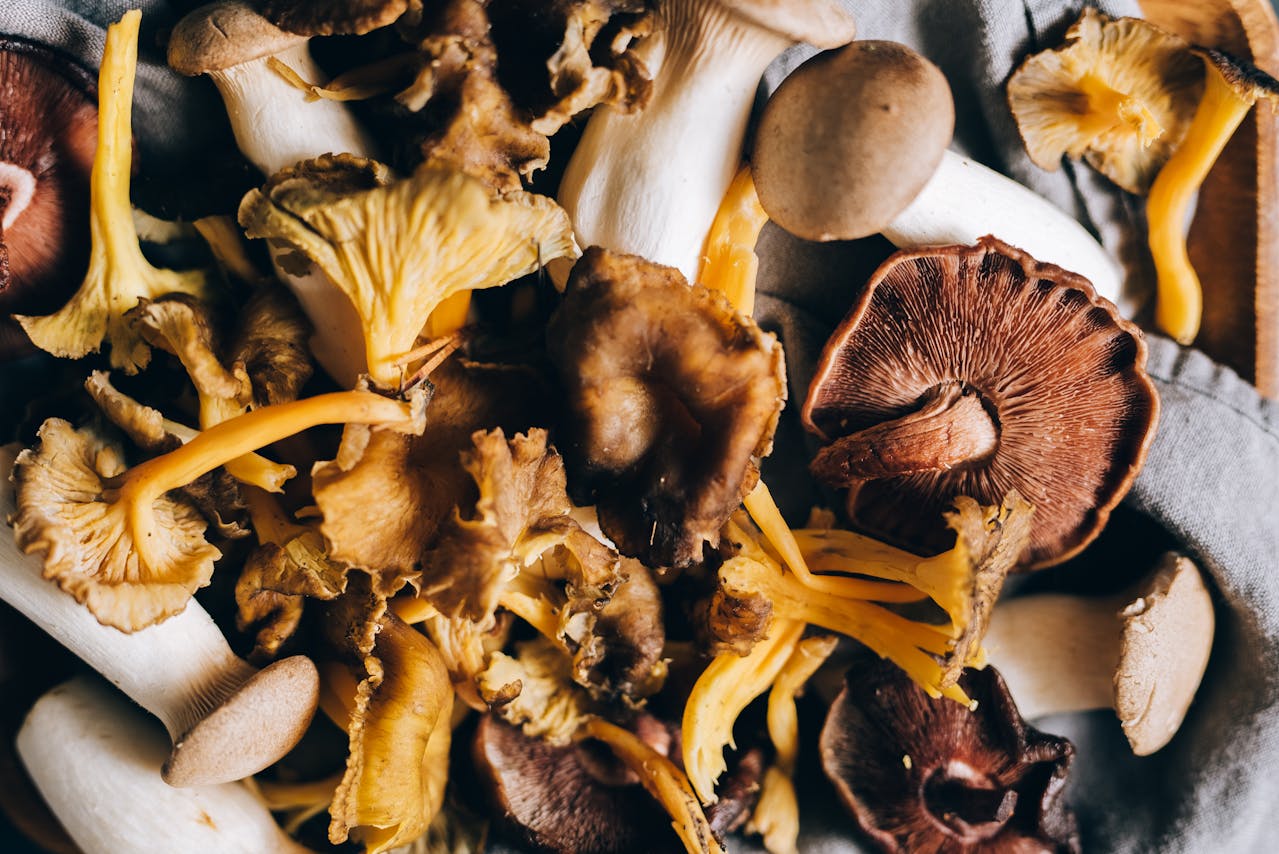
Growing a diverse selection of mushroom species can enhance your homestead’s productivity while offering culinary, ecological, and medicinal benefits. Below are some mushroom varieties to consider, their characteristics, and how they can be integrated into your homesteading system:
1. Shiitake (Lentinula edodes)
Shiitake mushrooms are a staple for homesteaders due to their rich flavor, ease of cultivation, and nutritional value. These mushrooms are traditionally grown on hardwood logs, such as oak or white oak, which are cut in late winter and inoculated with spawn a month later. After a year-long incubation, the logs yield abundant fruiting bodies. Shiitake mushrooms are far superior in taste to store-bought versions and can be grown at a fraction of the cost.
2. Lion’s Mane (Hericium erinaceus)
Lion’s Mane is a stunning mushroom with cascading, shaggy, pure-white spines. It is prized for its seafood-like flavor and unique culinary applications. Notably, Lion’s Mane can colonize black walnut and black locust trees—species typically resistant to most fungi. This makes it an excellent option for utilizing less conventional substrates.
3. Maitake (Grifola frondosa)
Also known as hen-of-the-woods, Maitake mushrooms are large, fleshy polypores with overlapping caps. They are an excellent choice for recycling tree stumps after logging operations, as they thrive in this environment while producing gourmet-quality mushrooms. Maitake is also a potent medicinal mushroom, valued for its anti-tumor and immune-enhancing properties.
4. Reishi (Ganoderma lucidum) and Turkey Tail (Trametes versicolor)
These shelf polypores grow on dead or dying trees and are highly regarded for their medicinal properties. Reishi and Turkey Tail have long histories of use in traditional medicine, particularly in Asia, and are currently studied for their immune-boosting and anticancer benefits. They contribute to decomposing woody materials while providing valuable health benefits.
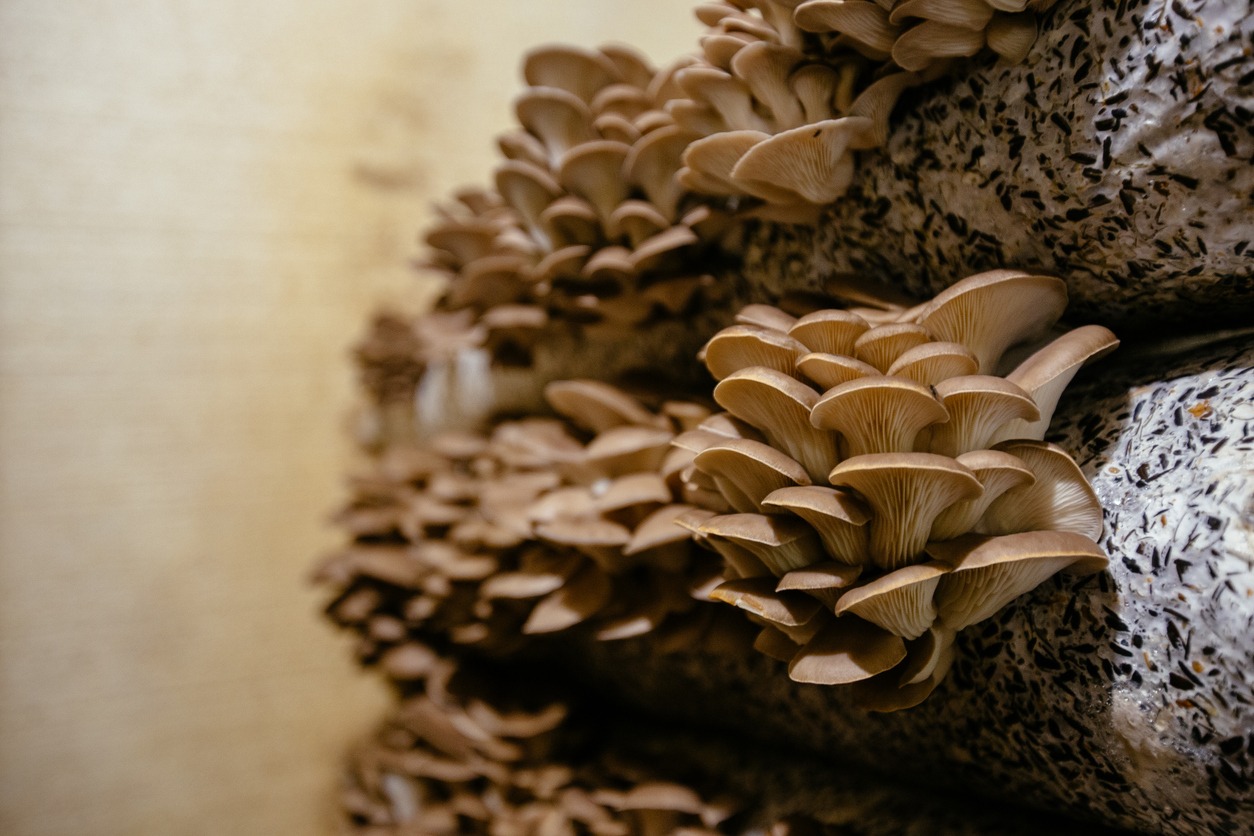
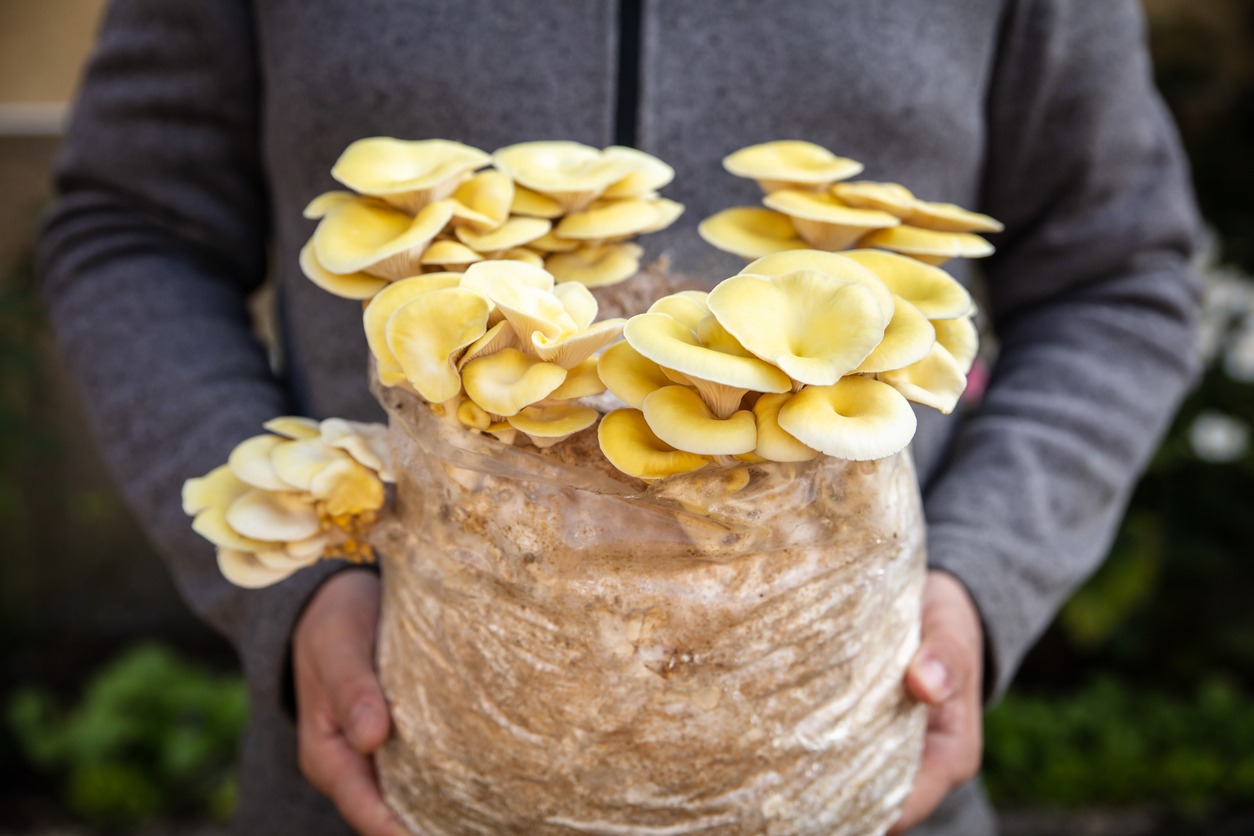
5. Oyster Mushrooms (Pleurotus ostreatus)
Oyster mushrooms are aggressive colonizers, making them ideal for decomposing dead trees or woody debris. This species excels in converting tough organic materials into nutrient-rich soil while producing prolific, fleshy mushrooms. They are perfect for integrating into woodlot management, such as following tree felling and clearing operations.
6. Elm Oyster (Hypsizygus ulmarius)
Elm Oyster mushrooms are saprophytes that can be grown in garden beds as a companion to boost crop yields. They thrive in straw mulches, sawdust, and wood chips, producing delicious mushrooms while enhancing soil health. This species is ideal for those seeking an edible mushroom-and-garden synergy.
7. Blewitt (Lepista nuda)
Blewitt mushrooms are an excellent option for inoculating woody debris piles, such as blackberry beds or mulched areas. As they decompose tough organic material, they also provide high-quality edible mushrooms. These mushrooms are ideal for homesteads with compost or mulch systems requiring decomposition assistance.
8. Wine Cap Stropharia (Stropharia rugoso-annulata)
Commonly known as the garden giant, Wine Cap mushrooms are versatile decomposers that grow well in straw, sawdust, or wood chip mulches. Their immense size—sometimes up to five pounds—makes them a standout choice for homesteaders. They actively enrich the soil as long as organic debris is regularly added to their environment.
9. Shaggy Mane (Coprinus comatus)
Shaggy Mane mushrooms thrive in grassy soils enriched with manure, such as horse pastures. These delicate mushrooms are favored by mycophagists for their mild flavor. As they grow, they help break down manure and make its nutrients more bioavailable in the soil, enhancing overall soil health.
Selecting a Suitable Growing Method
One of the most important decisions in mushroom cultivation is choosing the right method for growing your chosen species. Each method has its own advantages, limitations, and requirements, so understanding what works best for your homestead is crucial.
Growing mushrooms can be done indoors, outdoors, or using a hybrid approach. Factors like available space, climate, resources, and personal preferences will help determine the best method for you. The good news is that mushrooms are highly adaptable, and with a little experimentation, you can create a setup that suits your homestead perfectly.
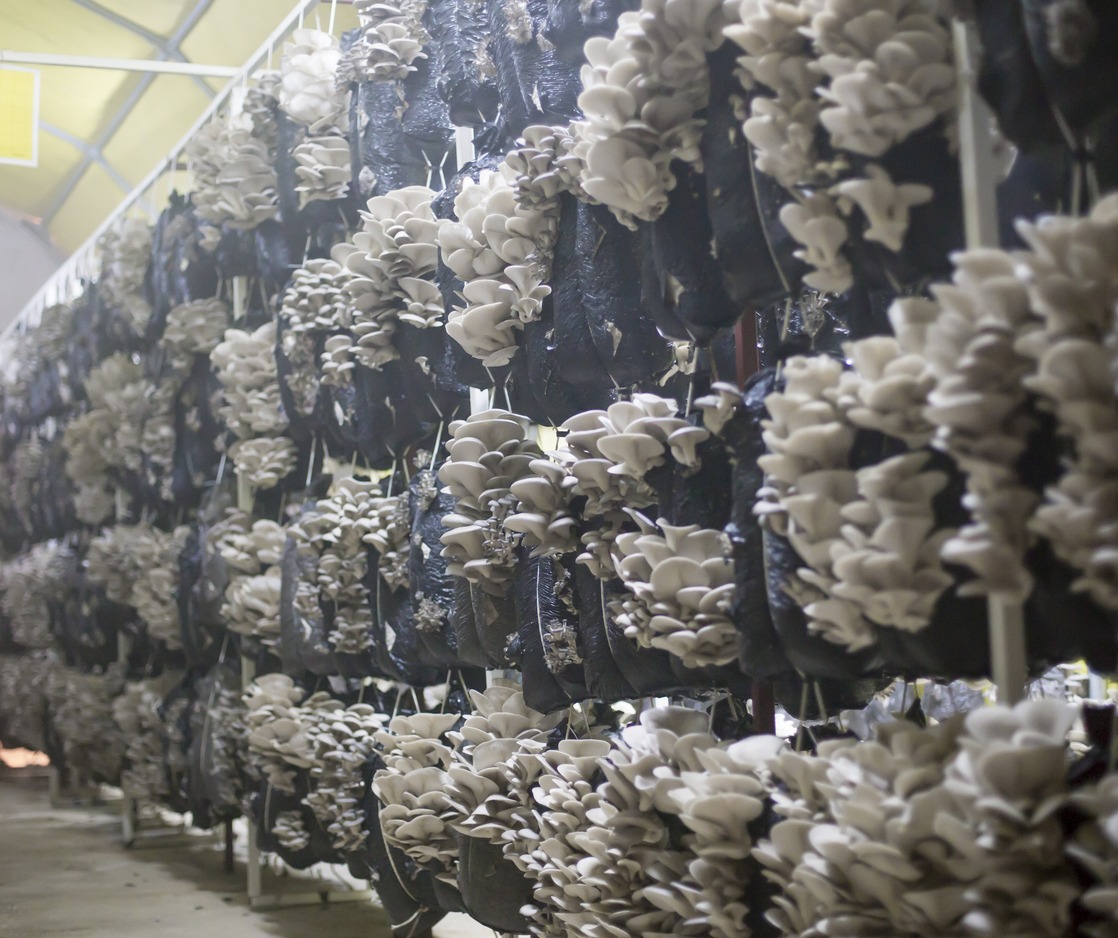
Indoor Cultivation
Indoor cultivation is ideal for beginners or anyone who wants greater control over environmental factors. This method allows you to manage temperature, humidity, light, and airflow with precision, minimizing the risk of contamination or failure.
- Plastic Tubs or Bags: One of the simplest setups for indoor cultivation involves using plastic tubs or grow bags. These containers can be filled with a pre-pasteurized substrate like straw, sawdust, or coffee grounds. Drill small holes in the containers to allow airflow, and mist them regularly to maintain humidity.
- Mushroom Growing Kits: For those just starting out, ready-to-use mushroom kits provide an excellent introduction. These kits include pre-inoculated substrate, taking much of the guesswork out of the process. They’re especially helpful for growing species like oyster mushrooms or lion’s mane indoors.
Outdoor Cultivation
For a more traditional approach, outdoor cultivation allows you to mimic the natural environment in which mushrooms thrive. This method is especially suitable for species like shiitake, maitake, and wine cap mushrooms.
- Log Inoculation: Hardwood logs, such as oak or maple, are drilled with holes and inoculated with spawn. The logs are then left to incubate in a shaded, moist area for several months to a year. This low-maintenance method yields mushrooms for multiple seasons.
- Garden Mulches: Some species, like elm oysters and wine cap mushrooms, can be integrated into garden beds or mulch layers. These mushrooms not only produce food but also contribute to soil health by breaking down organic matter.
- Benefits of Outdoor Cultivation:
- Larger yields over time, especially with log or stump methods.
- Fewer input costs compared to indoor setups.
- Ideal for integrating mushrooms into permaculture systems.
Hybrid Approaches
Combining indoor and outdoor methods can provide the best of both worlds. For instance, you might start your spawn indoors to ensure healthy mycelium growth, then transfer the substrate to an outdoor environment for fruiting. This approach reduces risks associated with contamination while taking advantage of natural conditions to encourage abundant harvests.
Factors to Consider
When deciding on a growing method, keep these points in mind:
- Space Availability: Indoor setups are great for small spaces, while outdoor methods work best if you have access to shaded areas, woodlots, or garden beds.
- Species Compatibility: Not all mushrooms grow well indoors. For example, shiitake prefers outdoor log cultivation, while oyster mushrooms thrive in controlled indoor environments.
- Long-Term Goals: If you’re looking for a consistent supply of mushrooms, indoor growing may be more predictable. For larger, seasonal harvests, outdoor methods are ideal.
Preparing Your Growing Substrate
The substrate is the foundation of successful mushroom cultivation, as it provides the nutrients and structure needed for mycelium growth. Preparing the substrate properly ensures that your mushrooms have a healthy environment to thrive.
What is a Substrate?
A substrate is any organic material that can support the growth of fungi. Different mushroom species have specific substrate preferences. For instance, hardwood logs are excellent for shiitake and maitake, while straw and sawdust work well for oyster mushrooms. The substrate’s composition affects both the health of the mycelium and the yield of your mushrooms.
Steps to Prepare the Substrate
1. Select the Right Material:
- Logs: Use freshly cut hardwood logs for species like shiitake. Avoid softwoods, which may inhibit growth.
- Straw: Clean, pesticide-free straw is a common choice for oyster mushrooms. Chop it into smaller pieces to increase the surface area for colonization.
- Coffee Grounds: A readily available, sustainable option for urban growers. Ensure they are used fresh and free from contaminants.
2. Pasteurization or Sterilization:
- To prevent contamination, substrates must be pasteurized (heat-treated to kill competing organisms). For example, straw can be soaked in hot water for an hour, while coffee grounds are naturally sterilized through the brewing process.
3. Enriching the Substrate:
- Add supplements like bran or gypsum to enhance nutrient availability, especially when using materials like sawdust.
Inoculating the Substrate
Inoculation is the process of introducing mushroom spawn into your prepared substrate. This step sets the stage for the mycelium to colonize and eventually produce mushrooms.
How to Inoculate
- Break Up the Spawn: Divide the spawn into smaller pieces to ensure even distribution. This step is especially important for loose substrates like straw or sawdust.
- Mix Thoroughly: Combine the spawn and substrate evenly, making sure every part of the substrate is exposed to the fungal culture.
- Seal and Protect: Place the inoculated substrate into containers, bags, or logs. Seal them loosely to retain moisture but allow some airflow.
Tips for Success
- Maintain sterile conditions during inoculation to avoid contamination.
- Ensure the spawn-to-substrate ratio is sufficient (5–10% by weight is typical).
Maintaining Optimal Growing Conditions
Once inoculated, mushrooms require specific conditions to grow successfully. These factors can vary slightly depending on the species, but the basics remain consistent.
Environmental Requirements
- Temperature: Most mushrooms grow well between 60–75°F. For species like lion’s mane, cooler temperatures around 55–65°F may be ideal.
- Humidity: High humidity levels (85–95%) are essential for fruiting. Use a spray bottle to mist your substrate regularly, or set up a humidifier for indoor setups.
- Light: While mushrooms don’t need direct sunlight, indirect light for 8–12 hours daily helps stimulate growth. For indoor cultivation, a fluorescent light or natural room light works well.
- Air Circulation: Proper ventilation prevents the buildup of carbon dioxide, which can stunt growth. Use small fans, or ensure your setup has air holes for circulation.
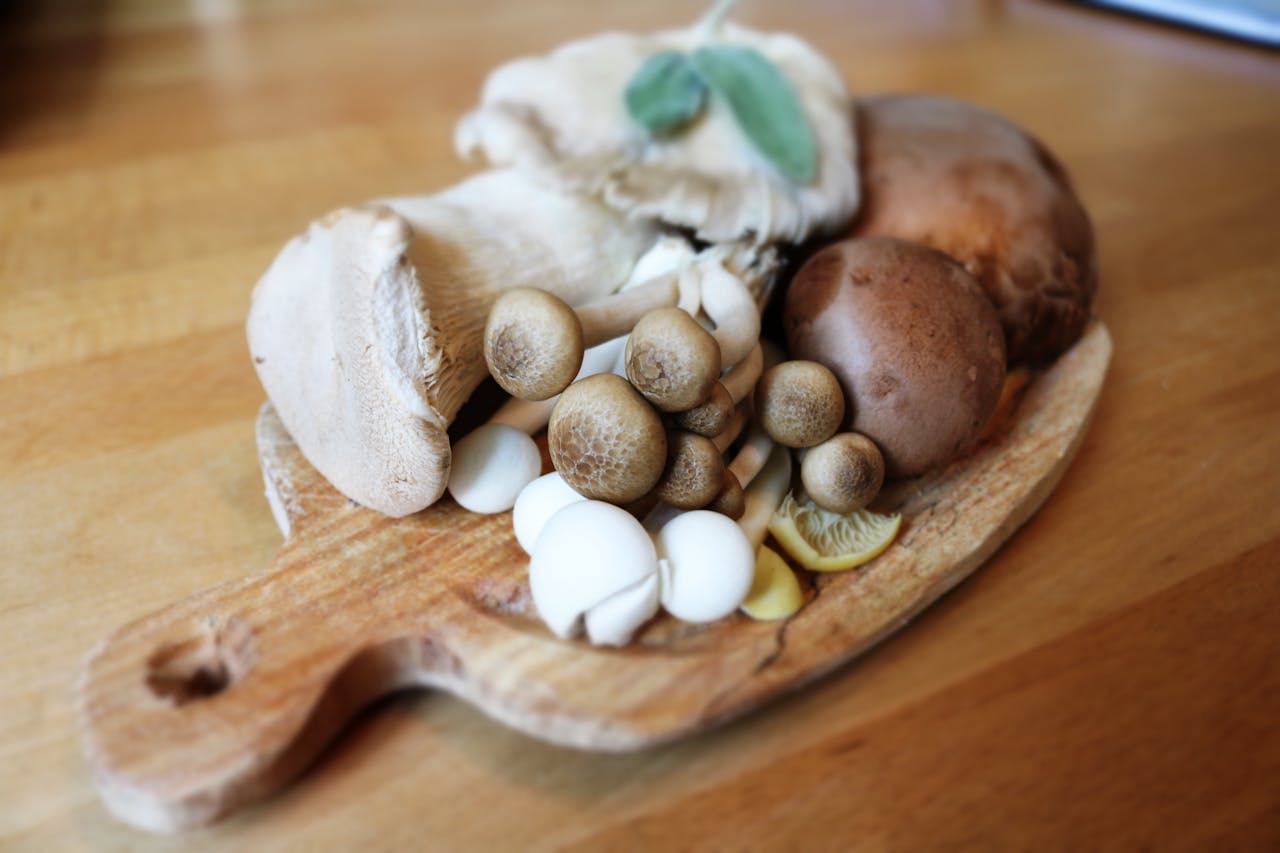
Harvesting Your Mushrooms
After weeks or months of preparation, the reward is finally at hand—harvesting your mushrooms. Timing is crucial to ensure the best flavor and yield.
When to Harvest
- Mushrooms are ready to harvest when their caps are fully expanded but before they start to discolor or release spores.
- Some species, like shiitake, develop a cracking pattern on the cap, signaling maturity.
How to Harvest
- Use a sharp knife to cut the mushrooms at the base. Avoid pulling or twisting them, as this can damage the mycelium and affect future flushes.
- Clean the mushrooms gently to remove any debris or substrate.
Preserving and Using Your Harvest
Fresh mushrooms can be stored in the refrigerator for up to a week. For longer preservation, consider the following methods:
- Drying: Use a dehydrator or air-dry your mushrooms for storage in jars or vacuum-sealed bags.
- Freezing: Blanche mushrooms briefly before freezing to preserve their texture.
- Canning: A great way to create shelf-stable mushrooms, though it may soften their texture.
Don’t forget to compost spent substrate or use it as a soil conditioner to enrich your garden beds. This closes the nutrient cycle and ensures no part of your mushroom cultivation efforts goes to waste.
Conclusion
Growing mushrooms on your homestead is a fulfilling journey that combines sustainability, nutrition, and ecological balance. Start small with beginner-friendly species like Oyster or Shiitake mushrooms, and expand as you gain experience. By following these steps, you’ll soon enjoy the satisfaction of homegrown fungi, enriching both your meals and your homestead ecosystem.
Mushrooms are more than just food—they’re partners in creating a thriving and sustainable homestead.