How to Improve Rocky Soil: Tips for a Productive Garden
Transforming rocky soil into a productive garden may seem like an uphill battle, but with the right techniques and consistent effort, you can create a thriving oasis. In this comprehensive guide, we’re giving you the steps to improve rocky terrain and turn it into fertile ground for a flourishing garden.
Understand Rocky Soil Composition
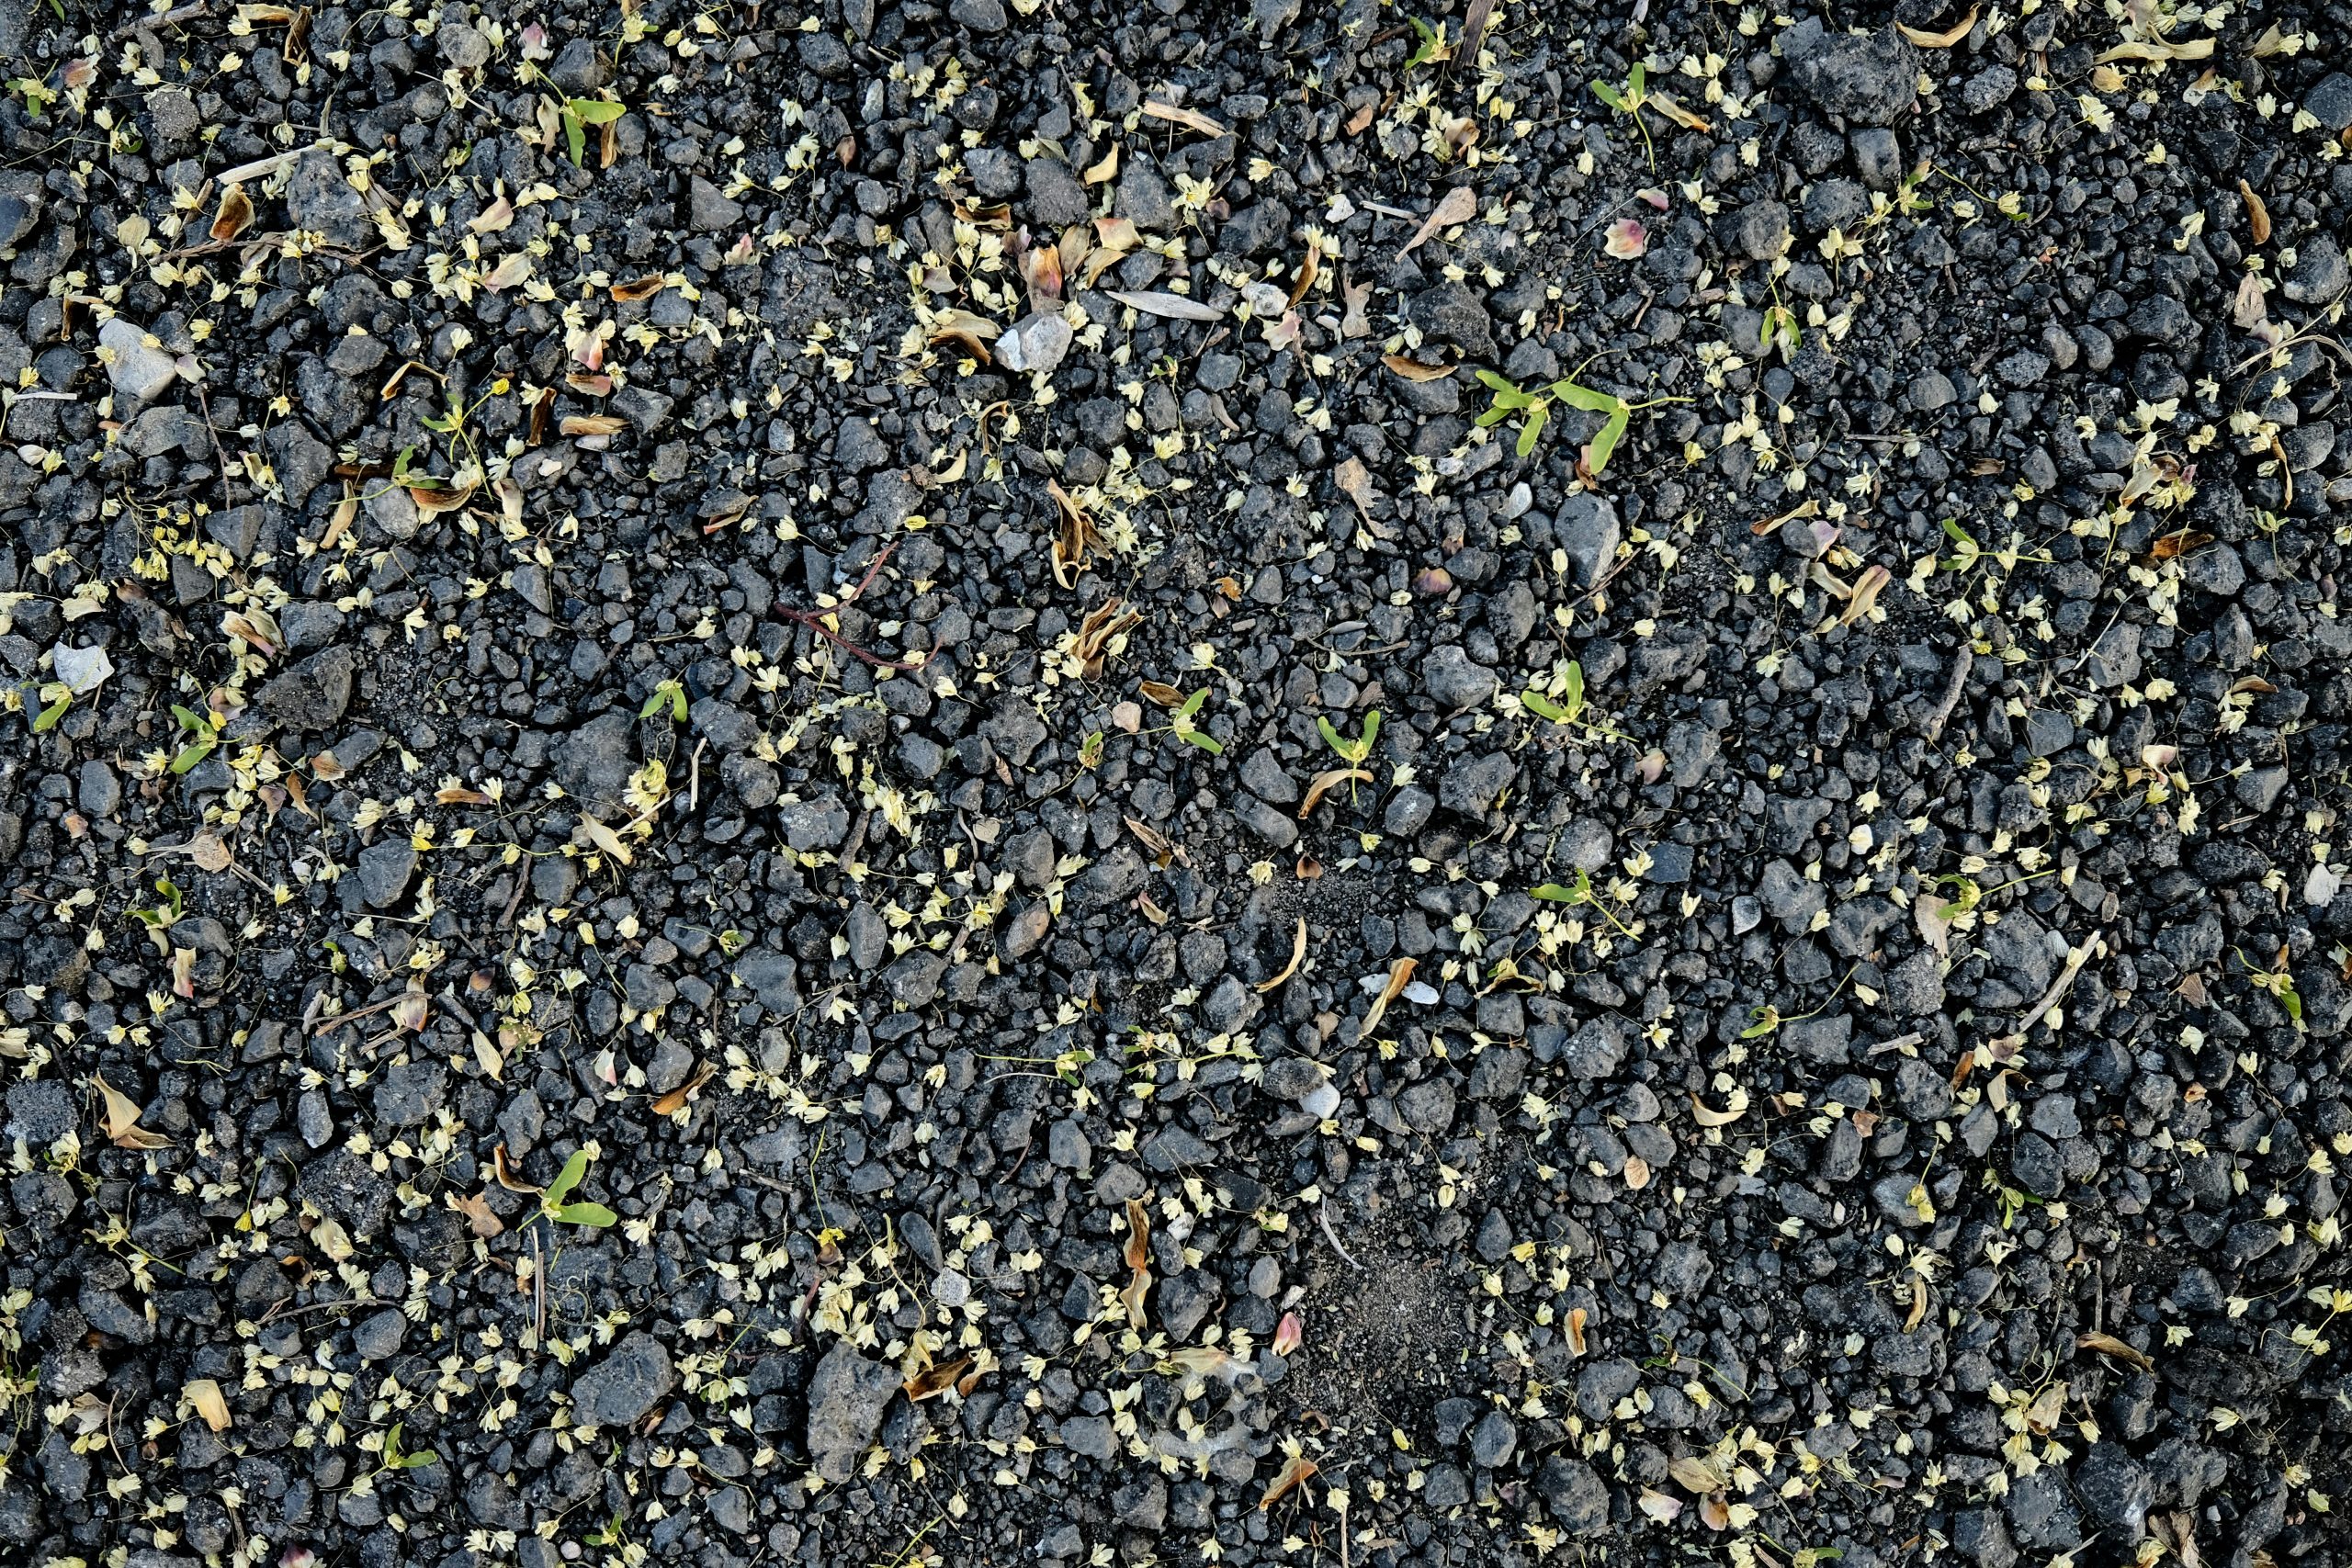
Rocky soil, characterized by its high mineral content and limited organic matter, presents unique challenges for gardeners. Its dense structure often hinders root growth, water retention, and nutrient availability. Rocks such as limestone, sandstone, and granite can dominate the soil, creating poor drainage and making planting a struggle. However, these challenges also mean that rocky soil has potential—it often contains minerals that, once balanced, can contribute to healthy plant growth.
To begin improving rocky soil, you must first understand its composition. Testing the soil's pH is a critical first step. Most plants thrive in slightly acidic to neutral soil, with a pH between 6.0 and 7.0. Knowing your soil's pH helps you determine what amendments are necessary. A home testing kit is a great starting point, but for a more detailed analysis, consider sending a sample to your local agricultural extension office. Additionally, dig into the soil with a backhoe or spade to assess rock distribution, soil depth, and compaction. Observing these characteristics gives you a clearer picture of the challenges you’re facing and helps guide your improvement efforts.
Assess Your Garden’s Conditions
Every garden is unique, and assessing your specific conditions is crucial. Start by walking through your garden and taking note of its characteristics. Observe how water behaves after a rainfall—does it drain quickly, or does it pool in certain areas? Examine the soil for signs of compaction, such as a crusty surface or difficulty digging. A healthy garden soil should crumble easily in your hands and have visible biological activity, such as earthworms or fungal threads.
Identify problem areas in your garden. These are often spots with dense concentrations of rocks or where water struggles to drain. If your garden has uneven terrain, certain areas may collect excess water while others remain dry. Pay attention to the types of rocks in your soil, as their composition can affect drainage and nutrient availability. For instance, limestone can make the soil more alkaline, while granite often leads to poor nutrient retention. By understanding your garden’s specific conditions, you’ll be better equipped to choose the right amendments and techniques to improve it.
Remove Large Rocks
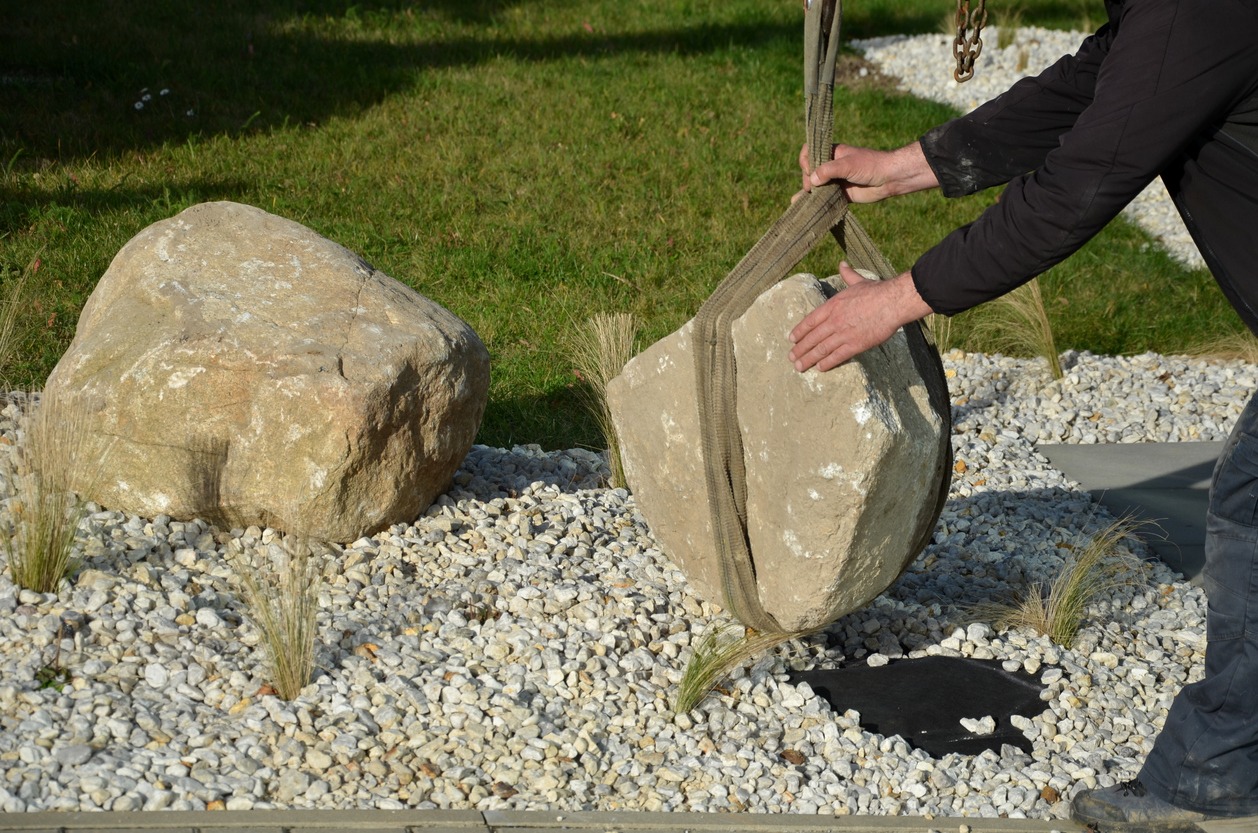
Removing large rocks is a necessary step to prepare your garden for planting. Large rocks block plant roots from growing freely and make it challenging to dig or till the soil. Though it requires effort, this process will dramatically improve the workability of your soil.
Manual Removal: For smaller rocks, tools such as shovels, pickaxes, and pry bars are effective. Working in small sections at a time can prevent fatigue and help you focus on clearing one area thoroughly before moving on to the next. Create a system for collecting and moving rocks to keep your workspace organized—buckets or wheelbarrows work well for this.
Mechanical Removal: For larger rocks and boulders, heavy machinery such as backhoes or skid steers may be necessary. Renting equipment for a day or two can save time and energy, especially if you’re working with a large plot. Always follow safety guidelines when using heavy equipment, and consider hiring professional help if you’re unfamiliar with operating machinery.
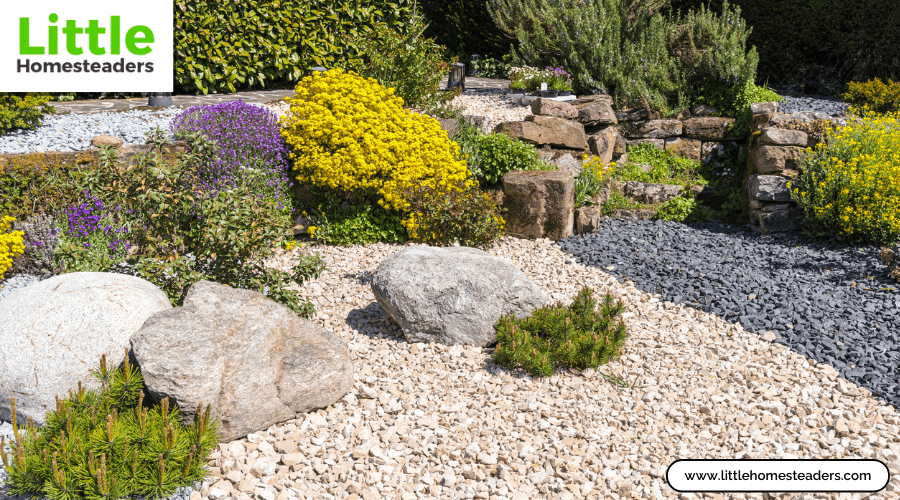
Once the large rocks are removed, you can crush smaller rocks into gravel or use them as decorative elements in your garden, such as borders or pathways. Repurposing rocks reduces waste and aligns with sustainable gardening practices.
Add Organic Matter
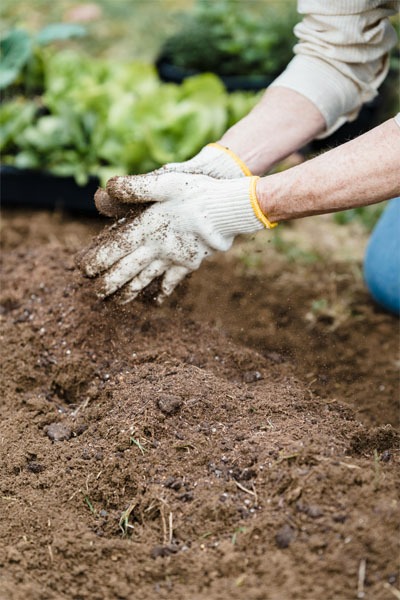
Adding organic matter is the single most effective way to improve rocky soil. Organic matter enriches the soil by increasing its nutrient content, enhancing water retention, and fostering microbial activity. It also helps bind loose particles together, giving the soil better structure.
Start with compost, which is rich in essential nutrients and easy to make at home using kitchen scraps and yard waste. Mix the compost into the top 6–12 inches of soil for maximum benefit. Well-rotted manure is another excellent addition, especially for boosting nitrogen levels. Be sure to use aged manure to avoid burning your plants.
Incorporate shredded leaves or straw, as these materials help aerate compacted soil and improve drainage. For a more creative approach, try hugelkultur, a permaculture method that involves burying logs, branches, and other organic materials. Over time, these materials break down, releasing nutrients and creating a rich, spongy soil structure.
Continue adding organic matter annually to maintain and improve soil fertility. This practice also reduces erosion, as organic matter helps bind soil particles together, preventing them from being washed away during heavy rains.
Improve Soil Structure
Improving the structure of rocky soil is essential for creating a hospitable environment for plants. A well-structured soil allows roots to penetrate easily, retains moisture, and drains excess water effectively. Here’s how to improve your soil’s structure:
Deep Tillage: Use a tiller or a broadfork to break up compacted layers. This step improves aeration and creates pathways for roots to grow. However, avoid over-tilling, as this can disrupt the soil’s natural microbial communities.
Raised Beds: Raised beds are a game-changer for rocky soil. By building a raised bed, you can control the soil composition entirely, filling it with a rich mixture of organic matter and topsoil. Raised beds also improve drainage, making them ideal for areas prone to waterlogging.
Mineral Amendments: Depending on your soil’s needs, adding minerals like gypsum can help break up heavy clay layers, while limestone can address acidity issues. Work these amendments into the soil according to the manufacturer’s guidelines.
Consider planting cover crops such as clover, rye, or vetch during the off-season. These plants protect the soil from erosion, add organic matter, and improve its structure when tilled back into the ground.
Adjust Soil pH
Soil pH plays a significant role in determining which nutrients are available to your plants. If your soil’s pH is outside the optimal range, your plants may struggle to absorb essential nutrients, even if those nutrients are present in the soil.
Testing: Use a pH testing kit or send a soil sample to a local lab to determine your soil’s pH. Testing multiple areas of your garden is wise, as pH can vary significantly across even small plots.
Adjusting: If your soil is too acidic (pH below 6.0), add lime to raise the pH. If it’s too alkaline (pH above 7.0), apply sulfur to lower the pH. Incorporate these amendments gradually and retest the soil after a few weeks to monitor the changes.
Balancing soil pH not only improves nutrient availability but also enhances microbial activity, further benefiting your plants.
Select Suitable Plants
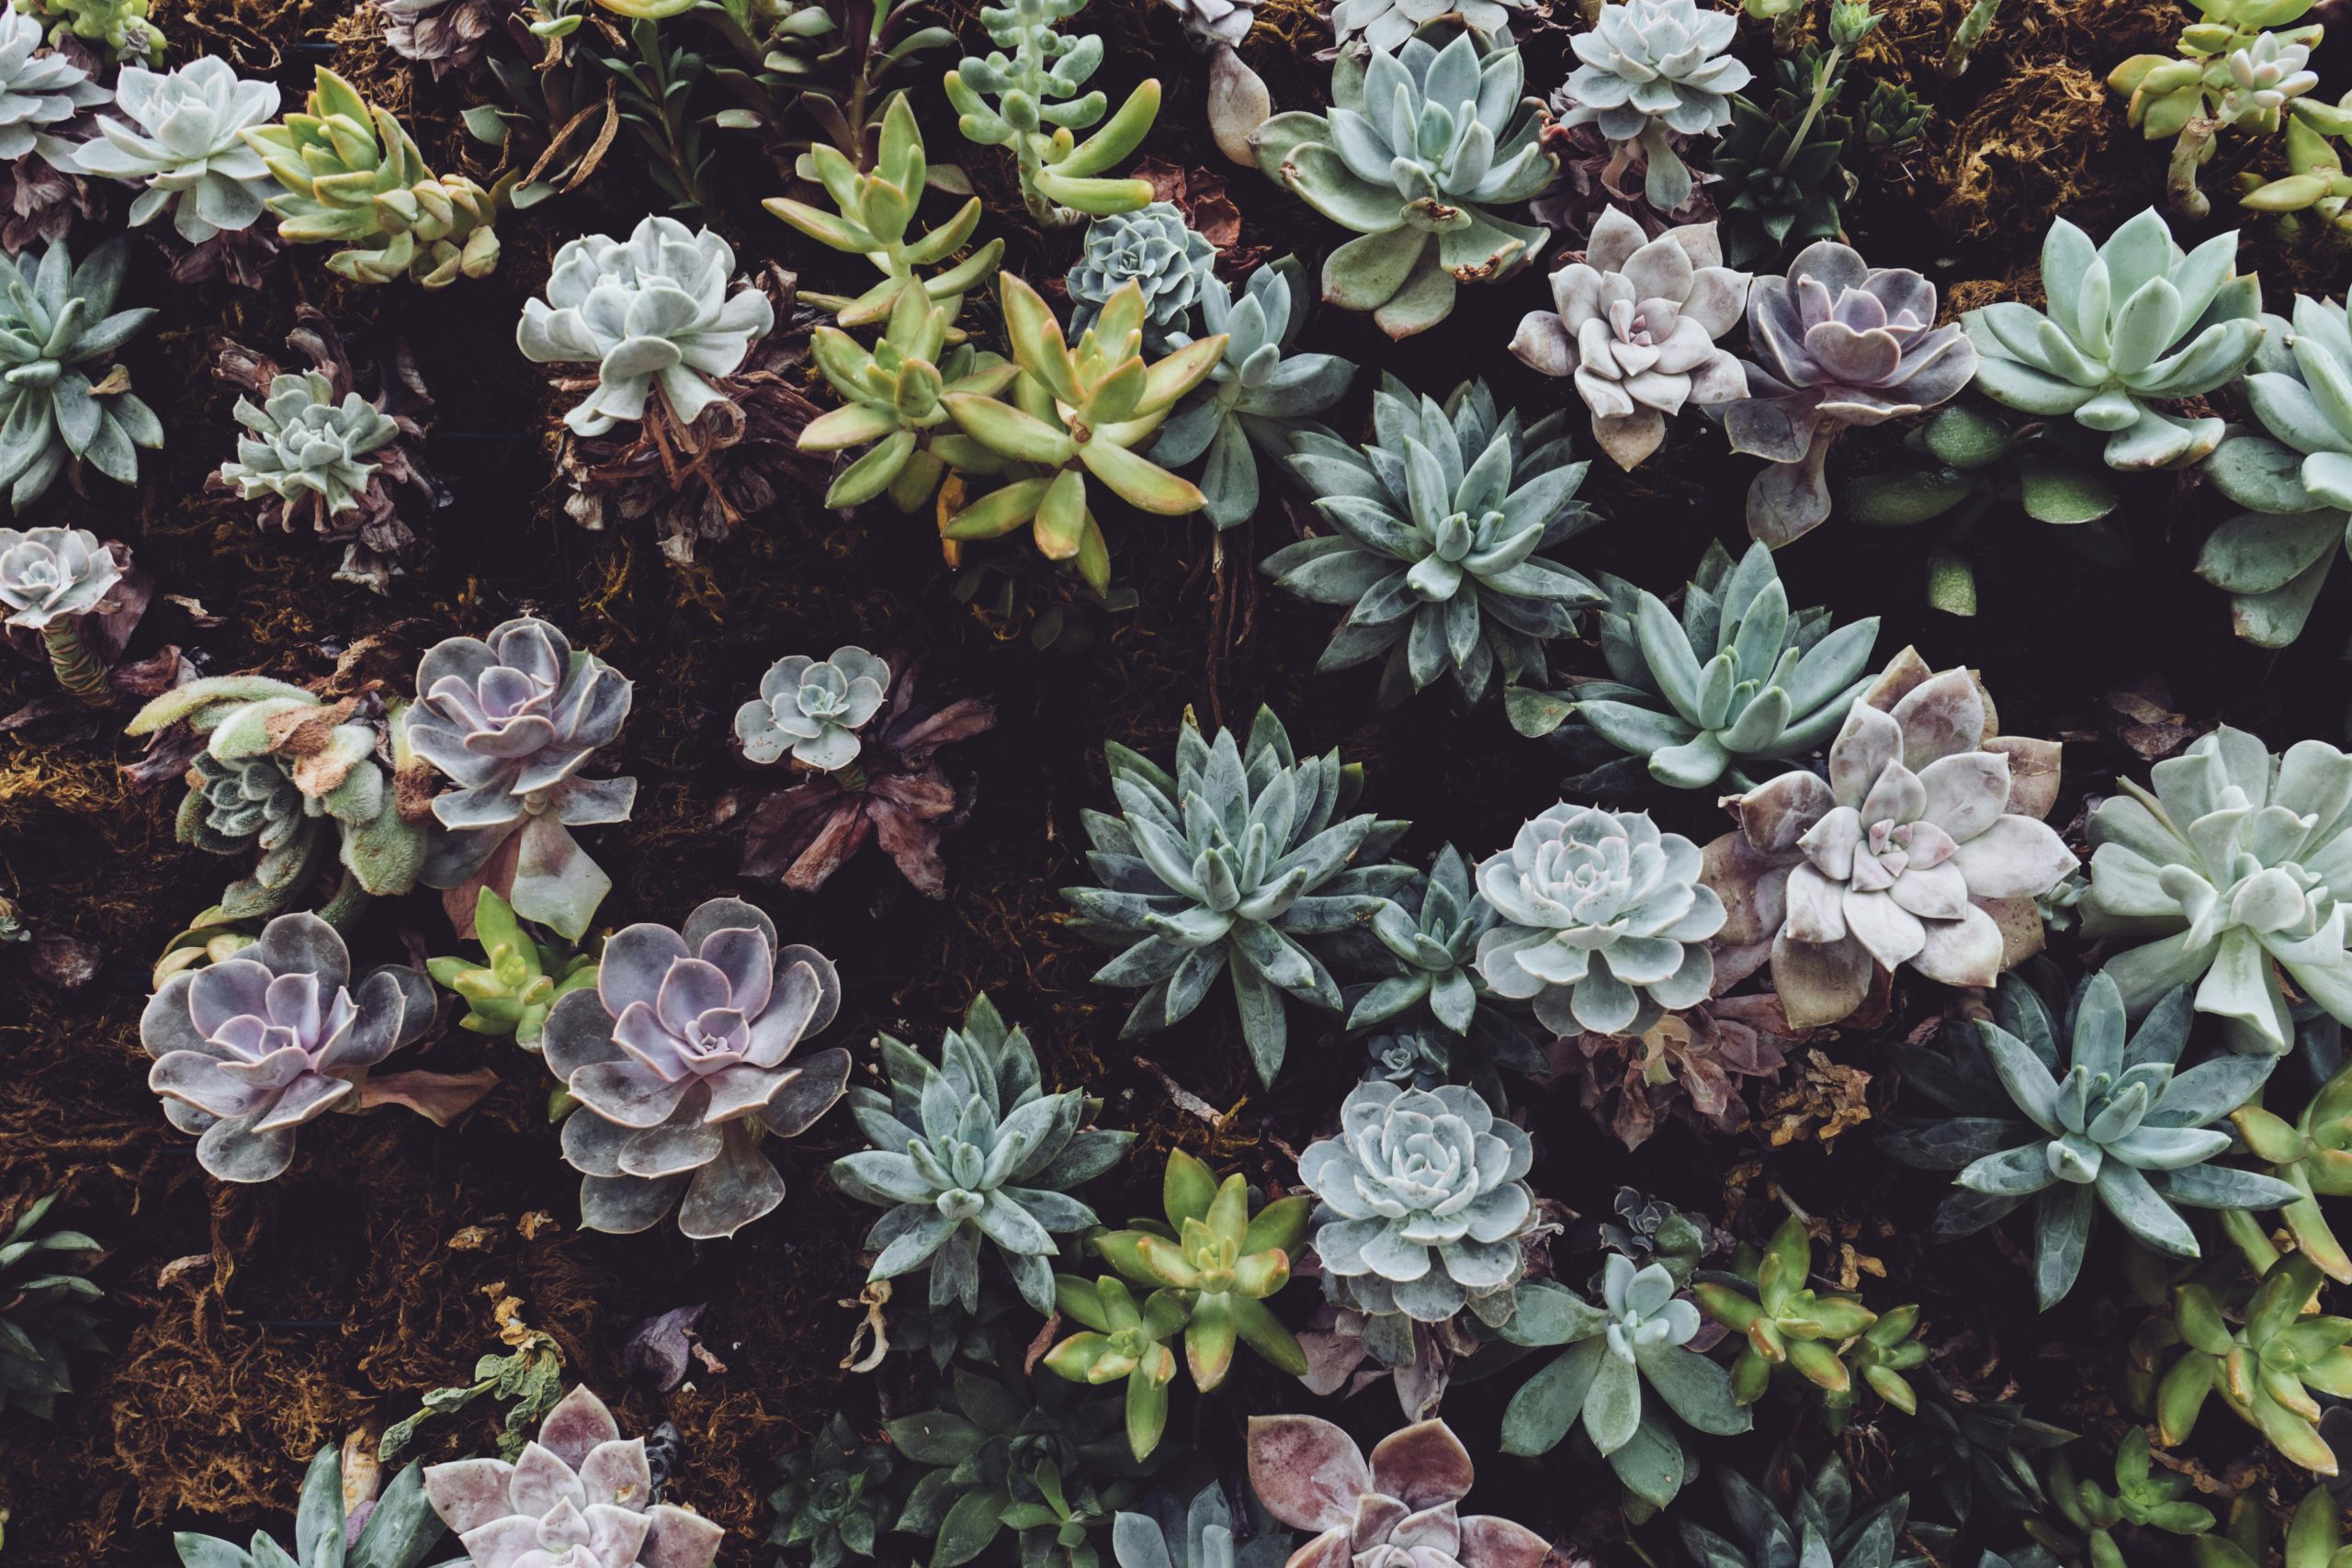
When gardening in rocky soil, it’s essential to choose plants that can thrive under these conditions. Look for species that are naturally resilient, drought-tolerant, and have deep root systems capable of anchoring themselves in tough terrain.
Recommended Plants:
- Succulents and Cacti: Excellent for dry, rocky areas with poor drainage.
- Mediterranean Herbs: Plants like rosemary, thyme, and oregano are hardy and low-maintenance.
- Native Wildflowers: These plants are adapted to local conditions and often require minimal intervention.
- Ornamental Grasses: Hardy and versatile, these grasses add texture and beauty to your garden.
- Drought-Resistant Shrubs: Lavender, sage, and juniper are attractive options that tolerate rocky soil well.
Choosing the right plants not only makes your garden more successful but also reduces the need for constant maintenance, as these species are adapted to thrive in challenging conditions.
Implement Effective Planting Techniques
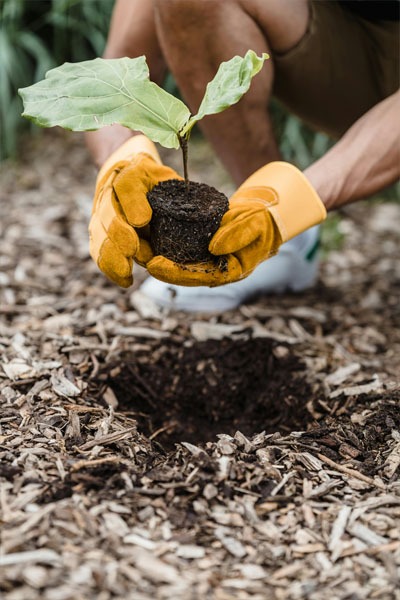
Planting in rocky soil requires extra care to give your plants the best chance of success. Follow these steps:
- Prepare the Hole: Dig a hole twice as wide and deep as the plant’s root ball. This extra space allows roots to spread and establish themselves more easily.
- Amend the Soil: Mix the excavated soil with compost or well-rotted manure to improve its texture and nutrient content.
- Water Thoroughly: Before planting, soak the root ball in water to ensure proper hydration.
- Mulch Generously: Apply a thick layer of mulch around the base of each plant, leaving a small gap around the stems to prevent rot. Mulch retains moisture, suppresses weeds, and improves soil quality as it breaks down.
For large plots, consider no-dig gardening. Simply layer organic matter like compost, straw, and mulch directly on top of the rocky soil, allowing it to decompose naturally while planting directly into it.
Add Mulch and Manage Moisture
Mulching is vital for moisture retention in rocky soil, where water tends to drain quickly. Organic mulches, such as wood chips, straw, and shredded leaves, are particularly effective.
Water Conservation Tips:
- Drip Irrigation: Install a drip irrigation system to deliver water directly to plant roots. This method reduces evaporation and ensures efficient water use.
- Microclimates: Arrange rocks strategically to create windbreaks and shaded areas that conserve moisture.
- Hydrogels: Add water-absorbing materials to your soil to improve its ability to retain moisture during dry periods.
Mulching and proper moisture management not only support plant health but also reduce the need for frequent watering, saving you time and resources.
Long-Term Soil Care Strategies
Improving rocky soil is an ongoing process. To ensure continued success, implement these long-term strategies:
- Cover Cropping: Grow cover crops annually to add organic matter, fix nitrogen, and stabilize the soil.
- No-Till Gardening: Limit soil disturbance to preserve its structure and support microbial communities.
- Regular Testing: Test soil pH and nutrient levels periodically to address deficiencies before they become issues.
- Consistent Mulching: Refresh mulch annually to maintain its benefits.
Patience is key—soil improvement takes time, but the results are well worth the effort. Over the years, your rocky garden will transform into a lush, productive space.
How to Avoid Common Mistakes
While improving rocky soil, it’s easy to fall into some common traps. Avoid these mistakes to ensure your efforts are successful:
- Overwatering rocky soil, which can lead to root rot in poorly draining areas.
- Adding too many amendments at once, which can disrupt the soil's natural balance.
- Choosing plants that aren’t suited to rocky conditions, leading to poor growth and frustration.
By staying mindful of these pitfalls, you’ll set your garden up for long-term success.
Conclusion
Improving rocky soil may require patience and effort, but the rewards are immense. With the right strategies—removing rocks, adding organic matter, selecting suitable plants, and implementing long-term care—you can transform even the most challenging terrain into a thriving garden. Start small, stay consistent, and watch your rocky soil blossom into a productive and beautiful space. Now’s the time to roll up your sleeves and begin your gardening journey!