How to Propagate Herbs on the Homestead and Save Money
Herb propagation is a simple, cost-effective way to expand your garden and embrace self-sufficiency. By growing new plants from existing ones, you save money, enhance your gardening skills, and ensure a continuous supply of fresh herbs. Whether you're a beginner or a seasoned homesteader, this guide will help you multiply your herbs and maximize the bounty of your garden.
Benefits of Herb Propagation
Herb propagation is more than a gardening technique—it's a lifestyle choice that brings numerous rewards to your homestead.
- Self-Sufficiency: Growing your own herbs reduces your reliance on store-bought plants and spices. It's a step toward a more sustainable, independent lifestyle. Having fresh herbs at your fingertips also enhances your ability to cook nutritious, flavorful meals straight from the garden.
- Cost Savings: Once you've mastered propagation, you'll never need to buy new plants again. Perennial herbs, in particular, can provide endless harvests when managed well. Even a few propagated plants can save hundreds over time, especially if you regularly purchase herbs from the store.
- Sharing and Selling: Propagated plants make thoughtful gifts for friends and family. Whether it's a rooted rosemary plant for a housewarming or a pot of basil for a budding cook, these gifts are personal and meaningful. You could also sell extra plants to generate a small income stream. Farmers’ markets, craft fairs, or even social media marketplaces are excellent platforms for selling propagated herbs.
- Access to Unique Herbs: Propagation allows you to grow varieties that might not be available locally, adding diversity to your garden and kitchen. Imagine experimenting with rare herbs like Thai basil or shiso that are often expensive or hard to find in stores.
- Healthier Gardens: Regular propagation keeps your garden vibrant and ensures stronger, more resilient plants. By dividing and refreshing your herbs, you prevent overcrowding and promote healthier growth throughout your garden.
Choosing the Right Herbs to Propagate
Not all herbs propagate the same way, so it's important to choose the right plants for your goals and skill level.
- Easy Options for Beginners: Mint, thyme, and parsley are forgiving herbs that root quickly, making them perfect for those just starting out. Mint, in particular, is so vigorous that it can spread rapidly once rooted.
- Valuable Perennials: Rosemary, sage, and oregano are hardy, long-lasting choices. These plants thrive with regular pruning and propagation, ensuring they remain productive for years.
- Seasonal Favorites: Dill and basil grow quickly and are perfect for annual propagation. By timing their growth with the seasons, you can enjoy their fresh flavors year-round.
- Unique Additions: Lemon balm, tarragon, and exotic basil varieties can diversify your garden. These herbs often require specialized care but reward you with unique flavors and aromas.
When choosing herbs, consider your climate and the amount of space available in your garden. Starting with a mix of easy and slightly challenging herbs can help you build confidence while expanding your collection.
Essential Propagation Methods
Understanding the different ways to propagate herbs is key to your success. Here are the most effective methods:
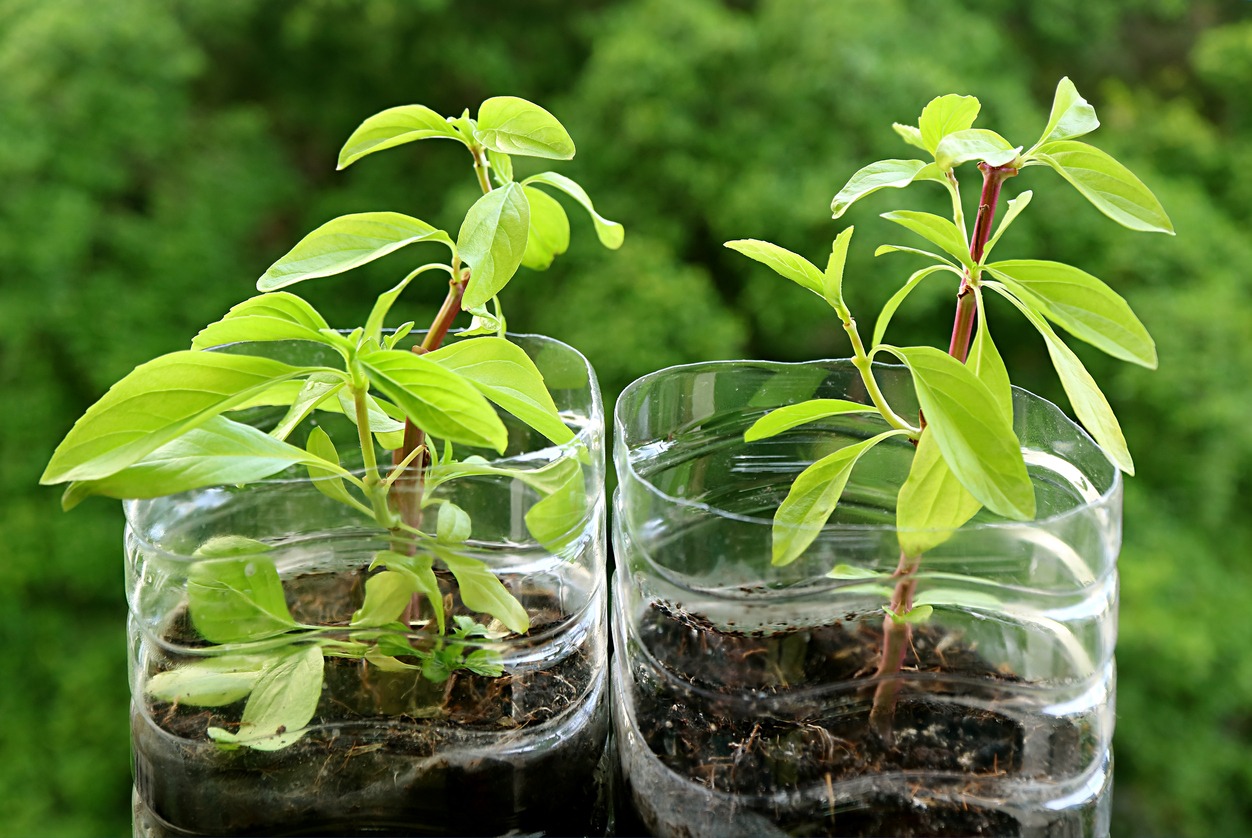
1. Propagation from Cuttings
Ideal for: Rosemary, thyme, parsley, mint, and basil.
Cuttings are one of the easiest and most reliable methods of propagation. This method involves taking a small piece of a healthy plant and encouraging it to grow roots.
Steps:
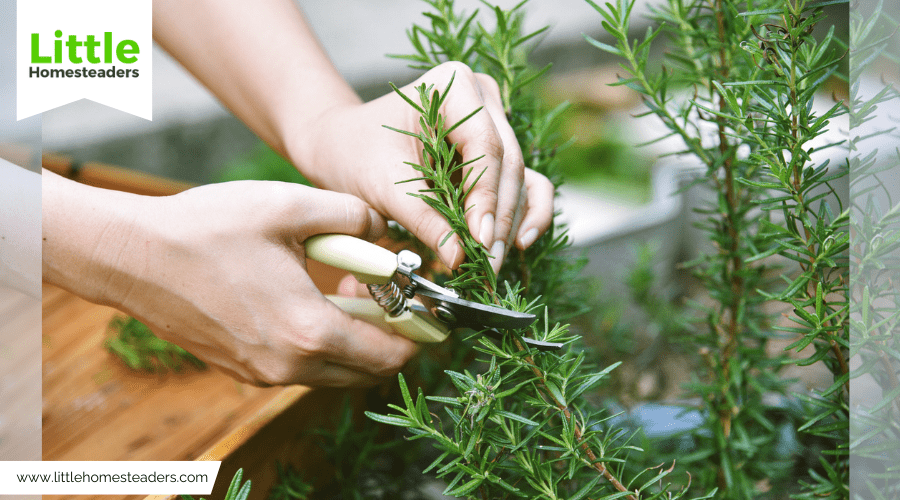
- Select a healthy plant and take a 15-20 cm cutting with several nodes.
- Use clean, sharp scissors to avoid damaging the parent plant.
- Remove the lower leaves to prevent rotting when placed in water or soil.
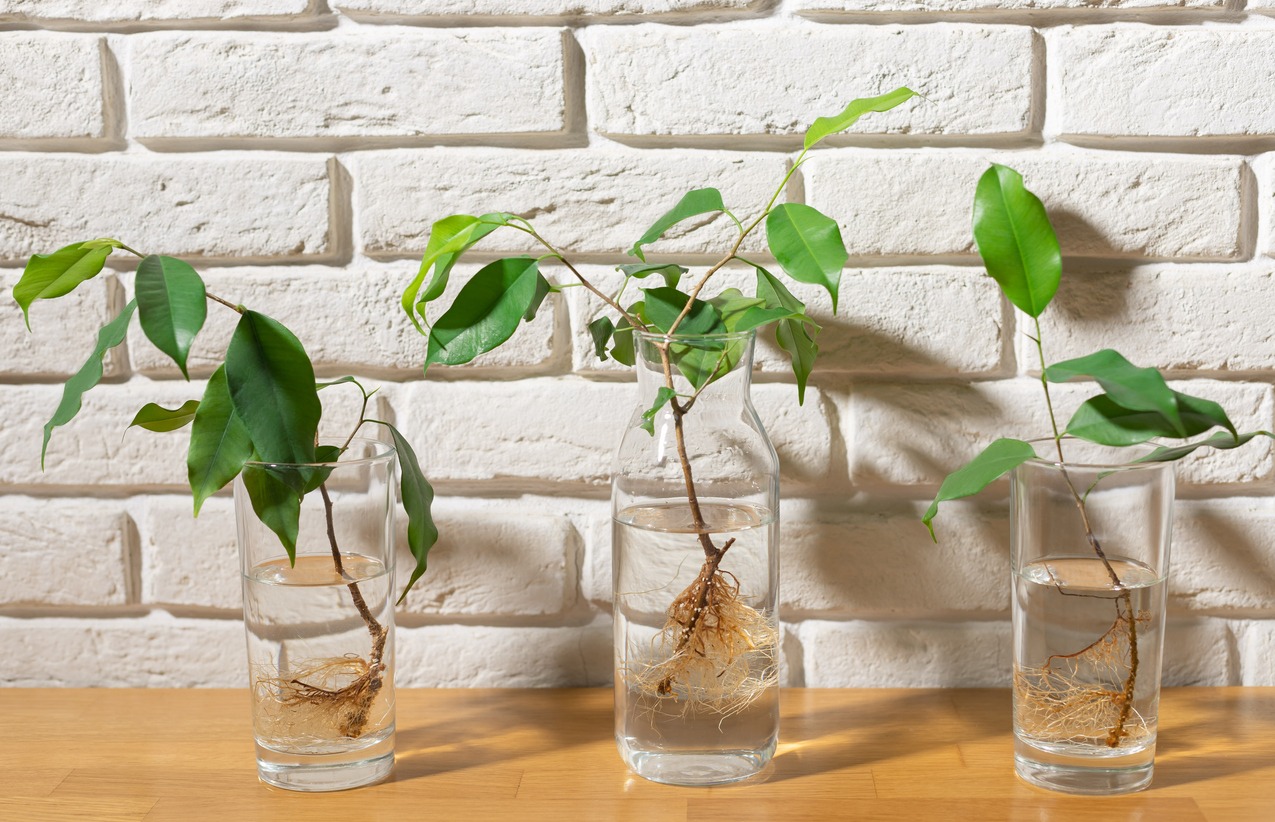
- Place the cutting in water, ensuring the nodes are submerged but the leaves remain above the surface. If you prefer soil, use a well-draining mix and keep it moist.
- Keep the cutting in a bright location with indirect sunlight. Roots typically appear within 2-3 weeks.
- Once roots are 1-2 inches long, transfer the cutting to a pot or your garden.
Cuttings are ideal for quickly expanding your garden with minimal effort, especially for herbs that are expensive to buy mature.
2. Root Division
Ideal for: Horseradish, chives, lemon balm, and oregano.
Root division involves separating an established plant into smaller sections. This method works well for herbs that grow in clumps or spread via underground roots.
Steps:
- Carefully dig up the parent plant, ensuring the root system remains intact.
- Use a sharp knife or garden spade to divide the roots into smaller sections, each with some leaves or growth points.
- Replant the sections in nutrient-rich soil, spacing them adequately for growth.
- Water thoroughly and monitor for signs of stress, such as wilting or yellowing leaves.
Root division not only expands your garden but also revitalizes older plants by giving them more space to grow.
3. Layering
Ideal for: Oregano, sage, thyme, and rosemary.
Layering is a simple method where you encourage a stem to grow roots while still attached to the parent plant.
Steps:
- Choose a flexible stem and bend it to the ground without detaching it from the parent plant.
- Bury part of the stem in soil, leaving the tip exposed.
- Secure it with a small rock or garden pin to keep it in place.
- Water regularly to encourage root growth. After several weeks, roots will develop at the buried section.
- Cut the stem from the parent plant and transplant it to a new location.
Layering is particularly effective for woody herbs, providing a reliable way to create strong new plants.
4. Seed Propagation
Ideal for: Dill, parsley, chives, and basil.
Growing herbs from seeds is an affordable way to expand your garden. While it requires more patience, seed propagation allows you to grow large numbers of plants at once.
Steps:
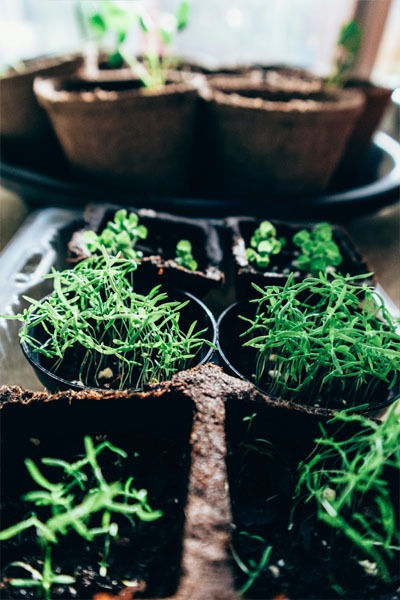
- Start seeds in a seed tray or small pots filled with nutrient-rich soil.
- Cover the seeds lightly with soil and mist with water.
- Place the trays in a sunny location or under grow lights.
- Keep the soil consistently moist until the seeds germinate, usually within 7-14 days.
- Once the seedlings are strong enough, transplant them to your garden or larger pots.
Seed propagation is a rewarding method for gardeners looking to experiment with new varieties.
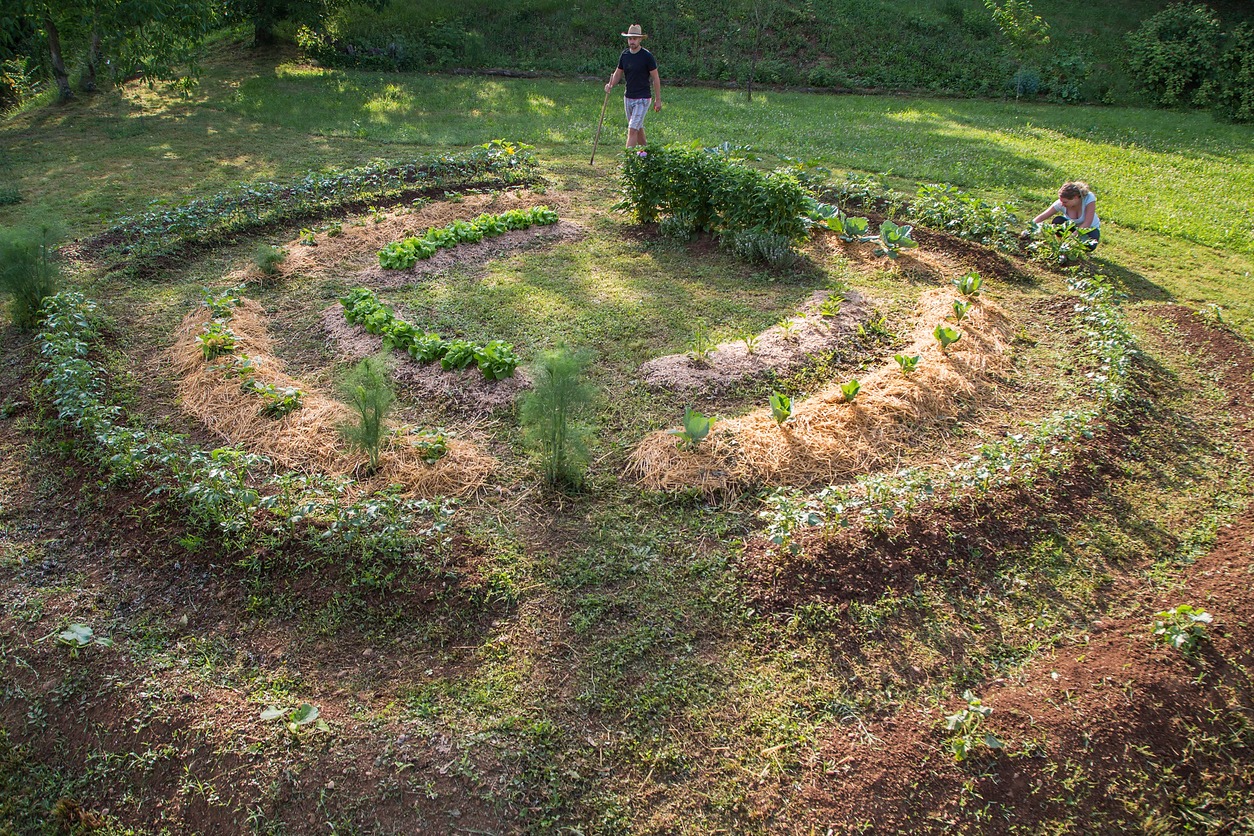
Setting Up Your Propagation Station
A well-organized propagation station is essential for success. It provides the right conditions for your herbs to thrive during their early stages of growth. Here’s how to create one:
- Choose the Right Location:
- Indoor: A sunny windowsill or area with grow lights works well for cuttings and seeds. Make sure it’s a place you’ll remember to check daily.
- Outdoor: Use a shaded spot with protection from wind and harsh sunlight, especially for delicate cuttings. A covered patio or greenhouse is ideal.
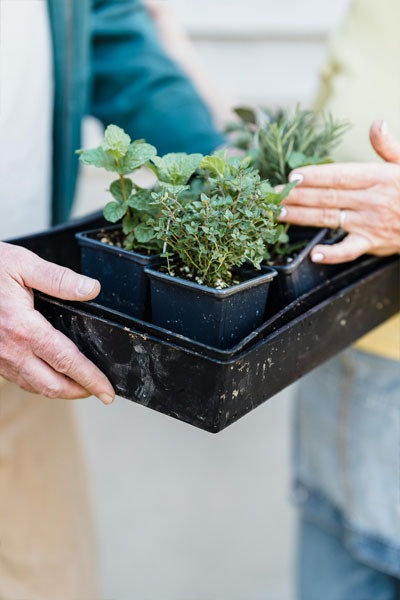
- Prepare Your Materials:
- Small pots, trays, or containers with drainage holes are crucial to prevent waterlogging.
- Well-draining, nutrient-rich potting mix provides the right balance of moisture and aeration for root development.
- Tools like pruning scissors, rooting hormone (optional), and misting bottles ensure you have everything you need on hand.
- Create the Right Environment:
- Maintain temperatures between 65°F and 75°F (18°C to 24°C). Use a thermometer if needed to monitor fluctuations.
- Use propagation domes or regular misting to ensure high humidity, especially in dry climates. High humidity prevents cuttings from drying out and encourages rooting.
- Ensure proper air circulation to prevent mold and fungal growth. If indoors, a small fan can help maintain airflow.
This setup doesn’t have to be complicated or expensive; with just a few adjustments, you can create an ideal environment for your propagating herbs.
Troubleshooting Common Propagation Issues
Even the most seasoned gardeners encounter challenges when propagating herbs. Identifying and resolving these issues early can save your plants and keep your efforts on track.
Rooting Failures
- Cause: Improper cutting, poor water quality, or unsuitable environmental conditions are common culprits.
- Solution: Always use clean, sharp tools to make your cuttings. Ensure the cutting includes at least two nodes, as these are where roots are most likely to develop. If you’re using water for rooting, change it every 2-3 days to prevent bacterial growth. For soil propagation, use a well-draining potting mix and keep it consistently moist but not soggy. If rooting still fails, try applying a rooting hormone to the cut ends to stimulate growth.
Mold or Rot
- Cause: Overwatering, inadequate drainage, or lack of air circulation can lead to mold or rot, particularly in soil-propagated cuttings.
- Solution: Ensure your containers have drainage holes to prevent water from pooling. Avoid overwatering and only mist the soil lightly if it begins to dry out. For cuttings in water, trim any leaves or parts of the cutting that appear slimy or discolored. Proper air circulation is also critical—place your propagation station in a well-ventilated area and avoid overcrowding the cuttings.
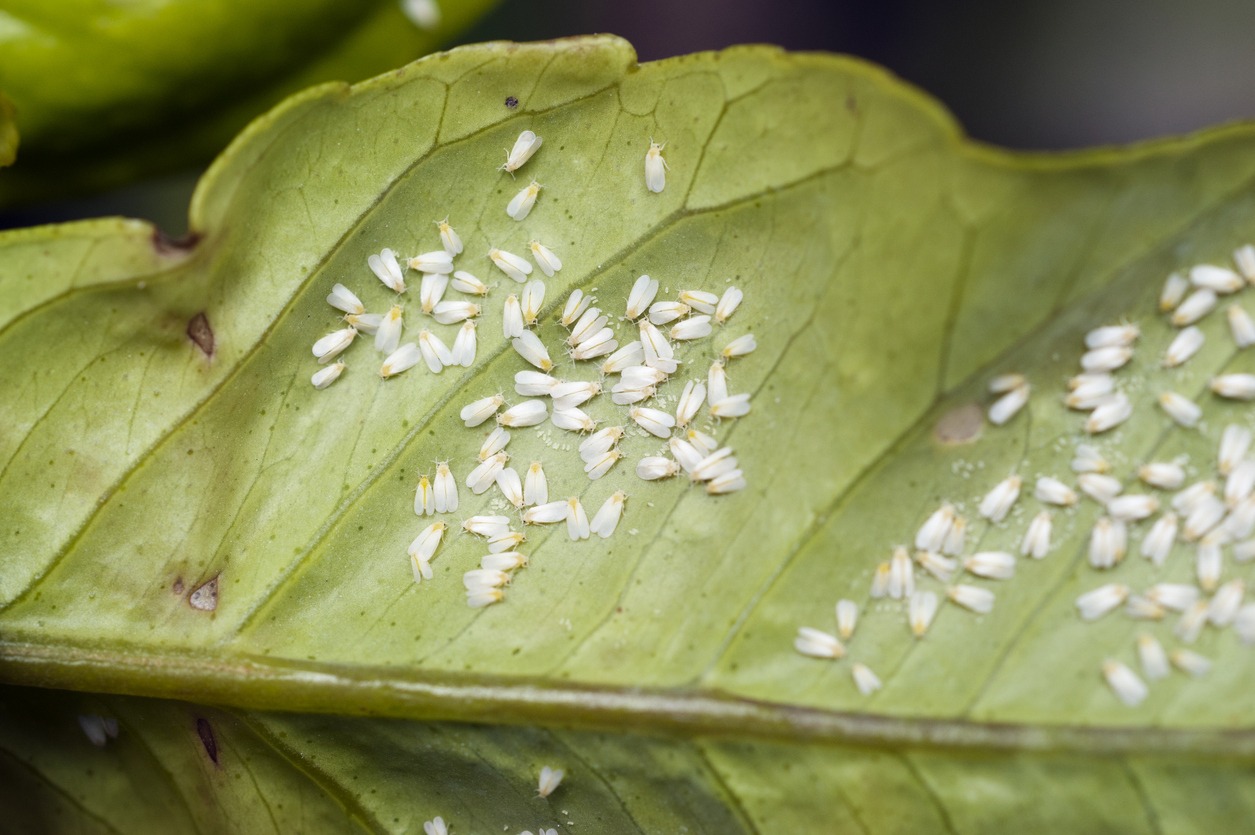
Pests
- Cause: Common pests like fungus gnats, aphids, or spider mites are drawn to young plants and moist environments.
- Solution: Inspect your cuttings regularly for signs of pests, such as yellowing leaves, webs, or tiny insects. If pests are present, treat the plants with natural remedies like neem oil, insecticidal soap, or a mixture of water and dish soap. For fungus gnats, ensure the soil is not overly damp, and consider using sticky traps to catch adult gnats.
Slow or Weak Growth
- Cause: Nutrient deficiencies, insufficient light, or improper temperatures can result in stunted growth.
- Solution: Ensure your cuttings receive bright, indirect light for at least 6-8 hours daily. If natural light is insufficient, supplement with grow lights. Maintain a consistent temperature between 65°F and 75°F (18°C to 24°C) to encourage healthy growth. Use a diluted liquid fertilizer once roots are established to provide the nutrients the young plants need.
By being proactive and addressing these common issues, you’ll ensure your propagation efforts yield healthy, thriving plants.
Caring for Newly Propagated Plants
Success in propagating herbs is only the first step—proper care for your young plants is crucial for their survival and long-term growth. Here’s how to give your new herbs the best start:
Watering
- Young plants need consistently moist soil, but overwatering can be just as harmful as letting the soil dry out completely. Check the top layer of soil daily; if it feels dry to the touch, water lightly. Avoid letting water pool at the base of the pot, as this can lead to root rot.
- For cuttings transitioning from water to soil, ensure the soil is evenly moist during the first few weeks to help the roots adjust.
Sunlight
- Provide your newly propagated plants with bright, indirect sunlight. Direct sunlight can scorch tender leaves and slow their development. If natural light is limited, use grow lights to mimic the intensity and duration of daylight.
- Rotate the pots or trays every few days to ensure even light exposure and prevent the plants from leaning toward one side.
Fertilizing
- Once your herbs have established roots and begun to grow, start feeding them with a diluted, balanced fertilizer every 2-4 weeks. Organic options like fish emulsion or compost tea are gentle yet effective.
- Avoid over-fertilizing, as too much can cause nutrient burn and weaken the young plants.
Hardening Off
- Before transferring your plants outdoors, they need to acclimate to the harsher conditions outside. This process, called hardening off, helps young plants develop resilience to wind, temperature fluctuations, and direct sunlight.
- Start by placing the plants outdoors for 1-2 hours a day in a shaded, sheltered area. Gradually increase the time and exposure over a week or two until the plants can tolerate full outdoor conditions.
Pruning and Maintenance
- Pruning your young herbs encourages bushier growth and prevents them from becoming leggy. Use clean scissors to snip off the tops once the plant has several sets of leaves.
- Remove any yellowing or damaged leaves promptly to keep the plant healthy and free of disease.
Pest Prevention
- Newly propagated plants can be vulnerable to pests like aphids or mites. Regularly inspect the underside of leaves and the soil surface for signs of infestation. Act quickly if you notice pests by using organic pest control methods.
Conclusion
Herb propagation is a rewarding and practical way to enhance your homestead. By learning these techniques, you'll save money, enjoy a continuous supply of fresh herbs, and contribute to a more sustainable lifestyle. Start small with easy herbs, set up your propagation station, and watch your garden flourish.
With this expanded guide, you'll find that herb propagation isn't just a skill—it's an art that brings your homestead closer to self-sufficiency and abundance. Start propagating today, and enjoy the flavors and rewards of your labor for years to come.