Starting Seeds Indoors: Get a Head Start on Your Garden Season
Starting seeds indoors is a rewarding way to kickstart your gardening season. It gives your plants a head start and opens the door to growing a wider variety of vegetables, herbs, and flowers. Whether you’re a seasoned gardener or just getting your hands dirty for the first time, this guide will walk you through the entire process of starting seeds indoors, from choosing the right materials to transplanting strong, healthy seedlings into your garden.
With a little effort and care, you’ll not only save money on store-bought plants but also enjoy the satisfaction of nurturing your garden from the very beginning. Let’s get started!
Why Start Seeds Indoors?
Starting seeds indoors offers several benefits, both practical and personal:
- Extend your growing season: Many plants need a long time to grow before they can produce flowers, fruits, or vegetables. Starting indoors means they’ll be ready to thrive outdoors as soon as the last frost date passes. This is especially useful for gardeners in cooler climates with shorter growing seasons.
- Grow unique varieties: From heirloom tomatoes to exotic herbs like Thai basil or lemon balm, starting seeds give you access to a world of plants not typically available as nursery transplants.
- Control plant growth: Growing from seed allows you to ensure that your plants are free from harmful pesticides, non-organic practices, or genetic modification. You can also tailor the growth process to your garden’s specific conditions.
- Save money: A packet of seeds often costs less than a single nursery plant, and one packet can yield dozens of seedlings.
Lastly, starting seeds indoors connects you to the growth process from the very beginning. Watching tiny seeds sprout and flourish is incredibly rewarding, giving you a deeper appreciation for nature's cycles.
Essential Supplies for Seed Starting
Before you plant your first seed, you’ll need the right tools and materials. Here's a detailed list of what you'll need:
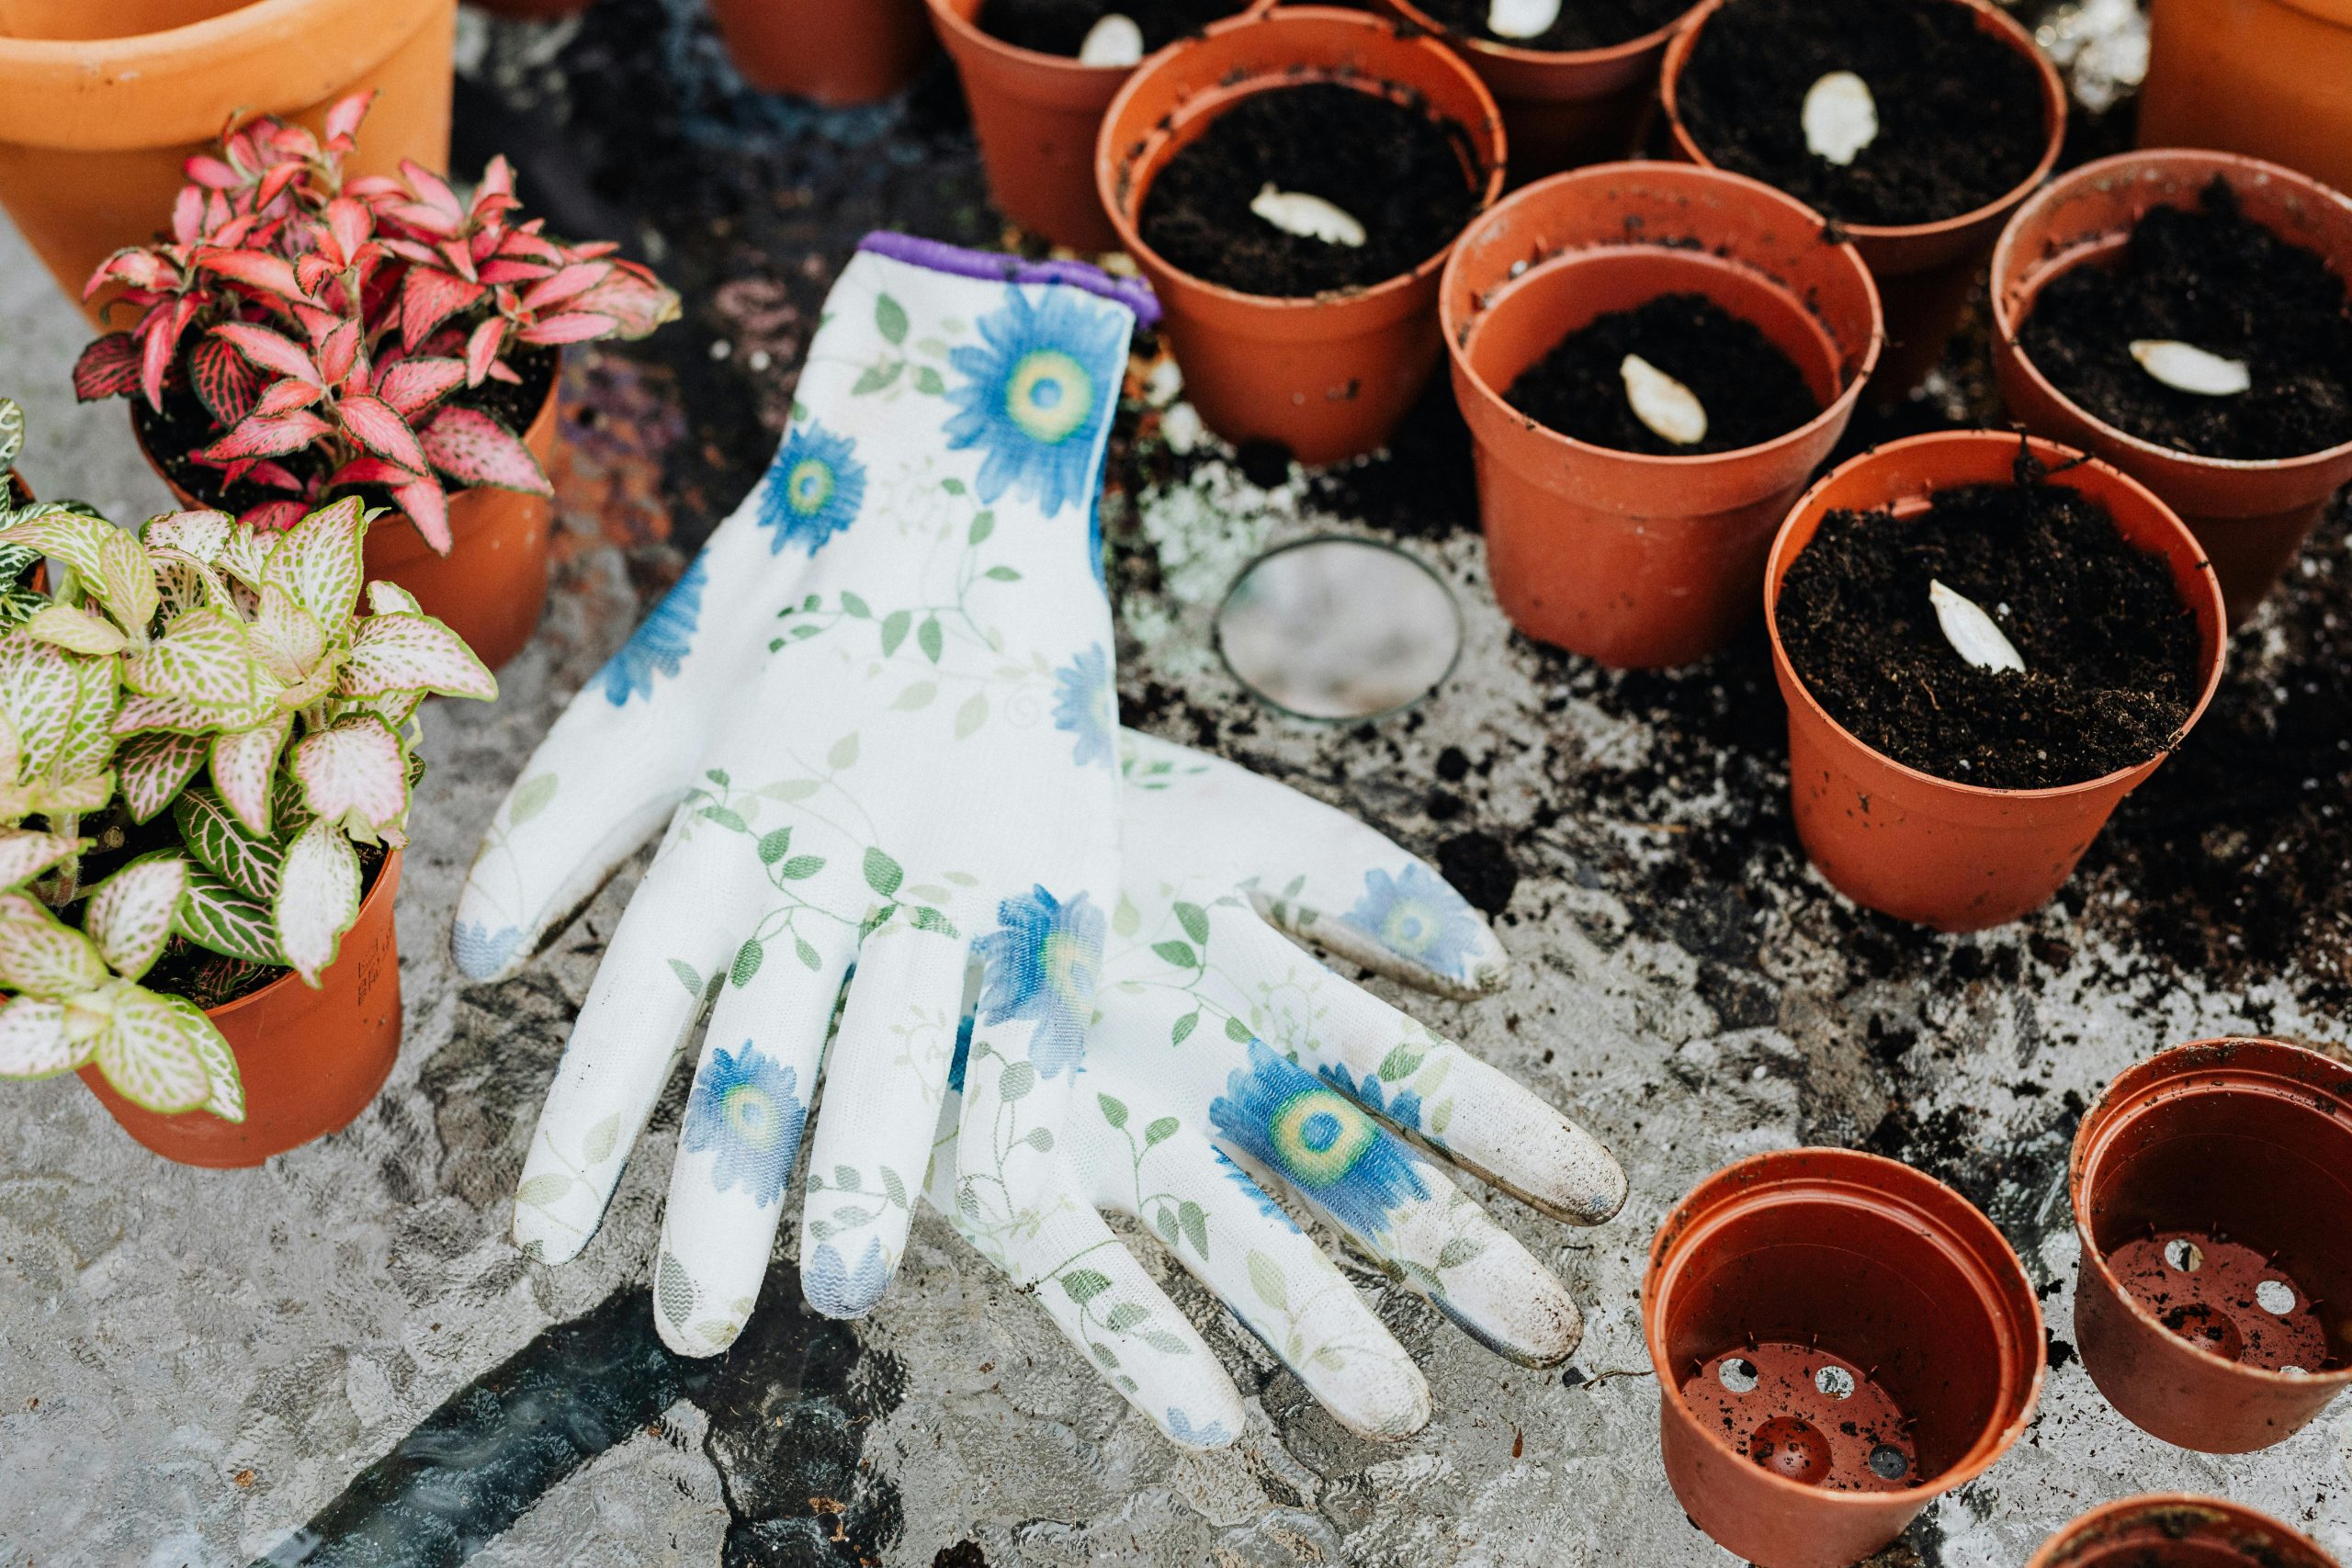
Seed Trays or Containers
Choose trays or small containers with drainage holes to avoid waterlogged soil, which can lead to root rot. If you prefer sustainable options, consider biodegradable pots made from materials like peat or coir. These can be planted directly into the garden, reducing transplant shock.
DIY Tip: Repurpose household items like egg cartons, yogurt cups, or even half-cut milk cartons. Just poke a few holes in the bottom for drainage.
Seed Starting Mix
Avoid using regular garden soil, which can be too heavy and compacted for delicate seedlings. A quality seed starting mix is lightweight, sterile, and designed to retain moisture while allowing excess water to drain.
Grow Lights or Sunny Windowsills
Most seedlings need 12-16 hours of light daily to grow strong and healthy. If natural light from a south-facing window isn’t enough, invest in grow lights. LED or fluorescent grow lights are affordable, energy-efficient options that provide the full spectrum of light your seedlings need.
Placement Tip: Position grow lights about 2-3 inches above the seedlings, adjusting the height as they grow.
Watering Tools
A spray bottle is ideal for gently misting the soil surface without disturbing the seeds. For more established seedlings, a small watering can with a narrow spout works well.
Selecting the Right Seeds
Choosing the right seeds is one of the most exciting parts of starting a garden, and it’s a step that requires careful thought. The seeds you choose will determine what you grow and how successful your garden will be. Here are some key factors to consider:
Climate Compatibility
Before you get too excited about exotic plants, check your local frost dates and growing zone. Many plants are sensitive to temperature, and choosing seeds that thrive in your climate is essential. Cool-season crops like lettuce, spinach, and broccoli do well in cooler weather, while warm-season plants like tomatoes, peppers, and cucumbers require plenty of sunshine and warmth.
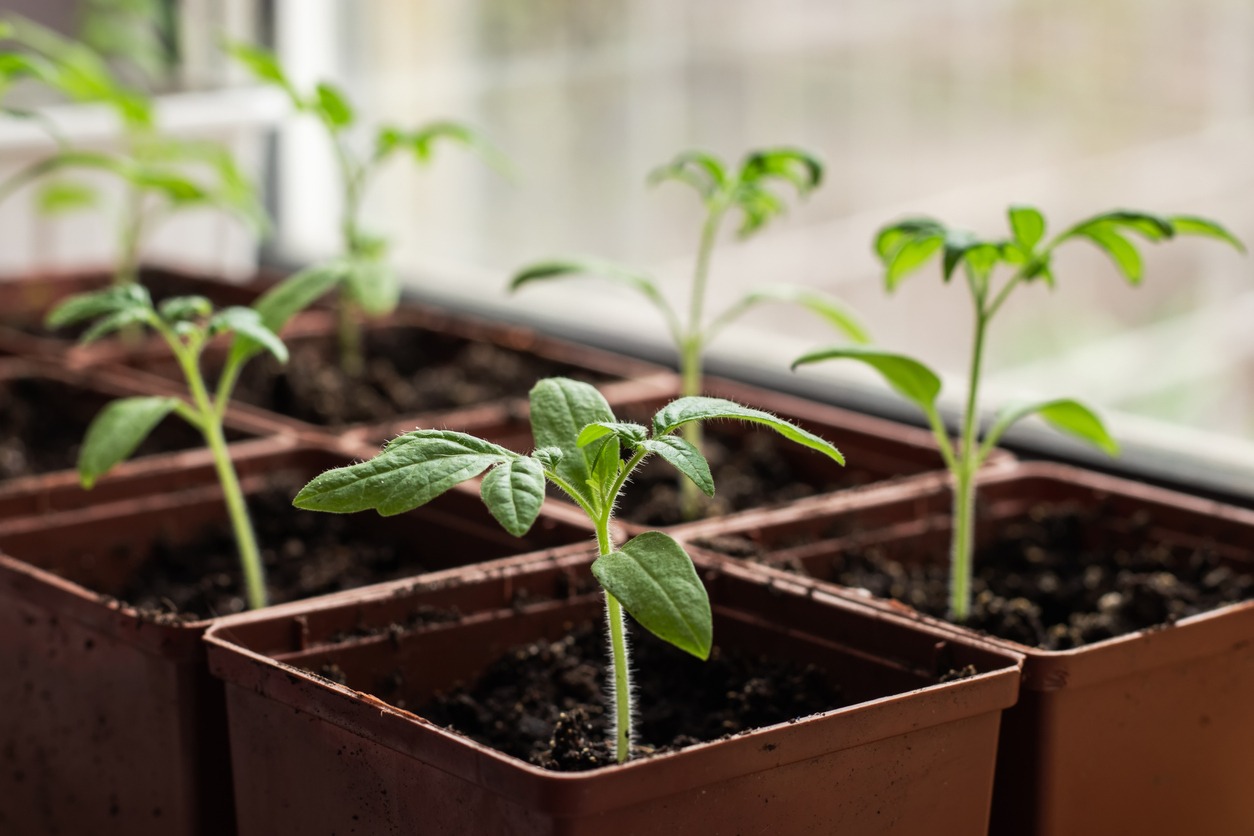
Plants That Benefit From Indoor Starting
Some plants are better suited for indoor seed starting than others. Vegetables like tomatoes, peppers, and eggplants require a head start indoors because they have longer growing seasons. Herbs like basil, parsley, and cilantro also thrive when started indoors, giving you fresh flavors to add to your cooking early in the season.
On the other hand, root vegetables like carrots and beets prefer to be sown directly into the garden because they don’t transplant well. Knowing which plants to start indoors will save you time and effort.
Heirloom, Organic, or Hybrid Seeds?
When browsing seed catalogs or online stores, you’ll notice terms like heirloom, organic, and hybrid:
- Heirloom seeds: These are open-pollinated seeds that have been passed down for generations. They often boast unique flavors and appearances.
- Organic seeds: Grown without synthetic chemicals, these are ideal if you want to maintain an organic garden.
- Hybrid seeds: These are crossbred for specific traits like disease resistance or higher yields, though they may not produce seeds you can save for the next year.
Interpreting Seed Packets
Seed packets contain valuable information that can guide your choices:
- Days to maturity: Helps you plan when to start seeds so they’ll be ready to harvest at the right time.
- Plant spacing and depth: Ensures proper growth and reduces overcrowding.
- Germination temperature: This tells you the ideal soil temperature for sprouting.
By selecting seeds that align with your garden goals and growing conditions, you set the stage for a productive and satisfying gardening season.
Preparing Containers for Planting
The containers you use for seed starting play a crucial role in the health of your seedlings. Whether you’re using store-bought trays or DIY options, proper preparation is essential.
Choosing the Right Containers
Seedlings are tiny, so you don’t need large pots to start with. Seed trays, small pots, or even repurposed items like egg cartons work well. Just make sure each container has drainage holes to prevent waterlogging, which can lead to root rot or fungal issues.
If you opt for biodegradable pots, such as those made from peat or coir, you can plant them directly in the garden, reducing transplant shock.
Cleaning and Sterilizing
If you’re reusing containers, always sterilize them first. Wash with a mild bleach solution (1 part bleach to 9 parts water) to remove bacteria, pests, or diseases that could harm your seedlings. Rinse thoroughly and let them dry before use.
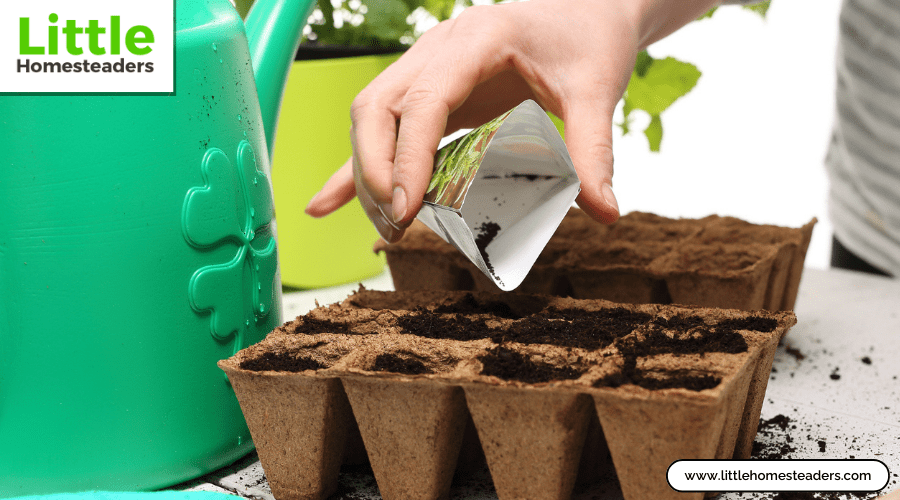
Filling the Containers
Fill your containers with a high-quality, sterile seed starting mix. Avoid regular garden soil, as it’s too heavy for delicate seedlings and may contain pests or weed seeds. Pre-moisten the mix before planting so it’s evenly damp but not soggy.
Labeling Your Seeds
As you plant, label each container with the seed variety and sowing date. This small step saves a lot of confusion later, especially if you’re growing multiple types of plants.
By taking the time to prepare your containers properly, you’re setting up a healthy and organized environment for your seedlings to thrive.
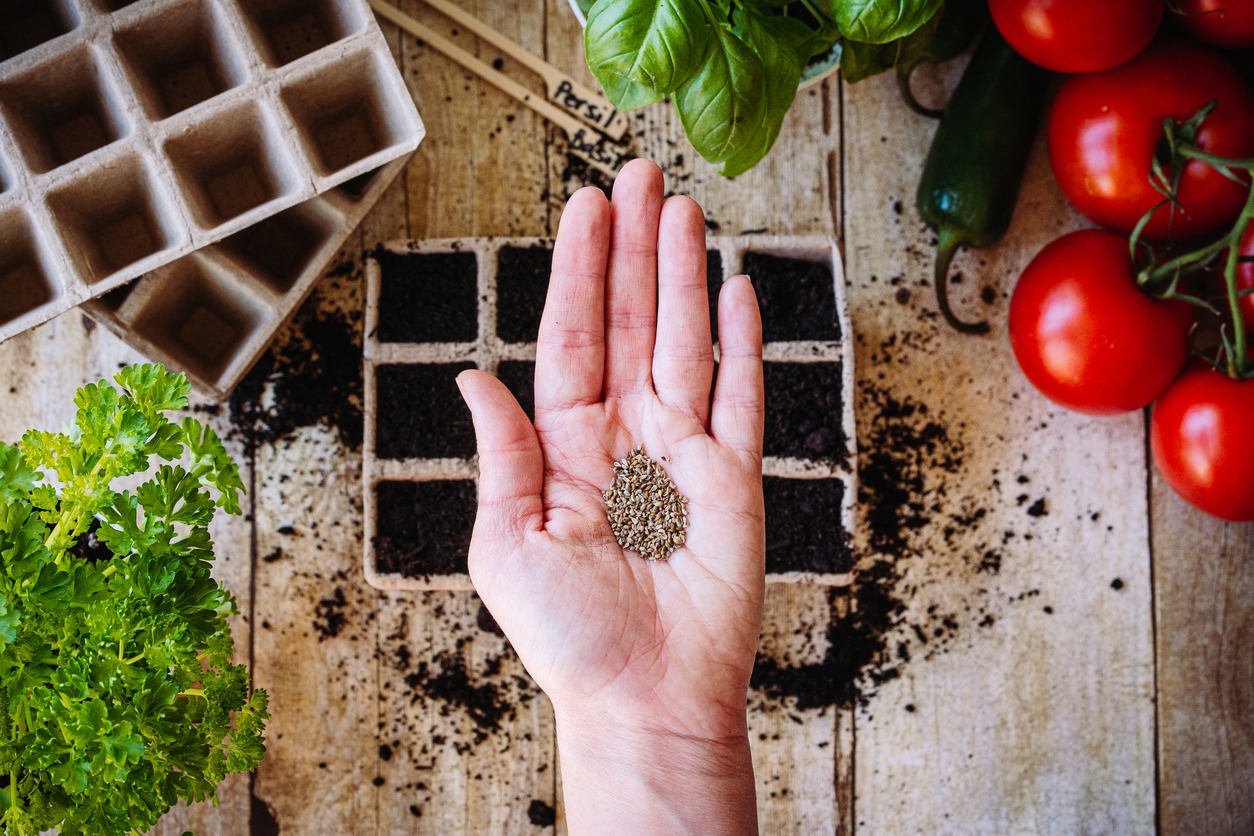
Sowing Seeds Properly
Sowing seeds might seem simple, but doing it correctly is crucial for success. Small mistakes here can lead to issues like poor germination or overcrowded seedlings. Follow these steps to sow your seeds with precision:
Planting Depth and Spacing
Every seed has a recommended depth and spacing, which you can find on the packet. Tiny seeds like basil or lettuce should be sprinkled on the surface and lightly covered with soil, while larger seeds like beans or squash need to be planted deeper.
Tip: A general rule of thumb is to plant seeds at a depth of 1-2 times their diameter. If in doubt, err on the side of planting too shallow rather than too deep—seeds buried too deeply may struggle to sprout.
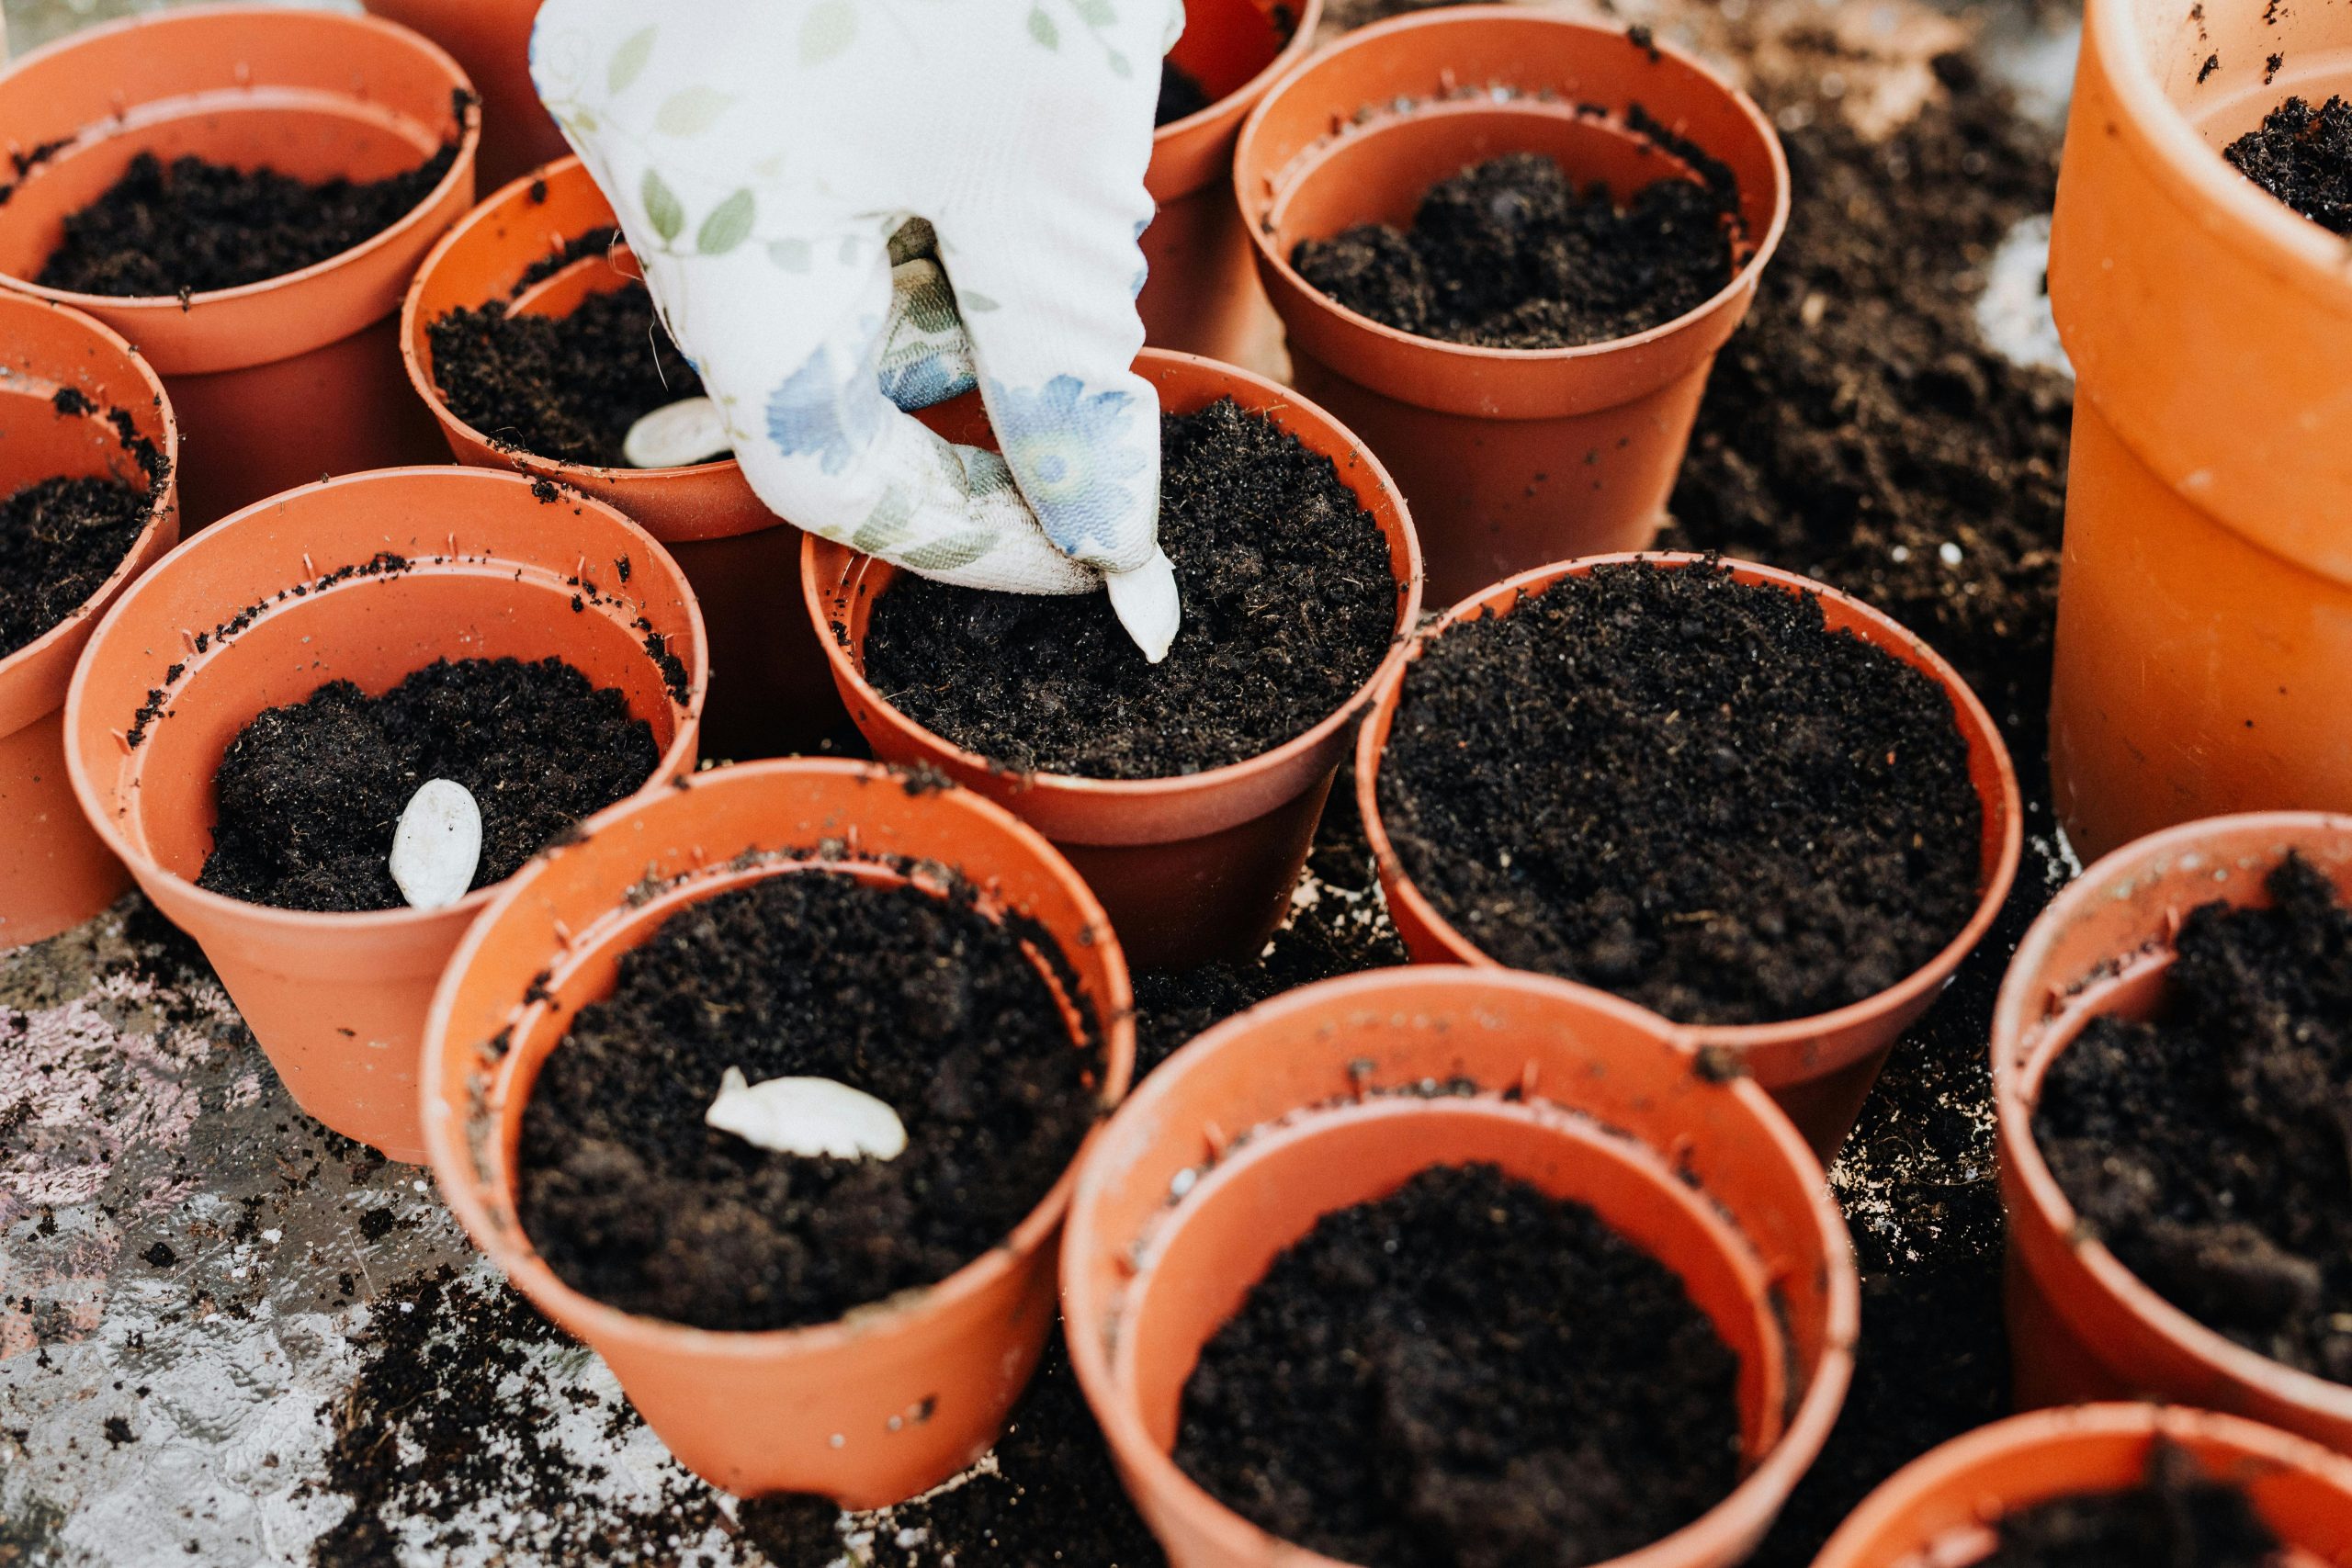
Placing the Seeds
Use your finger, a pencil, or a small stick to make planting holes. Place 1-2 seeds per hole to ensure at least one germinates. Overcrowding can lead to weak seedlings, so give each plant room to grow.
Watering After Planting
After sowing, mist the soil gently to provide moisture without disturbing the seeds. Avoid using a strong stream of water, which can wash seeds away or bury them too deeply.
Label and Track
Don’t forget to label your trays or pots. You can use plant markers, masking tape, or even popsicle sticks. Include the plant name and date of sowing so you can track germination progress.
Proper sowing techniques ensure that your seeds have the best chance to sprout and grow into strong, healthy plants.
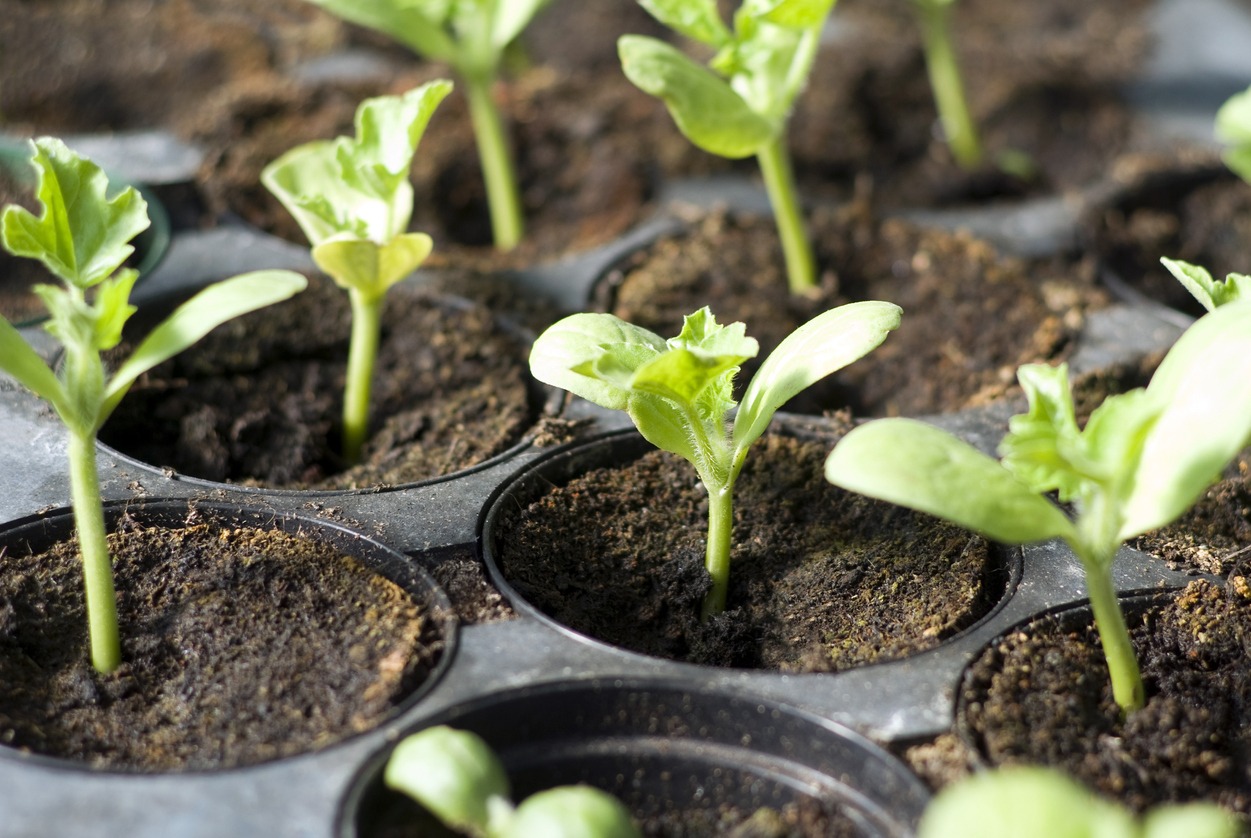
Hardening Off Young Seedlings
Hardening off is a vital step in transitioning your seedlings from the controlled indoor environment to the unpredictable outdoor conditions. This process reduces transplant shock and helps your seedlings adapt to sunlight, wind, and temperature changes.
Why Hardening Off Matters
Indoor seedlings are used to consistent light, warmth, and humidity. Without gradual exposure to outdoor elements, they’re likely to wilt, burn, or fail to thrive when transplanted. Hardening off builds their resilience and strengthens their stems and leaves.
How to Harden Off
Start about 1-2 weeks before your planned transplant date:
- Begin with sheltered exposure: Place seedlings outside for 1-2 hours in a shady, wind-protected spot. Gradually increase the time and exposure to sunlight over the next few days.
- Monitor weather conditions: Avoid exposing seedlings to extreme temperatures, heavy rain, or strong winds during the early days of hardening off.
- Water as needed: Outdoor conditions can dry out the soil more quickly than indoors, so check moisture levels daily.
Signs of Readiness
By the end of the hardening-off process, seedlings should have sturdier stems and leaves. They’ll be ready to face the garden environment with a higher chance of survival.
Transplanting to the Garden
Transplanting is an exciting milestone in your gardening journey. Here’s how to ensure a smooth transition from tray to soil:
Timing is Key
Wait until the danger of frost has passed and your seedlings have developed at least 2-3 sets of true leaves. Depending on the plant variety, this typically happens about 8-10 weeks after sowing.
Preparing the Soil
Before transplanting, prepare your garden beds by removing weeds and incorporating compost or organic matter. Well-drained, nutrient-rich soil provides the best environment for young plants.
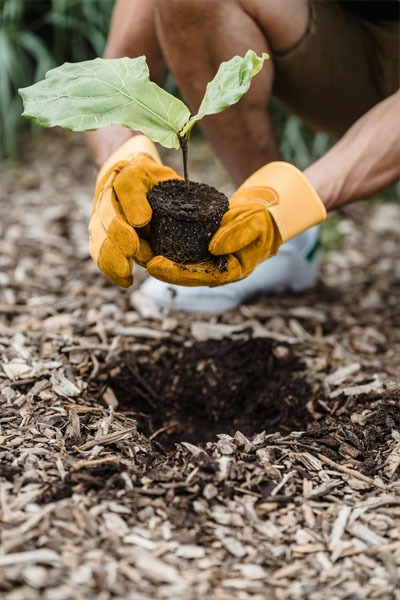
Planting Techniques
- Dig a hole slightly larger than the seedling’s root ball.
- Gently remove the seedling from its container, being careful not to damage the roots.
- Place the seedling in the hole, ensuring the soil level matches where it was growing indoors.
- Firm the soil gently around the plant to eliminate air pockets.
Watering and Mulching
Water the seedlings immediately after planting to help them settle. Add a layer of mulch around the base to retain moisture and suppress weeds.
Post-Transplant Care
Monitor your transplants closely for the first week. Water regularly, especially if the weather is warm or dry. Look for pests or signs of stress, like wilting or yellowing leaves.
Conclusion
Starting seeds indoors is not only practical but also deeply rewarding. By following these steps and giving your plants the care they need, you’ll set the stage for a successful gardening season. There’s nothing quite like the satisfaction of seeing your garden flourish with plants you nurtured from tiny seeds. So grab those seed packets and get growing—your future garden awaits!