Starting Seeds
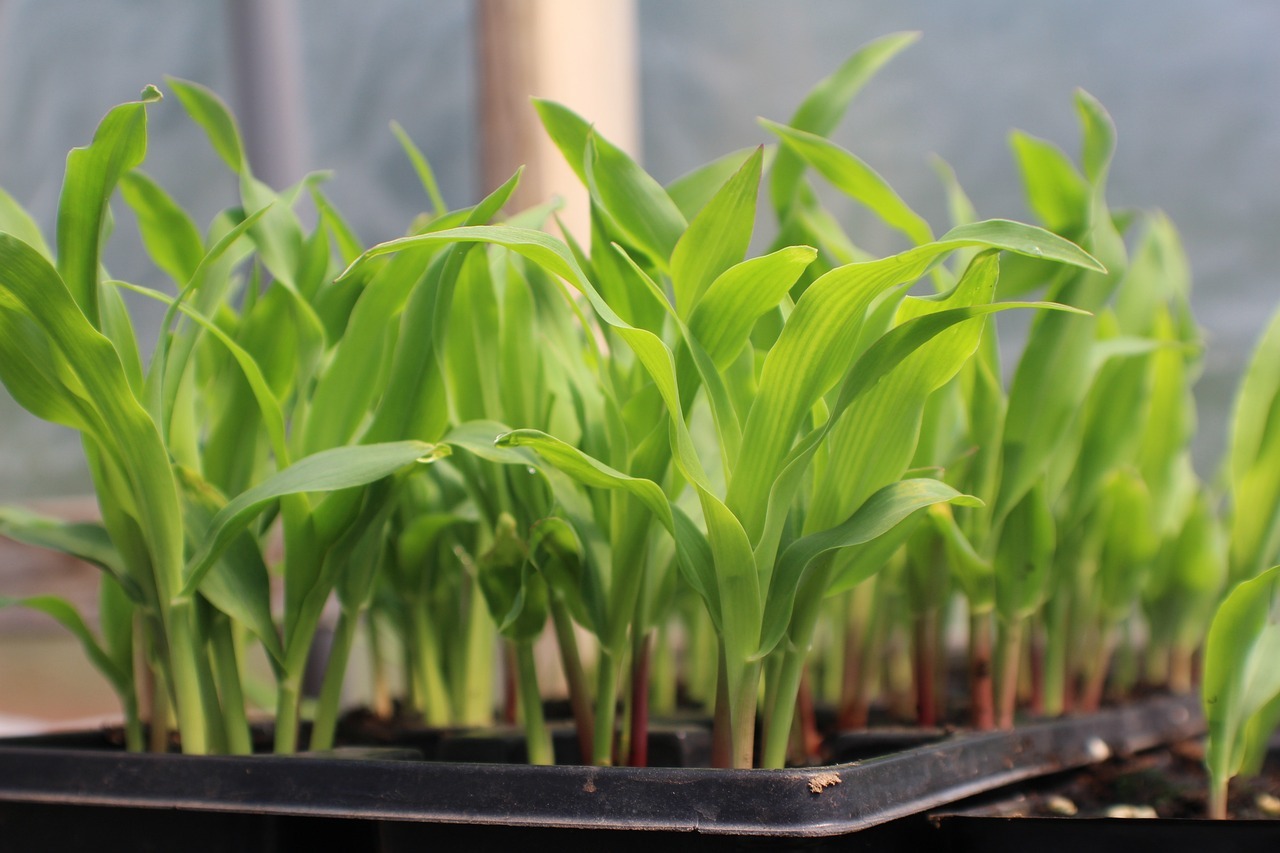
To begin, I know that for a HUGE part of the country it is nowhere near seed starting time (though with a cold frame, that might not be entirely true... but wait, I'm getting ahead of myself). For those of you covered in snow, I apologize for this post. But rest assured - come May or June when you are out happily spending afternoons in your garden, those of us in the southwest will be sweating it out in our houses, hiding from 110 degree days. So, that being said, it is seed starting time in my area! In fact, things have been growing here for a while. However, we moved into our new house at the end of November and it is only now that we are getting around to getting our gardens back up and running. In mid-January, I started peas, kale, swiss chard, basil, sunflowers, and lettuce. They are doing great and ready to go in the ground.
When I start seeds, I begin by cleaning all the pots I used last year. If a seedling died from a fungus or some other "disease," remnants of that fungus could still be on the pot and could infect future seedlings. I simply wash them with dish soap and rinse.
Then I "make" my seed starting mix. I must be honest, this year I bought my seed starting soil. However, when my life is a little less chaotic, I mix equal parts peat moss and vermiculite. (To be fair, I tried to make my own mix, but Home Depot was out of peat moss and I quickly gave up the search.)
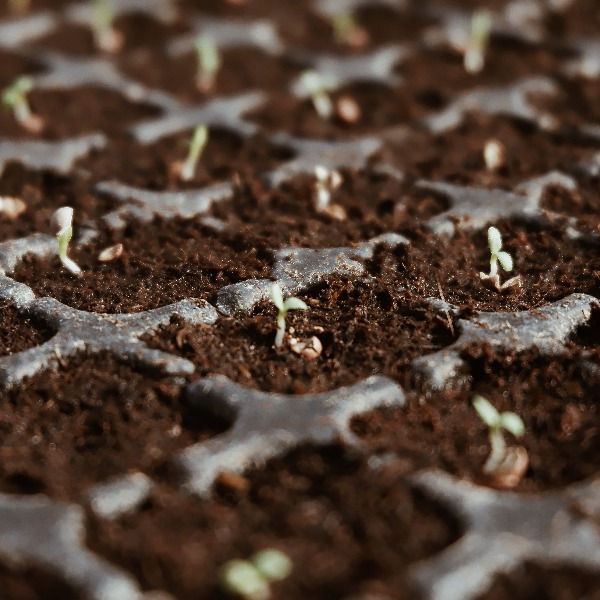
I get my mix good and wet in a bucket, fill the pots and then plant the seeds according to the package directions. I make sure to plant more than one seed in each pot so that I can be sure to get a sprout and then cull them accordingly before they go in the ground.
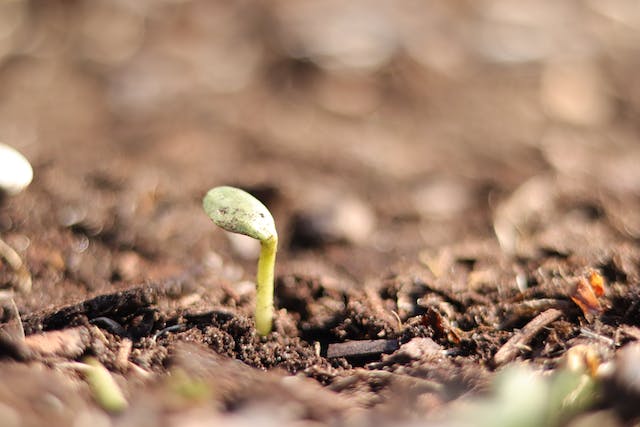
Before I got my cold frame, I would then cover the pots with saran wrap to keep moisture in and create a greenhouse effect. Be sure to remove the saran wrap at the first sight of sprouts.