Buttermilk Basics: Culturing Your Own
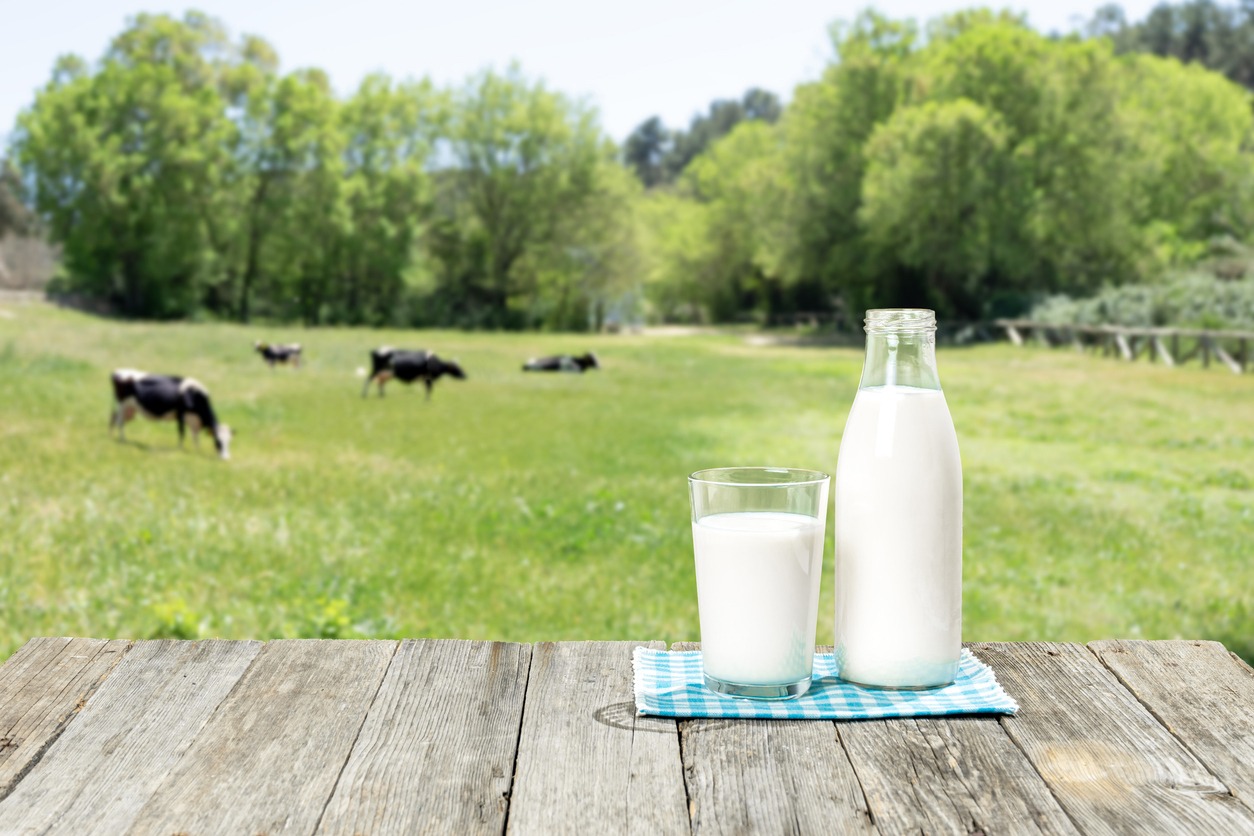
Buttermilk. Delicious and Irreplaceable.
I used to substitute regular milk for it in recipes until I realized that the tanginess of buttermilk does, truly, add another dimension to the finished product. It is easy to buy at the store but also fairly simple to culture on your own at home. The benefit of doing it at home is that you can control the quality (and fat content) of the milk that you use to make it.
Historically, buttermilk is a byproduct of butter-making. When making butter at home, you churn or whip heavy cream until you are left with two products – a solid (butter) and a liquid (buttermilk). These days, traditional buttermilk has been replaced with cultured buttermilk.
There are three ways to make cultured buttermilk:
- Add a powdered culture to fresh milk
- Add buttermilk with live cultures to fresh milk
- Ferment raw milk
Buttermilk is a probiotic food and is often suggested as a beverage for lactose intolerant people, as the fermentation process transforms the lactose into lactic acid.
Are you convinced? Ready to make your own? Read more below.
Making buttermilk is very similar to making yogurt. Just like when you make yogurt, you can do it in two ways. You can either use a powdered culture to start your buttermilk or you can use a previous batch of buttermilk to start a new batch. Considering that most of the buttermilk that is available in the store is either ultra-pasteurized and/or doesn’t contain live cultures, you’ll probably have the best luck starting with store-bought culture and making your own. Then you can use the buttermilk you make at home to culture future batches.
Here’s how you do it with the powdered culture
1. Let 1 quart of milk sit out at room temperature and “ripen” for six hours.
2. After it is ripe, heat the milk in a saucepan and stir until it reaches 86 degrees.
3. If you have a crockpot, transfer the milk to a warmed (but not on) crockpot. If you don’t have a crockpot, a thermos or something similar (like a cooler) will work.
4. Sprinkle the culture Buttermilk C21 on top of the milk and let it fully absorb the milk.
5. Cover with a lid and gently wrap a few towels around the crockpot - or thermos to keep it warm.
6. Let sit for 24 hours.
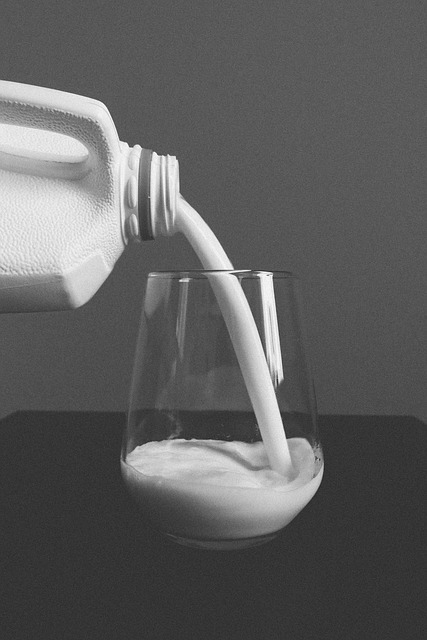
7. Put the buttermilk in a jar and store it in the fridge for 2 weeks or so. (You can also freeze buttermilk.)
I made buttermilk waffles using this recipe and they were divine.
What do you think? Do you like buttermilk enough to give this a try?