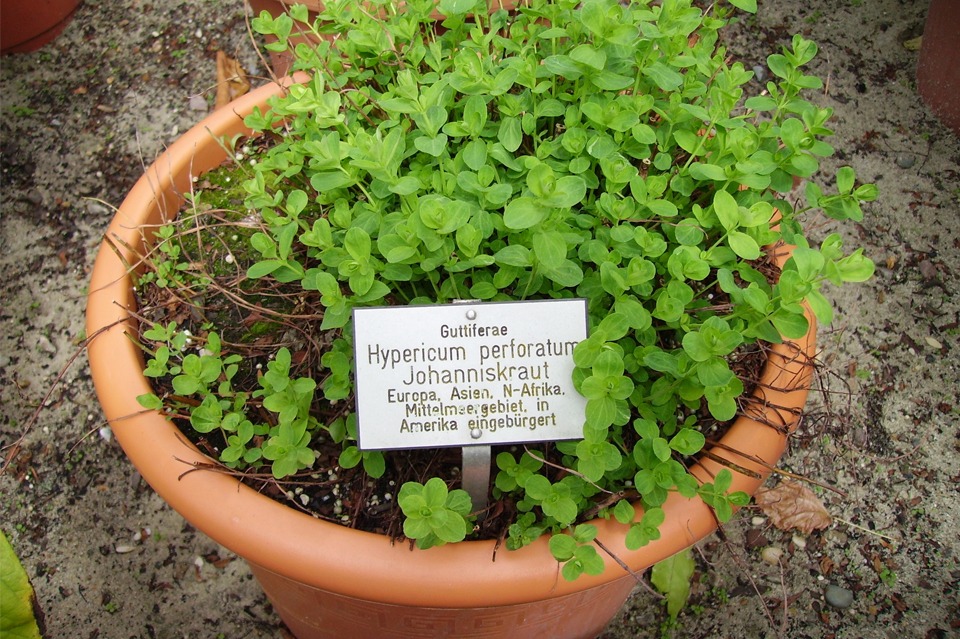
I love to add whimsical and fun touches to my gardens. It makes me smile to see things in the garden while I’m working that we’ve created at home or that my kids have crafted for me.
Additionally, I’ve mentioned before that I often have trouble labeling what I’ve planted. So, I thought that making some plant labels myself would be fun and useful at the same time.
Here’s what I came up with…… (To see how I did it, click below.)
Materials
Polymer Clay – (whatever color you want)
Cookie Cutters
Embossing Kit
Popsicle Sticks – (I like to use the large ones.)
Glue Gun
Directions
1. Preheat your oven to the temperature listed on your clay package. (For mine it was 275 degrees.)
2. Roll out your clay to about 1/4 inch (or a little less) thick. (I used a jar of curry sauce that I was going to use for dinner I didn’t want to get my rolling pin dirty.)
3. Using a cookie cutter, cut out the desired shape.
4. Using your embossing kit, stamp the name of one of the vegetables that you are growing.
5. Bake in your oven for the designated time. (In my case, it was 15 minutes.)
6. Let it cool and then glue the popsicle stick to your label.
That’s it! Pretty simple, huh?
I’m thinking it might be fun to make some of these for Christmas gifts? What do you think?

