Making Bonemeal: An Organic Fertilizer You Can DIY
Gardening enthusiasts know that healthy soil is the foundation for thriving plants. One natural, cost-effective way to enrich your soil is by making bonemeal at home. Bonemeal is a nutrient-packed organic fertilizer that not only nourishes your plants but also aligns with sustainable gardening practices. Best of all, you can craft it yourself using simple tools and leftover animal bones.
In this comprehensive guide, we’ll walk you through everything you need to know about making and using bonemeal, ensuring your garden reaps the benefits of this natural soil amendment.
What is Bonemeal?
Bonemeal is an organic fertilizer made from ground animal bones. It’s known for its high phosphorus and calcium content, two nutrients critical to plant health. Phosphorus plays a key role in energy transfer within plants, helping them develop strong roots and abundant flowers. Calcium, on the other hand, strengthens cell walls and promotes overall plant resilience, making it less susceptible to diseases and pests.
What makes bonemeal unique is its slow-release nature. Unlike synthetic fertilizers, which may deliver nutrients in one burst and risk over-fertilization, bonemeal gradually releases its benefits over several months. This ensures a steady nutrient supply to your plants without the risk of nutrient runoff, making it an eco-friendly and efficient option.
Whether you’re planting a flower garden, vegetable patch, or container garden, bonemeal can significantly enhance soil quality and boost plant growth. It’s especially ideal for flowering plants like roses and tulips, as well as root vegetables like carrots and potatoes.
Why Use Bonemeal in Your Garden?
Nutritional Benefits
Bonemeal’s rich phosphorus and calcium content make it an all-star in the world of fertilizers. Phosphorus is essential for:
- Root Development: Strong roots anchor plants and allow them to absorb water and nutrients efficiently. Without enough phosphorus, plants may exhibit stunted growth or weak root systems.
- Flowering and Fruiting: Plants need phosphorus to produce healthy blooms and fruit. This makes bonemeal particularly useful for flowering shrubs, fruit-bearing trees, and bulb plants.
Calcium, meanwhile, ensures your plants can build sturdy cell walls, improving their structural integrity. Plants with sufficient calcium levels tend to grow faster and are more resistant to environmental stresses like temperature fluctuations or pest attacks.
Eco-Friendly Gardening
One of the biggest advantages of bonemeal is its alignment with sustainable gardening practices. Instead of throwing away bones from your kitchen or letting them end up in a landfill, you’re repurposing them into something valuable for your garden. Making bonemeal reduces waste and saves you money, especially compared to store-bought organic fertilizers.
Long-Term Benefits
Unlike quick-release fertilizers, which may need frequent reapplication, bonemeal continues to work long after you’ve applied it. This makes it ideal for perennial plants, trees, and shrubs, which benefit from consistent nourishment over time. The slow-release nature also means you’re less likely to over-fertilize and harm your plants accidentally.
Plants That Thrive with Bonemeal
Bonemeal is particularly beneficial for:
- Flowering Plants: Roses, lilies, and sunflowers flourish with bonemeal.
- Vegetables: Root vegetables like carrots and potatoes, as well as phosphorus-loving plants like tomatoes and peppers, benefit greatly.
- Bulbs: Plants like daffodils, tulips, and onions develop stronger, healthier bulbs when bonemeal is added to the soil.
Step-by-Step Guide to Making Bonemeal
View this post on Instagram
Making bonemeal at home may sound daunting, but it’s easier than you think. With the right approach, you’ll have a batch ready in no time.
1. Gather and Prepare Bones
Start by sourcing your raw materials. Animal bones, such as chicken or beef bones, are perfect for making bonemeal. If you cook at home, save the bones from your meals and store them in the freezer. Freezing prevents spoilage and allows you to collect enough bones over time.
For larger quantities, you can ask your local butcher for discarded bones, which they may provide for free or at a low cost. This is a great way to support local businesses while reducing waste.
When ready, clean the bones thoroughly. Scrape off any remaining meat, fat, or connective tissue, as these can spoil during the drying process. If the bones are raw, boiling them in water will help loosen any stubborn residues.
2. Clean and Sterilize the Bones
Sterilizing the bones is a critical step to ensure your bonemeal is safe for use in your garden. Start by boiling the bones:
- Place them in a large pot filled with water and simmer for at least an hour.
- Avoid adding salt or seasonings, as these can harm your plants.
Once boiled, transfer the bones to a baking sheet. Preheat your oven to 300°F (150°C) and bake the bones for 2–3 hours. Baking dries the bones thoroughly and kills any lingering bacteria or pathogens. This step is especially important if the bones were previously used for cooking.
3. Dry the Bones Thoroughly
Proper drying ensures the bones are brittle enough to crush easily. While baking expedites the process, you can also air-dry the bones for several days or weeks, depending on your climate. Make sure they are completely moisture-free before proceeding, as any residual dampness can cause mold during storage.
4. Crush and Powder the Bones
Now comes the fun part: breaking down the bones into a fine powder. For small batches, a mortar and pestle works well, though it requires a bit of elbow grease. For larger quantities, consider using:
- A food processor or blender for quicker results.
- A mechanical grinder for industrial-grade efficiency.
Aim for a powdery consistency, as finer particles are more easily absorbed by plants. If necessary, sift the powder through a sieve and grind any larger pieces again.
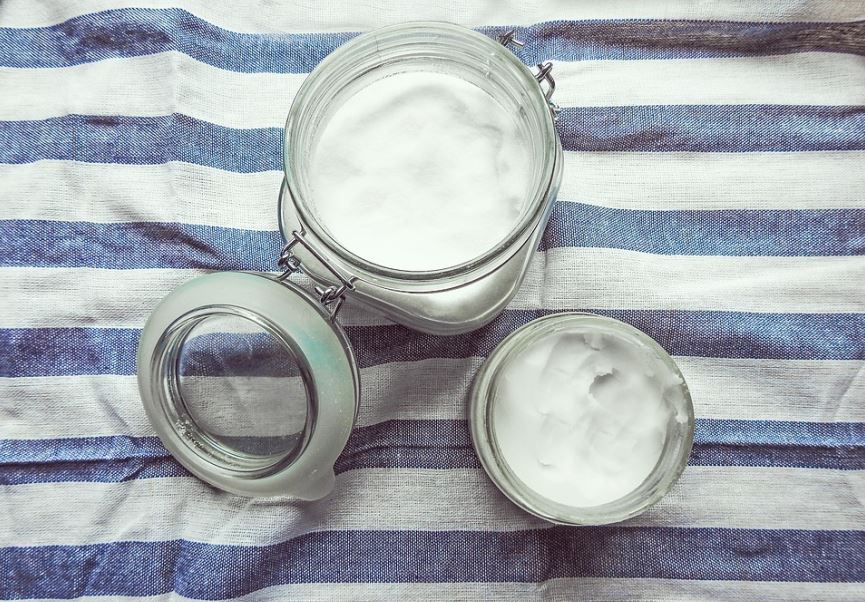
5. Store Your Homemade Bonemeal
Proper storage is key to preserving your bonemeal’s quality. Transfer it to an airtight container, such as a glass jar or plastic tub with a tight lid. Store the container in a cool, dry place away from moisture and pests. For added protection, you can include a desiccant pack to absorb any residual humidity.
When stored correctly, homemade bonemeal can last for up to a year. Label the container with the date to keep track of its freshness.
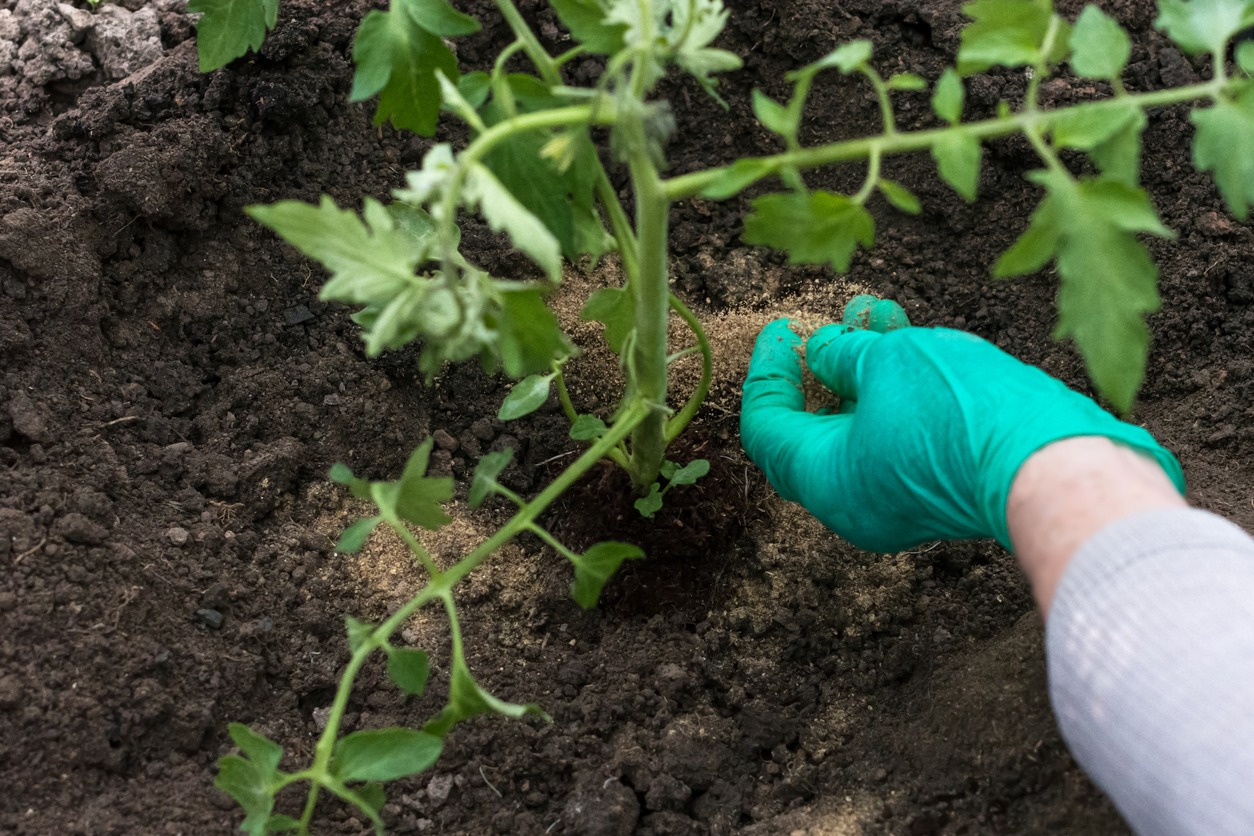
Applying Bonemeal to Your Garden
How to Use Bonemeal
Bonemeal is incredibly versatile and can be used in several ways:
- Top Dressing: Sprinkle it over the soil surface and gently rake it in. This method is ideal for established plants and flower beds.
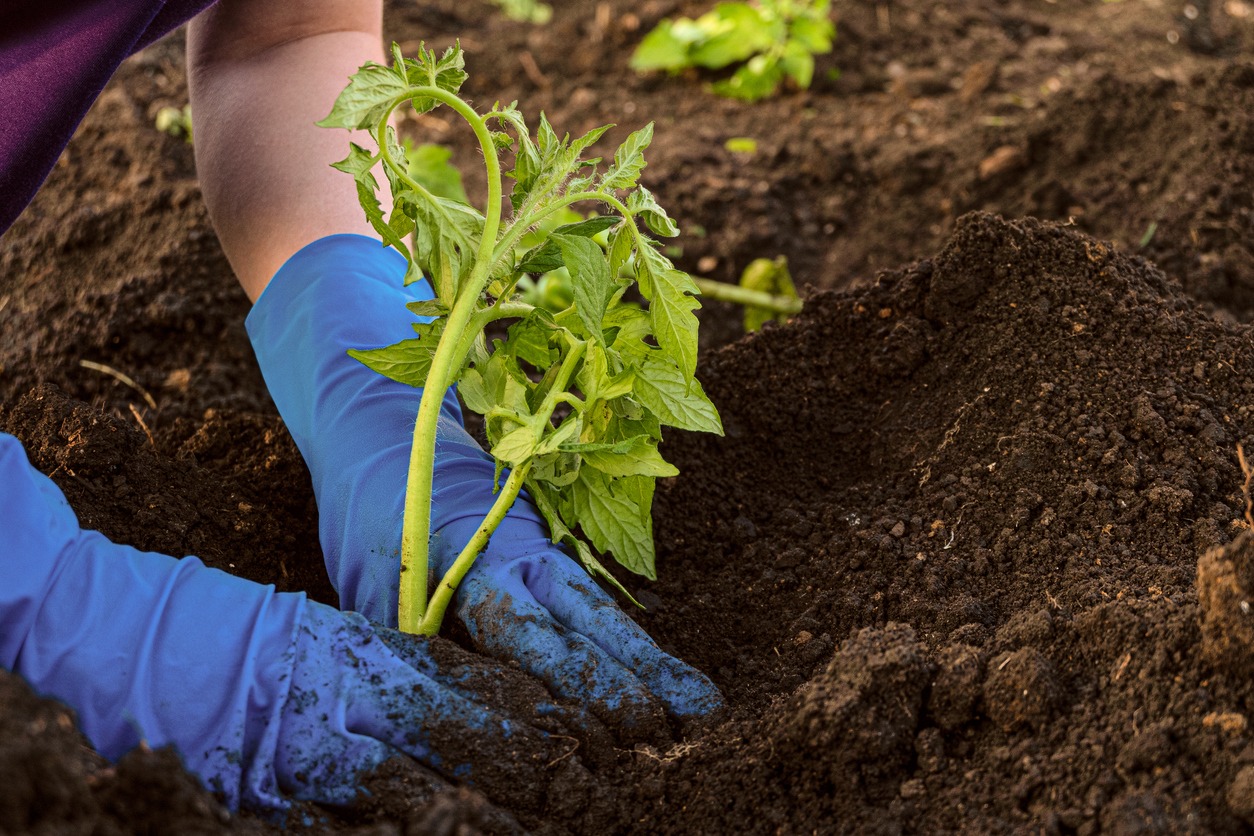
- Planting: Mix a small amount of bonemeal into the planting hole before placing your seeds or seedlings.
- Composting: Add bonemeal to your compost pile to enrich its nutrient content.
Application Rates
For general use, apply 1 pound of bonemeal per 100 square feet of garden space. For individual plants, use 1–2 tablespoons around the base. Always follow these guidelines to prevent over-fertilization, which can harm plants and disrupt soil health.
Timing
Bonemeal is best applied during planting or early spring, giving plants the nutrients they need for the growing season. For perennials, reapply every 4–6 months to maintain soil fertility.
Safety Precautions and Considerations
While bonemeal is generally safe, proper handling is essential to avoid potential issues:
- Wear a Dust Mask: Grinding and applying bonemeal creates fine particles that can irritate your respiratory system.
- Store Safely: Keep bonemeal out of reach of children and pets, as ingestion can cause digestive issues.
- Prevent Pests: Apply bonemeal carefully and work it into the soil to minimize odors that might attract animals.
Alternative Uses for Bonemeal
Bonemeal isn’t just for gardening! Here are some creative ways to use it:
- Animal Feed Supplement: Consult a veterinarian to add bonemeal to pet or livestock diets as a source of calcium.
- Composting: Mix bonemeal into your compost pile to enhance its overall nutrient profile.
- Foliar Spray: Dissolve bonemeal in water to create a quick-acting liquid fertilizer for plants.
Conclusion
Homemade bonemeal is a simple yet powerful way to improve your garden’s health. By repurposing bones that might otherwise go to waste, you’re contributing to a sustainable gardening cycle while providing your plants with the nutrients they need to thrive. Whether you’re growing vibrant flowers or hearty vegetables, bonemeal can make a noticeable difference.
Ready to give it a try? Follow these steps and watch your garden flourish. Don’t forget to share your experiences or questions in the comments below!