Save Seeds Each Season and Cut Costs Next Year
Gardening is more than just growing plants—it’s a practice of sustainability, creativity, and self-reliance. One of the most rewarding habits you can develop as a gardener is saving seeds. Not only does this allow you to cut costs, but it also provides a reliable seed supply for years to come. By saving seeds, you gain the ability to grow plants that are better suited to your local climate and soil while also contributing to the preservation of plant biodiversity. If you’ve ever thought about saving seeds but felt unsure of where to start, this guide will break it down for you step by step.
Why Save Your Own Seeds?
Saving seeds might sound like extra work, but the benefits far outweigh the effort involved. Here’s a closer look at why seed saving is a smart move for every gardener:
1. Cost-Effective Gardening
Gardening can be expensive, especially when it comes to buying seeds or starter plants every year. By saving seeds from your garden, you eliminate one recurring expense. For instance, a single packet of tomato seeds can cost a few dollars, but one healthy tomato plant can provide you with hundreds of seeds—enough to plant an entire garden for years. Over time, those savings add up significantly, especially if you grow a variety of crops.
Additionally, seed saving helps stretch your gardening budget, allowing you to invest in other areas like soil amendments, tools, or irrigation systems. It’s a small practice with a big financial impact.
2. Self-Sufficiency
Imagine never needing to depend on seed catalogs or garden centers again. When you save your own seeds, you create a self-sustaining cycle. You plant seeds, grow crops, harvest produce, and save seeds to start the process over again. This not only makes your garden more sustainable but also ensures that you always have access to the varieties you love, even if they become unavailable commercially.
Self-sufficiency is particularly empowering during uncertain times, such as disruptions in supply chains. By saving seeds, you ensure your garden’s continuity regardless of external factors.
3. Local Adaptation
When you save seeds from plants grown in your garden, you’re essentially selecting for traits that thrive in your unique environment. Over time, the seeds you save will adapt to your local soil conditions, weather patterns, and pest pressures. This results in stronger, healthier plants that are better equipped to handle the specific challenges of your region.
For example, if you consistently save seeds from a tomato plant that thrives despite heavy rain, the next generation of plants is more likely to inherit that resilience. This adaptation is something that store-bought seeds, bred for generic conditions, cannot offer.
4. Preserving Biodiversity
Commercial agriculture often focuses on a limited number of plant varieties, which reduces genetic diversity. By saving seeds from open-pollinated or heirloom plants, you play a role in preserving rare and diverse plant species. This biodiversity is crucial for the resilience of global food systems, as it helps protect crops from diseases and environmental changes.
Think of seed saving as your contribution to a larger effort—every seed you save is a step toward protecting the genetic heritage of plants.
Choosing the Right Plants for Seed-Saving

Not all plants are ideal for seed saving, so it’s important to understand which ones to focus on. Here’s what to consider when selecting plants for seed saving:
1. Open-Pollinated Varieties
Open-pollinated plants are varieties that are pollinated naturally by wind, insects, or other means. They produce seeds that are genetically stable, meaning the plants grown from these seeds will closely resemble the parent plant. Hybrid plants, on the other hand, are bred from two different parent varieties, and their seeds often produce unpredictable results.
For example, saving seeds from an open-pollinated heirloom tomato variety will give you reliable results year after year. In contrast, seeds from a hybrid tomato plant might grow into something entirely different or less productive.
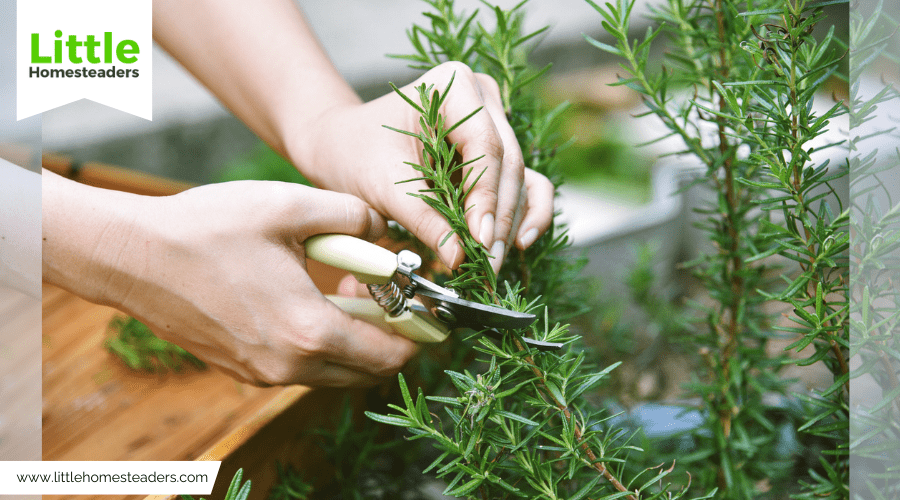
2. Healthy and Desirable Plants
The key to successful seed saving is selecting seeds from the best plants in your garden. Look for plants that are vigorous, disease-free, and productive. Ask yourself: Did this plant yield a lot of fruit? Was it particularly flavorful? Did it resist pests or diseases better than others?
Avoid saving seeds from weak, stunted, or diseased plants, as they may pass on undesirable traits to the next generation.
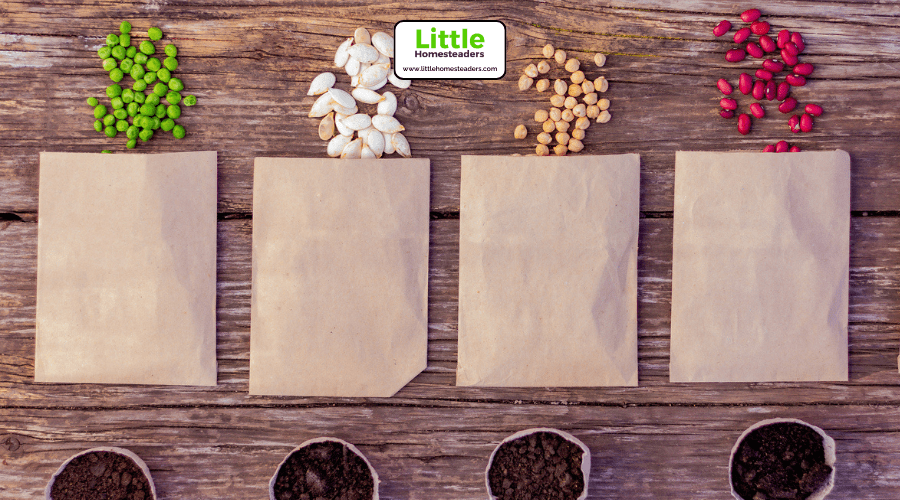
3. Easy Starter Crops
If you’re new to seed saving, it’s best to start with crops that are easy to work with. Self-pollinating plants like tomatoes, beans, peas, and peppers are excellent options for beginners because their seeds are simple to collect and store. These plants don’t require cross-pollination, so their seeds are more likely to grow true to type.
Once you’ve mastered the basics, you can experiment with more complex crops like squash, cucumbers, or carrots, which require specific techniques to save seeds successfully.
4. Biennial Plants
Some plants, such as carrots, beets, and onions, are biennials, meaning they take two growing seasons to produce seeds. While these crops can be more challenging to work with, they’re worth the effort if you’re up for the task. Keep in mind that biennial plants need to overwinter before producing seeds, so consider your climate and available space.
How to Harvest and Clean Seeds

The process of harvesting and cleaning seeds is straightforward, but attention to detail is essential for success. Follow these steps:
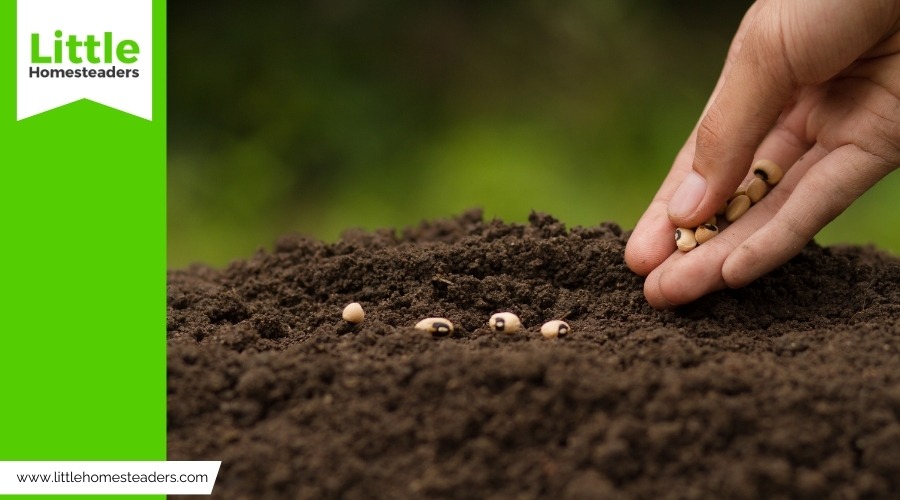
1. Harvesting Seeds
Seeds should be harvested when they’re fully mature. This means leaving fruits, flowers, or pods on the plant until they reach their final stage of development. For example:
- Allow beans and peas to dry completely on the vine before harvesting.
- Wait for tomatoes to become overripe, then scoop out the seeds.
- Collect seeds from flowers after the petals have fallen and the seed heads are dry.
Always choose a dry day for harvesting to minimize moisture, which can lead to mold during storage.
2. Cleaning Seeds
After harvesting, seeds need to be separated from any surrounding material, such as pods, pulp, or chaff. The cleaning method will depend on the type of seed:
- For wet seeds: Rinse seeds, such as those from tomatoes or cucumbers, to remove pulp. Spread them out on paper towels to dry.
- For dry seeds: Gently rub pods or seed heads to release the seeds. Use a sieve to remove any remaining debris.
3. Drying Seeds
Proper drying is crucial to prevent mold and extend seed viability. Spread seeds out in a single layer on a clean, dry surface, such as a tray or paper towel, and allow them to air dry for 1-2 weeks. Make sure they’re completely dry before storing them.
Proper Seed Storage Techniques
Once your seeds are clean and dry, it’s time to store them properly. Here’s how to ensure your seeds remain viable:
1. Storage Containers Use containers that protect seeds from moisture and pests. Paper envelopes or seed packets are great for short-term storage, while glass jars with airtight lids are ideal for long-term storage.
2. Moisture Control Moisture is the enemy of stored seeds. To keep seeds dry, add silica gel packets or powdered milk wrapped in tissue to your storage containers.
3. Cool, Dark, Dry Conditions Seeds last longest when stored in a cool, dark, and dry environment. A refrigerator is an excellent option, as it provides consistent temperatures.
4. Labeling Always label your seed containers with the plant variety and harvest date. This ensures you know what you’re planting and when the seeds were collected.
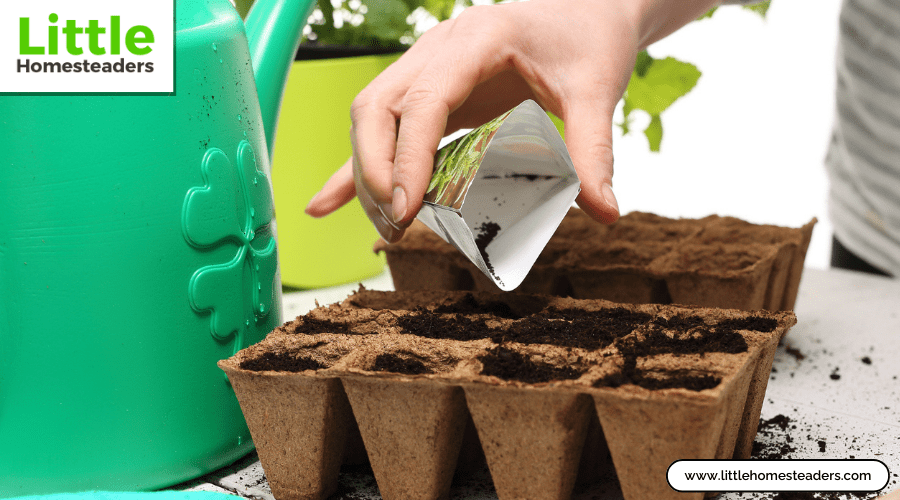
Starting Your Saved Seed Garden
With your seeds ready, it’s time to plan and plant your next garden. Saved seeds offer the unique advantage of being well-adapted to your local environment, leading to healthier and more productive plants. Here’s how to get started:
1. Plan Your Layout Group plants with similar needs together, such as sun-loving crops or those that require frequent watering.
2. Test Germination Before planting, test a small batch of seeds for germination. This will help you determine how viable your seeds are and adjust planting density if needed.
3. Observe and Learn Pay attention to how your saved seeds perform compared to store-bought ones. Take notes on what works well and save seeds from the top-performing plants for the next season.
Conclusion
Seed saving is a simple yet transformative practice that benefits your wallet, your garden, and the environment. By following these steps, you’ll gain the confidence to save seeds from your favorite plants, ensuring a steady supply for years to come. Start small, stay curious, and enjoy the satisfaction of creating a self-sufficient and thriving garden. Your future harvests—and your budget—will thank you.