Tips for Starting Sourdough Bread from Scratch
Have you ever thought about making sourdough bread at home? Seeing the half-bare sourdough bread on the aisles of a grocery store, the thought must have crossed your mind. If you are even interested in making one, you would know that sourdough bread requires a starter.
This is where most people would give up because, at first glance, creating a starter for sourdough bread seems difficult and time-consuming. All you read and hear is that you have to keep it for several weeks or so, and you have to care about it like a little child.
Well, let us tell you once and for all that besides being analogically like your child as you have to feed it and keep an eye on it, a sourdough starter is not difficult at all. It only takes about 5 minutes every day for a week, and then it is done! You can use it for years – and just like mentioned before – nurture it like your child by checking up on it and feeding it.
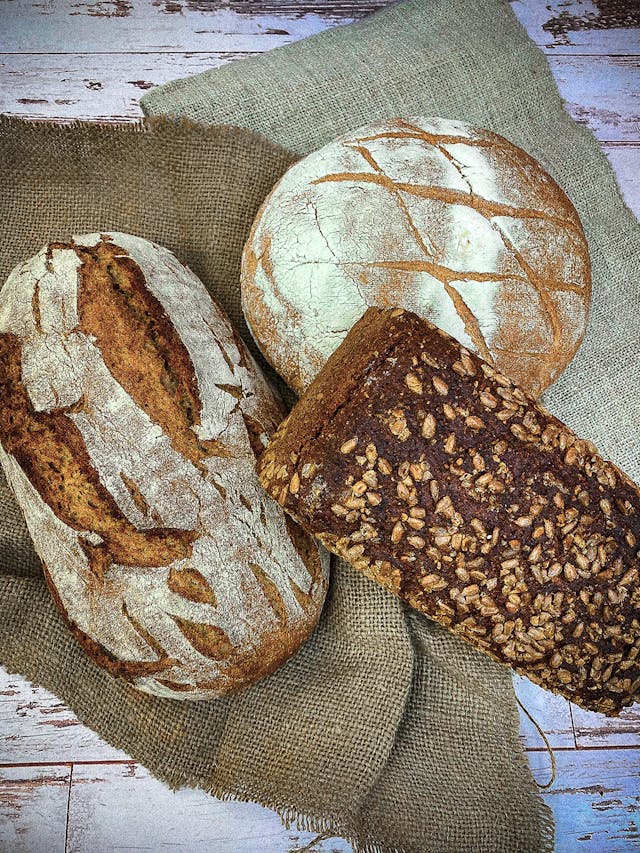
The best thing about investing your time and energy in making a sourdough starter is that it is a one-time investment that pays off for years – that too, not only in making sourdough bread but also in sourdough pizza, bagels, and more. So, let us begin our journey to baking the tastiest and nicest smelling bread!
What is a Sourdough Starter?

If you have been in awe about what this fuss is all about, then let us tell you that a sourdough starter is not anything that requires fancy ingredients and expensive items. Flour and water are the only fundamental ingredients used to create this magic. You can think of a sourdough starter as the yeast you get from the store. A good one like the Saratoga Jacks sourdough starter can help raise your bread.
In this case, the sourdough starter is the yeast that you create at home. It is obtained by letting the flour ferment naturally when combined with water. You can create the basic magic of baking sourdough bread using only two ingredients. Now let us move on and understand why the starter needs feeding and what does it imply.
After combining the flour and water, keep the mixture away at room temperature. Wild yeast present in the flour naturally starts multiplying once left in a favorable environment. The technical term for this is that the natural bacteria start to eat the flour in the jar, resulting in yeast.
Feeding
The yeast multiplies as bacteria eat the flour, which leads us to feeding. The term basically means adding flour to the starter to keep the bacteria active, healthy, and satisfied. Added flour increases the bacterial activity, enhancing the starter life.
The feeding process directly depends on the bacterial activity. Warm temperatures stimulate bacteria that consume the floor more quickly than colder environments. Therefore, if you place your starter somewhere cold, like the fridge, it will likely survive a week before it needs a flour refill. However, if you have your starter lying on the kitchen countertop, be ready to feed it twice a day.
How to Create a Sourdough Starter?
In books, a sourdough starter recipe takes up to 6 days to complete. In reality, the time this recipe takes is influenced more or less by the surrounding temperature. Meaning the starter can even take up to 12 days in colder regions.
Be that as it may, the main work for creating a sourdough starter has to be done on the first day. After that, you only need to feed it with more flour.
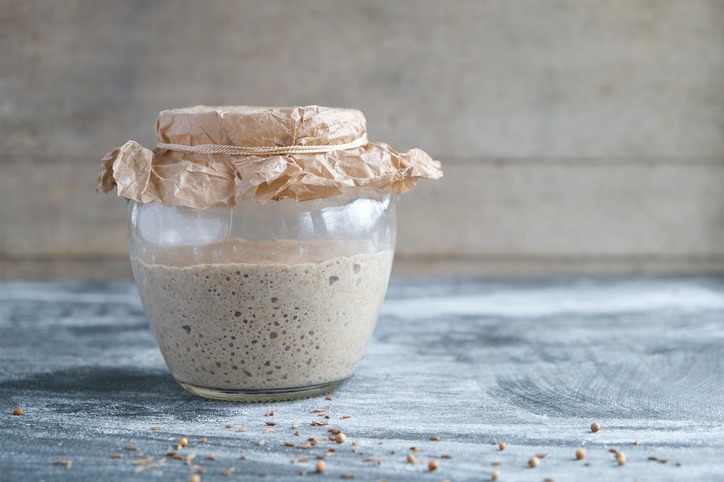
Take equal parts of flour (50 grams whole + 50 grams all-purpose flour) and water (100 grams) and mix them until it forms a thick paste. Make sure to remove any clumps by adding more water. Take a clean mason jar and pour the mixture into it. Cover the pot with a lid, or a fabric tightened with a rubber band and let it rest.
After 24 hours, stir the mixture again to incorporate any air, cover again, and set aside for another day. On the third day, you should see some bubbles in the mixture. Fret not if you do not, as sometimes it takes longer than two days.
Once the paste bubbles up, take about half a cup of the starter in a clean jar and discard the rest. Now add half a cup of filtered water and organic bread flour and mix them. Cover the mixture again and sit for another 24 hours at room temperature.
If you witness any bubble formation on the fourth day, start feeding the starter. You might need to add two feedings in a day. If you notice the starter getting more fluid, it means the floor has been metabolized. This is the time to add another serving of flour.
Tips for Creating a Sourdough Starter
How Frequently Should You Feed?
Feeding implies adding more flour to your sourdough starter as the bacteria keeps eating the flour in the jar you initially put in. The primary purpose of feeding more flour is to keep the bacteria nourished and thriving. This is the bacteria that you need to make incredibly soft and tasty sourdough bread. The frequency of feeding the starter depends on the temperature it is kept at.
Generally, warmer temperatures favor bacterial growth or fermentation. This is why, if you keep your sourdough starter at room temperature, you will have to feed it daily, else it will go wrong. Keeping the starter at cooler temperatures, such as in the refrigerator, does not require daily feeding. You can feed your starter once a week if stored in colder environments. This is an excellent way of going on a short trip without worrying about spoiling your starter (told you it is like a child!).
Ways to know if the Starter is Ready
Do not give up if your starter looks nowhere to be ready until day four. A pro tip is to tie a rubber band around the jar to mark the initial level of the starter. After resting it for a day and feeding it, the starter should double in size. Ideally, a starter is ready in about seven days.
You should know that it is ready when you see it doubling in size after feeding it. If this happens consistently for at least two days, then know that you are more than prepared to bake an incredible loaf of sourdough bread.
Another tip to check how ready your sourdough starter is by conducting a float test. For this, you have to take a jar and fill it with room temperature water. Take a spoonful of the starter and carefully drop it in the water.
If your starter floats in the water, then know it is time to use it anytime. However, if it does not float and sinks to the bottom instead, let it sit for a day or two more while you feed it daily.
The Smell of the Starter
If you have followed every step to the core and continued with proper storing and feedings, then your sourdough starter should smell sweet and tangy. If, however, it smells terrible and unpleasant, then know that you have either used an unclean jar or messed up with the fermentation process. This foul smell might indicate that your starter is nurturing some other harmful bacteria. In such cases, it is best to start over as nothing can reverse the process of fermentation.
What to Do When Nothing is happening with the Starter?
If your starter was doing well previously but started acting out and fizzled, it is best to introduce some bread flour in the flour you are using for feeding.
Over Feeding
The indication that your starter requires more than one feeding per day is that it eats up the flour, and you add it very quickly. The best possible sign is to observe when your dough peaks and then deflates. This is the typical sign that the bacteria have fed the flour, and the starter needs more. Besides this indication, do not overfeed your starter.
Some Other Tips to Create a Sourdough Starter
- If you wish to add more acidity to your sourdough bread starter, try adding a little pineapple juice instead of water during one of the feedings.
- If you observe water in your starter, then do not be dismayed. It is a sign that you need to feed the starter. So, do so, and let your starter thrive.
- If there is any discoloration in your starter or mold, and it is only on the surface, you can still save your starter. Discard the mold from the top and save about a half cup of the starter so you can feed it the next time. However, you are the best judge, so you should rely on your smell and see if it can be saved or not.
- Do not take the float test to heart as often the starter might fail the float test but shows consistency in peaking and falling. In this case, the starter might be ready for baking sourdough bread.
- You can refrigerate it for about 2-3 weeks without feeding it. It does not mainly ruin the starter, and you can revive it by initially feeding thrice a day and then gradually cutting it down to the normal frequency.
- Filtered or bottled water is recommended for obtaining the best results.
- After the initial week, when your starter is peaking and deflating consistently, you can start using the discarded starter for baking.
FAQs: Tips for Starting Sourdough Bread from Scratch
Can you prepare a sourdough starter with different floors?
Sourdough starters are a mixture of flour and water. If suspended for some time, the mix attracts bacteria that grow yeast and produce organic acid. All kinds of floors allow bacterial activity and yeast formation that leads to the formation of a starter. However, some flours are better suited for sourdough starters at the beginning of the process, while others prove fruitful later.
What makes sourdough bread different from other bread types?
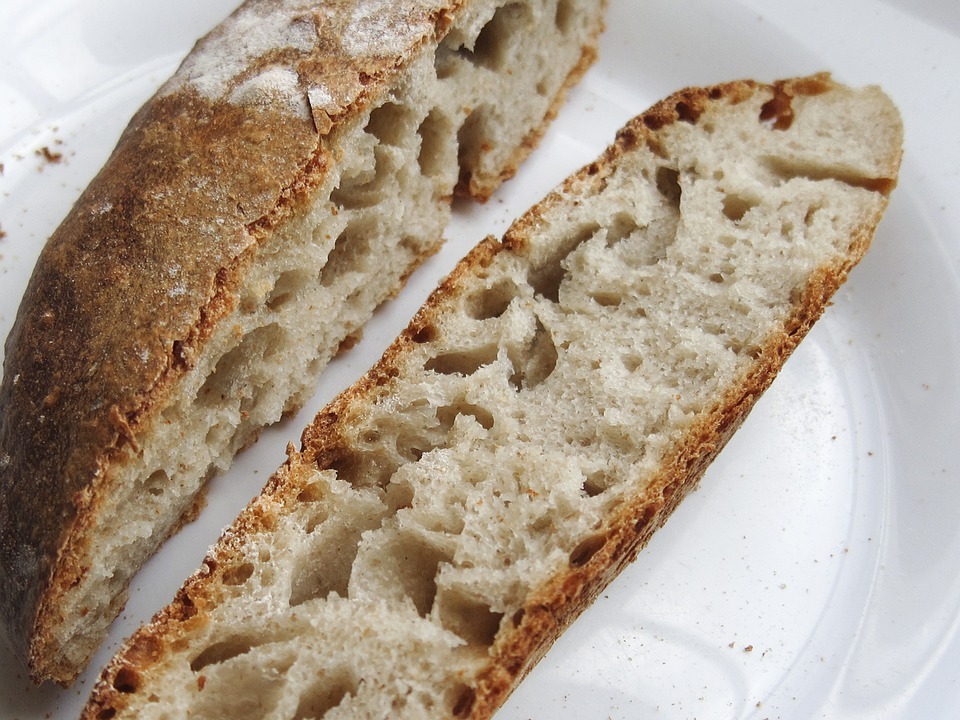
Unlike other baked bread, sourdough bread does not contain any yeast. The fermentation process in sourdough depends on the mixture of flour and water called starter. The starter allows the formation of bacterial colonies that causes the bread to rise and impart a sour flavor and chewiness.
Is it necessary to discard most of the starter before feeding?
If you don’t discard half of the starter material before feeding, it is before the time that it mounts up and fills your fridge. The fermentation process creates bubbles in the starter, causing it to rise. The extra starter must be removed regularly to keep it healthy and active. Instead of wasting the starter, you can use it in another recipe or give it to your friend looking to create their starter.
Final Words
It might seem like a long wait and lots of hard work to create the sourdough starter, but once you are into the second week of successfully creating your starter, you can start reaping the benefits. You will forget the initial work and start petting (read: feeding) your sourdough starter like a pet. The aroma of freshly baked bread will also make you realize how the effort is worth it.