How to Make Shaped Candles with Soy Wax
If you are looking for instructions on how to make soy candles (specifically soy pillar candles) using candle molds, then you are reading the right guide. Soy pillar candles are a little more challenging and effort-taking than soy container candles. They are environment-friendly, elegant, and delicately fragranced, which makes them worth the effort.
Pillar candle molds come in several different sizes and shapes. However, we will suggest you start with a simple, small pillar mold and then work your way up to the more elaborate and large molds as you start getting better at making soy candles.
Before starting candle making, cover your workplace with a plastic tablecloth, wax paper, or a newspaper. Have some paper towels or rags ready to mop up any spills. To make a pillar soy candle, follow the following steps:
Prepare Your Candle Mold
If you are making a large candle, start by spraying the inside of a candle mold using a mold release. It will make it easier to slide the pillar out of the candle mold. You do not always have to follow it for the smaller candles, but it is helpful when making the large scented soy candles. By keeping the height of your candle mold in mind, cut the candlewick twice the length of the mold.
Then tie the top of the wick to a pencil, wick bar (wick holder), or chopstick. Using a wick bar is more appropriate to use as you can turn it repeatedly until the wick is tight. Plus, they are very cheap. In the base of the mold, thread your wick through the wick holder. You can set the wick in place using several different options like wick stickers, tapered rubber plug, and mold sealing putty.
Pull the wick taut and then cut it (of about 1-inch length) past the mold's base. And then coil the wick into a spiral, and to hold it in place, you can also use a piece of masking tape while you prepare sealing putty; shape it with your fingers into a flat disc.
Make it big enough to cover the wick-spiral and press the putty firmly into place and make sure it completely covers the wick.
Heat the Wax
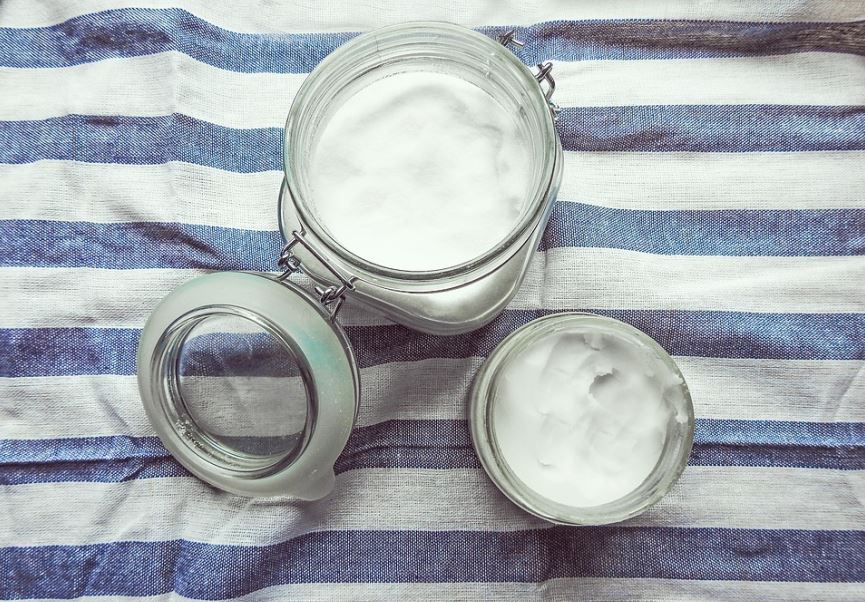
Using a double boiler, melt the soy wax chips (you can use Milliard soy wax); you can also use a candle pouring pot if you do not have the double boiler. Use a wooden or large metal spoon to stir the wax to speed up the melting process. Furthermore, you can also add more soy wax as it melts down if you think you will need more in the future.
Measure the temperature using a thermometer. When the wax completely melts, the temperature reaches 180°F, add candle dye and stir it well. Let the wax cool and drop to 140°F, then add your fragrance oil or essential oil blend and stir more.
Pour the Wax
Pour the wax into your candle mold from the top; fill it up to 1.25 centimeters (about half an inch). To pour the candle again later, save about a cup of wax. Let the candle cool until it forms a surface on the top, then using a chopstick or a skewer, poke holes down through the wax.
Stop it about an inch from the bottom as it provides vents. It makes the wax suck air as it hardens and shrinks. Relief holes are very crucial because without them your wick can be pulled off-center, have air cavities in the candle, or the candle can become deformed.
Keep re-poking the relief holes a few times to ensure the vent stays clear; do it during cooling of the candle. Leave your candles overnight in the mold to cool, and then re-melt your reserved soy wax at 180°F. Pour the wax into your candle and be conscious that it must not go above the original fill line.
Overfilling can make the wax to seep down between the candle and the mold, which is not what we want. Leave the candle to cool completely before going for the last step.
Release the Candle
Now, remove the wick screw from the bottom of your mold, and the candle will slide out of it. If your candle failed to slide out, place it in the refrigerator for about fifteen minutes and then try again. It will shrink the wax more and help it to get separate from the mold.
The candle's bottom is the wick chopstick end of the candle, so trim this end with the scissors. If you want to level the candle's base, place a cookie sheet on top of the boiling water's pot. Now, put the candle on the cookie sheet and melt away some of the wax using a heated sheet. Keep on doing it until you have a flat base. And at the end, trim the top wick to about 0.5 centimeters.
Working with Soy Wax
Soy wax has gained popularity as a plant-based, all-natural material, which is also eco-friendly. It is because soy wax has clean burning advantages and renewable properties. As compared to other solid wax blocks, soy wax is easy to melt and measure as its raw material comes in the form of flake.
However, like any other thing, soy wax has some disadvantages, including the low melting temperature point and the softness of the material. Soy wax does not hold its shape as harder waxes like paraffin and in freestanding or pillar form.
So, when you decide to use soy wax to make shaped or votive candles, you should use a superior quality soy wax build-up with additives designed for this purpose, or you can go with a soy-paraffin blend as well.
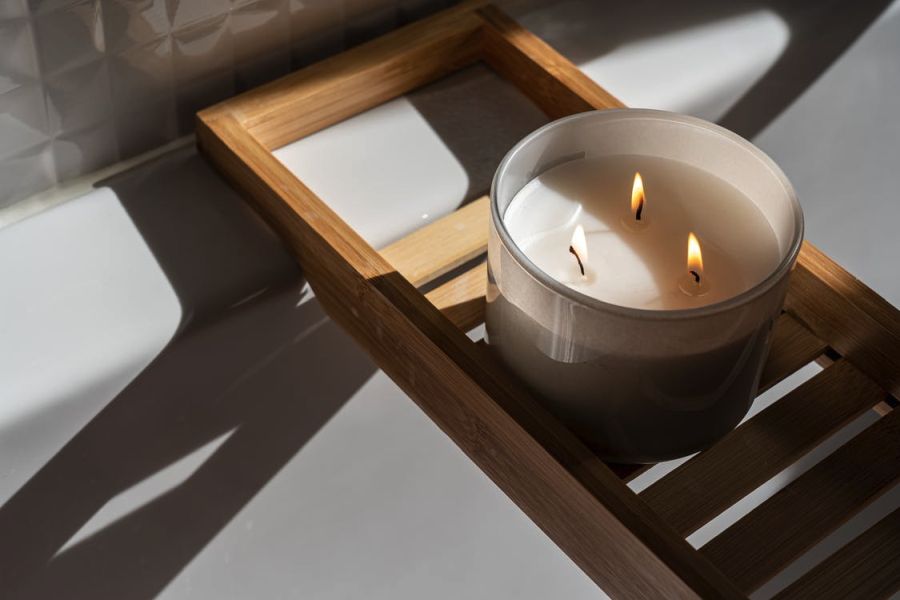
You must burn the freestanding soy candles in a candle holder or a protective base that will hold an ample amount of melted wax. This is why pure soy wax works great for container candles.
Designs and Shapes for Soy Candles
There is a lot of variation when it comes to the shapes and designs of soy wax. You can buy the molds of your desired preferences. To give you an idea, we have come up with common and widely used designs.
Pillar Candles
Cylindrical is the most common shape for pillar candles, but you can also find pillar molds with other geometrical shapes like ovals, octagons, pyramids, and squares. You can find some basic shapes, such as hearts, scalloped edges, five-point stars, and crescents.
A few pillar molds form raised designs outside the candles, such as produced effect (braided rope) or flowers. To help your soy pillars retain their shape, you must keep them away from any heat source like stoves or direct sunlight.
Tarts and Floating Candles
There is no better alternative than soy wax (go for milliard soy wax) to make floating candles and small-sized tarts since they always burn inside water-filled containers. The typical shapes for floating candles include flowers, leaves, hearts, small round discs, and stars. Tart molds resemble fluted cups that you can find around cupcakes or chocolate candies.
Soy wax throws off scent well and is easy to color, so it enables you to design candles that smell pleasant and look attractive enough to eat.
Candle Tins
Fill your decorative tins with your favorite chosen soy wax recipe to make candles in a portable, convenient container. Candle tins are usually round, come in multiple different sizes, and always have lids.
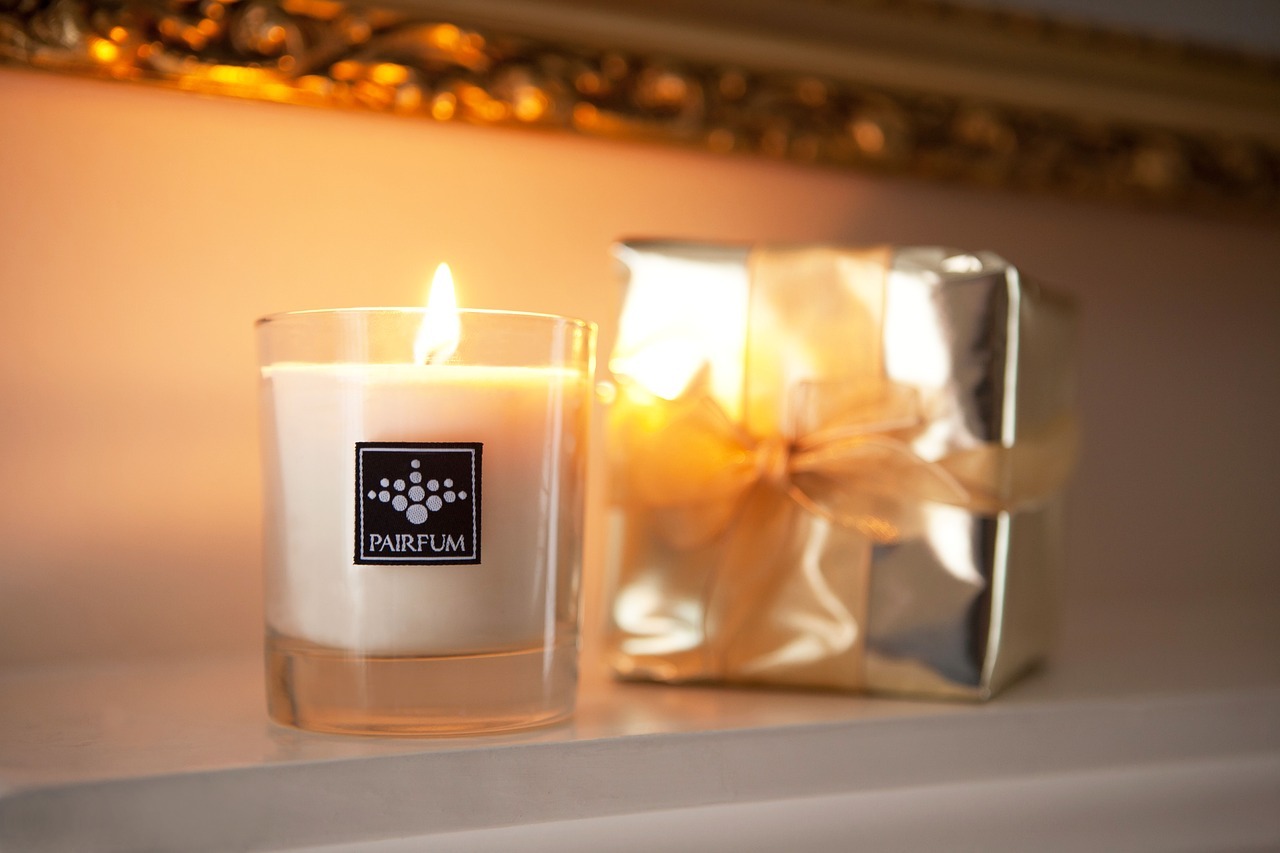
You can safely pack these tins into suitcases, bags, picnic baskets, or purses to magnify the atmosphere of your hotel room, office desk, your next destination, a yoga mat, or a romantic outdoor date for two. Moreover, homemade candle tins are great to gift your friends or loved ones.
You can give your candles a personalized or professional appearance by designing your labels and decorating the outside of the tin container.
Shaped Glass Containers
One of the best things about shaped glass containers is that they allow you to produce contained soy candles that will only lose their shape when you set them to burn. You can easily glue the embedded, small objects to the sides of the containers using a dab of clear epoxy glue. You can also decorate the outside of the glass containers with ribbon, acrylic glass paint, or beaded cords.
Search for the glass containers that fit the style of your décor, such as tureen-style jars, colored art glass, glass bowls, jelly jars or vintage-style canning, tea and coffee canisters, hurricane shades, and drink tumblers.
Repurpose an old margarita glass, wine glass, or martini glass into a modern candle container. Cocktail glasses will also be an excellent choice to make sophisticated table centerpieces with floating candles set inside.
Making Shaped Soy Wax Candles; a Must-Try
You can make personalized soy wax candles at home by molding them into desired shapes. You only need to follow the instructions and learn the right techniques to master this art. Using the proper material is crucial; buy milliard soy wax as it is all-natural and easy to melt.