What Is the Best Seed Starter Mix You Can Make at Home?
Sowing the first batch of seeds is always overwhelming! For a successful venture, you need to get your hands on all the significant ingredients used in creating a healthy base. In short, the best seed starting mix!
While purchasing starter mix from a nursery, you will conclude two things:
1. The prices are high compare to the quantity.
Initially, you will believe that the 8-quart bag would be enough for you and the price is also fine. However, this deal may not be worth it, if you need to sow a whole flat of seeds.
2. Usually, they contain chemicals that can do more harm to your plants than good.
In order to hydrate the soil; different types of chemicals are added to the mix that are completely unnecessary. You ask why? That’s because a seedling already contains all the basic nutrients required for its growth and development in early stages. Hence, nothing extravagant is needed at that point.
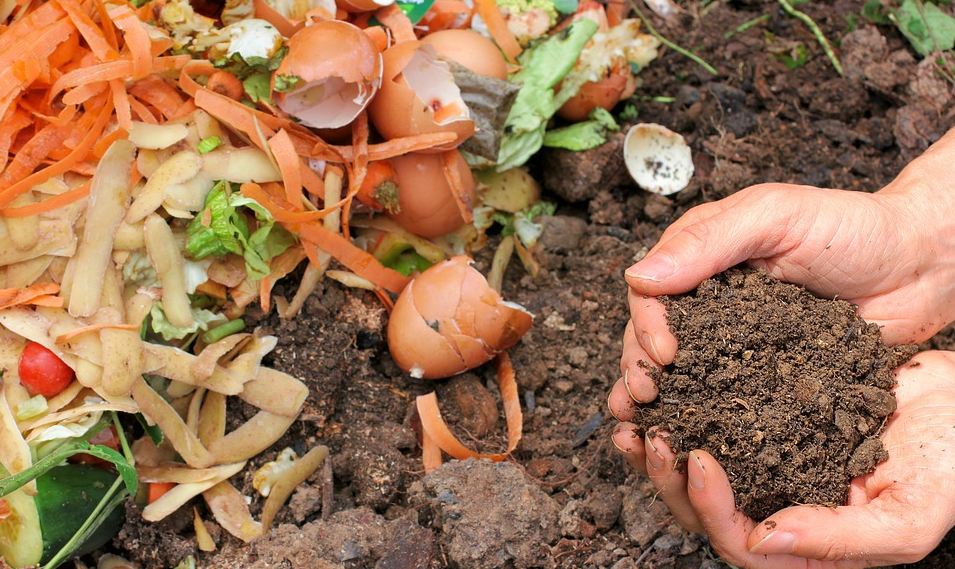
Now the concern is, where to get the starter mix in low price but high quality? The answer is DO IT YOURSELF! Yes, that’s true. Making the best seed starting mix at home is not a rocket science; you just need to be careful about the quality of ingredients and some basic instructions (that we will disclose later). In this post, you are going to learn about the benefits of starter mix, some relevant facts and its recipe too. Read it till the end, so you don’t miss out any important information!
Seed Starter Mix vs. Gardening Soil vs. Potting soil
Beginner gardeners usually get confused between the potting soil, gardening soil and seed starting mix. For your information, all of them are completely different from one another. Moreover, the right or wrong choice can actually become a matter of life and death for your plants.
- Gardening Soil
Gardening soil is basically a combination of sand and natural topsoil that are blended with compost, fertilizers and other inexpensive organic material. Commonly sold at gardening centers and plant nurseries; this type is manufactured to formulate directly into the garden beds.
- Potting Soil/Mix
Also named as potting mix; this soil type is specifically manufactured for plants that are growing in the pots or containers, small or big. It is much lighter as compare to the gardening soil because of the additional substances, such as perlite (prevents soil from compressing).
- Seed Starting Mix
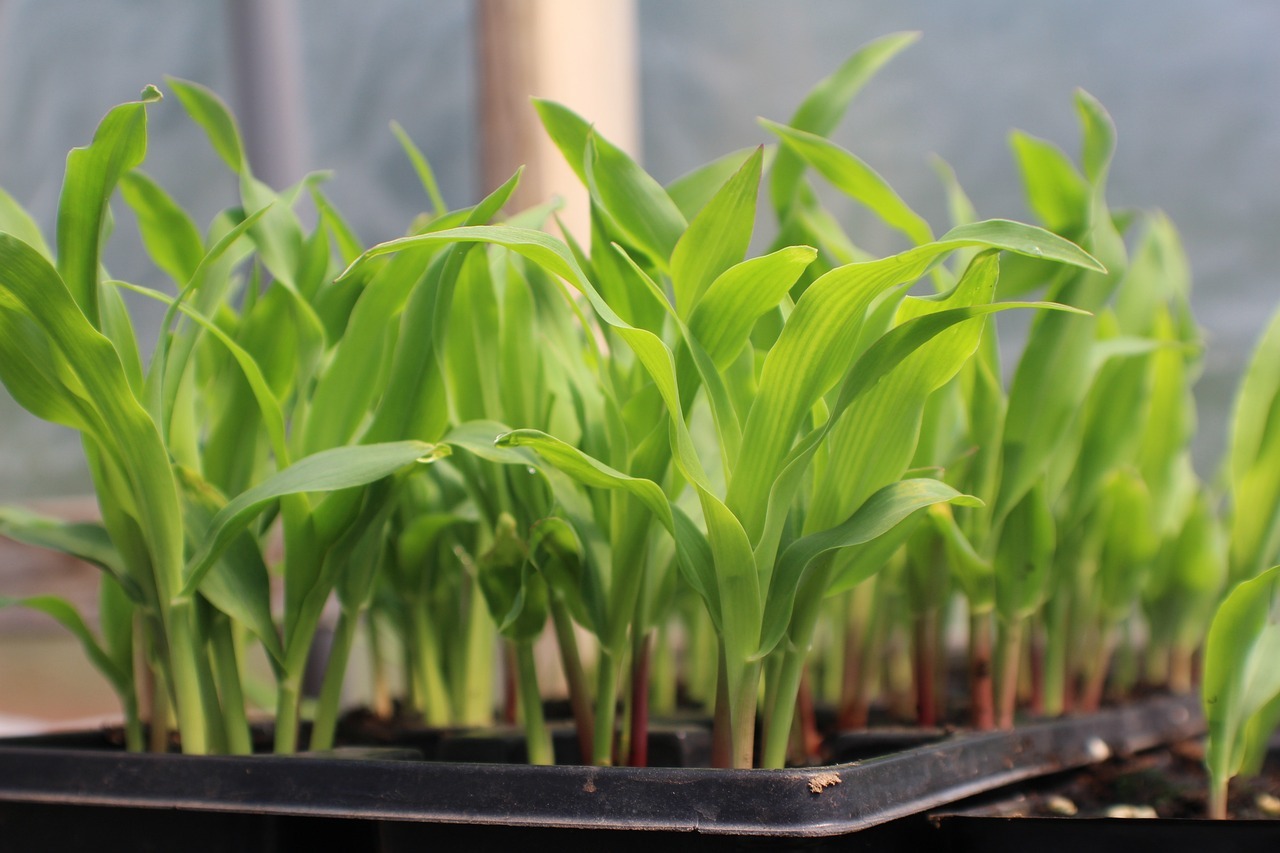
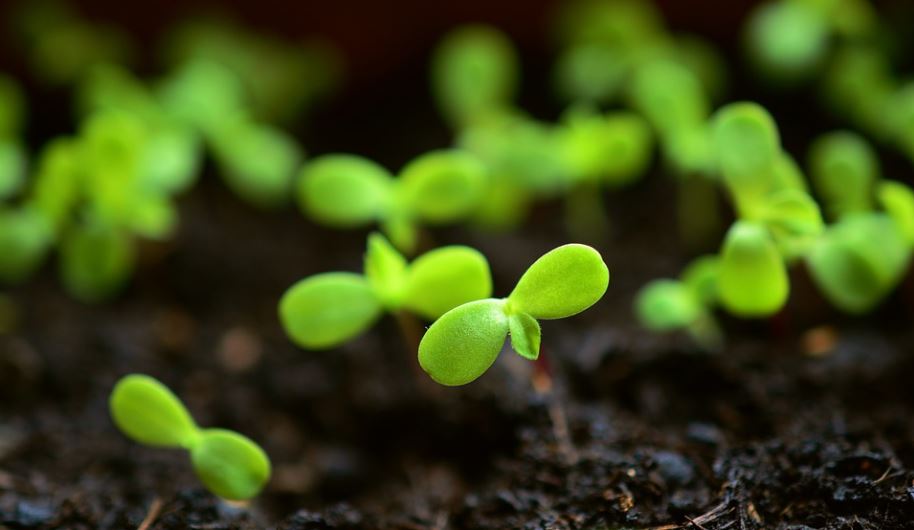
As the name suggests, seed starting mix is specifically made for the early germination of seeds. It is fine-grained and lightweight to help in the growth of seedling root and ensure its development in the small cells or containers.
Wondering where to buy seeds? Click here to find out.
[wptb id=4665]
Benefits of Using Seed Starting Mix
- The reason gardeners prefer using seed starting mix over cheap potting or gardening soil is that; it will not become compact in an enclosed chamber. It is hard (nearly impossible) for the seed to germinate the other way.
- It is suggested to use porous seedling mix for planting. It helps the soil stay fluffy and light. Moreover, a porous mix allows enough air flow especially around the roots, that is quite healthy for the growth of seedlings.
- Soil has the ability to hold a lot of moisture and end up in a condition named damping off. It’s a fungal disease that causes the seedlings to wither from the point where the stem and soil meet. In these situations, mostly the plant dies. However, using a soil-less seedling mix will save you from the inconvenience. Choice is yours!
- The procedure allows you to experiment with different ingredients to find out what works the best for your plants. This way, you will be able to make a customized mix for your seedlings.
Importance of Making Your Own Seed Starting Mix
Gardeners generally have two options to get seed starting mix:
- One is in the form of pre-made bags from any relevant store.
- Second is to make it at their homes.
Both have some benefits and drawbacks.
| Seed Starting Mix From the Nursery | DIY Seed Starting Mix |
| Ingredients are unknown and usually suspicious | You can carefully check the quality and quantity yourself |
| Expensive comparatively | Would cost you less |
| Chemicals might be added in the making | You can choose to use only organic ingredients |
| You may just have to buy a package from one stop. | You may have to visit shop to shop in order to check the availability of ingredients used for making the DIY mix. |
Without further ado, lets break down the most-awaited recipe now:
How To Make Seed Starting Mix At Home?
Once all the required ingredients are at hand; anyone can make the starter mix easily. The procedure is simple and quick. Have a look at the ingredients you would be needing.
Ingredients to use:
There are three main components of a healthy seed starting mix:
- Peat moss or Coco coir
- Vermiculite
- Pumice or Perlite
And
Garden lime (only required if you are using peat moss).
1. Coco Coir Vs Peat Moss
The base ingredient of seed starting mix has to be either coco coir or peat moss, depending on your preferences.
Important Peat moss has a number of cons as compare to coir in terms of water absorption, pH levels and sustainability, etc. |
2. Vermiculite
The second most significant element of the mix is Vermiculite. It is commonly present in the soil and is a natural mineral. The purpose of Vermiculite is to help the soil in retaining moisture and stay hydrated.
It is impossible for the seedlings to survive without hydration. Therefore, vermiculite is added to the starting mix for a healthy seed life.
3. Perlite
Here comes the lightweight soil amendment. Perlite is white in color and looks similar to the Styrofoam that you might have seen in the commercial potting soils.
- Prevents soil compaction
- Retains little moisture
- Helps in quick soil draining
- Prepares the mix for ideal seed germination by making it porous
Petite is very much present in the home improvement stores or garden centers in the same section where potting soil might be present.
Tip Pumice is an alternative to perlite, in case you couldn’t find it in the local shops. |
Other Needed Supplies
There are a few more supplies that you will be needing along with the ingredients. Here is the list:
- Measuring cups or containers
- Large mixing spoon or trowel
- Mixing container, you can use a bucket instead
- Seed starting trays
The Recipe
Get the recipe of seed starting mix below!
- Take 8 parts of peat moss or coco coir (pre-moistened)
- Add 1 part of Vermiculite
- Then add a part of Pumice or Perlite
- 1 tbsp. per gallon of garden lime, in case you are using peat moss
This quantity would be enough to fill up one seed starting tray.
Tips You might be wondering about the term part. Well, part is a generic unit used for measuring the portions. You can use anything to measure parts as long as you are using the same thing to measure other ingredients too. For instance; if you use 1 cup instead of 1 part, then the recipe will change into 8 cups coir, 1 cup perlite and 1 cup vermiculite and so on. |
Steps
- First you need to dump all the ingredients into a container, bucket or bowl.
- Mix them together using a trowel or spoon until they are well combined.
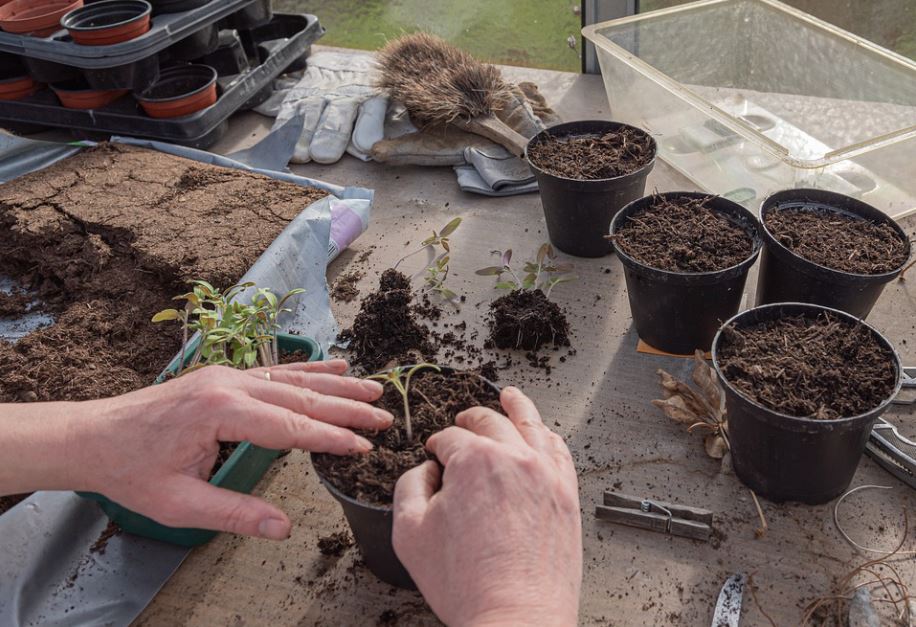
- Once mixed, start filling the seedling trays, pour in seeds right away and that’s all.
Easy-peasy! You can make small batches as per requirement, and also prepare a bunch and store it to use later. It’s totally up to you!
Storage Tips For Leftover Seed Starting Mix
No matter if the seed starting mix is homemade or purchased from a store; the following tips will work fine for both of them.
- Always store the leftover mix in the airtight jar or container, so it doesn’t attract bugs.
- You can also use airtight seal lids to fit your five gallon standard bucket.
- In case you notice the mix has dried out before reusing it; try adding more vermiculite to it.
- If it becomes soggy or wet; throwing some perlite to the mix will work.
Conclusion
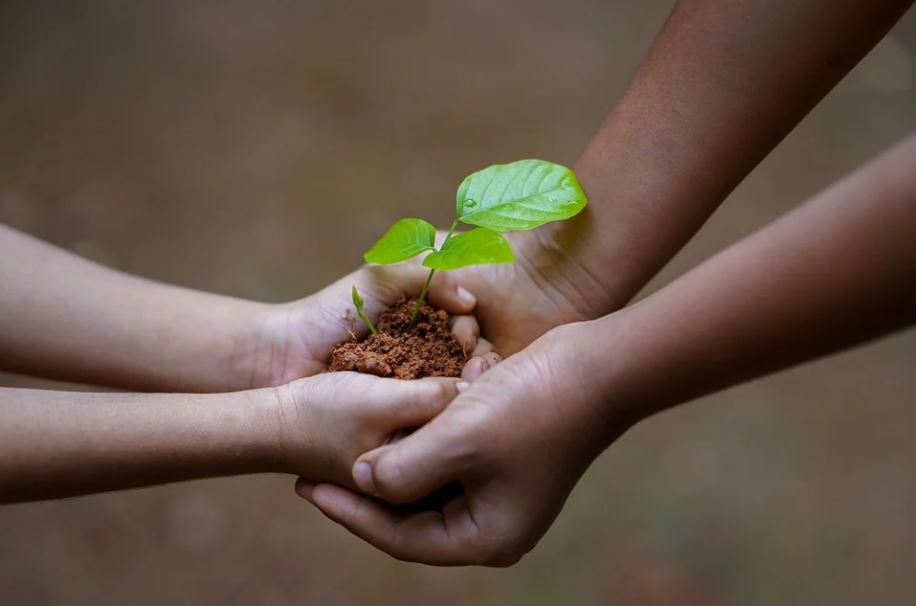
How on earth can a plant develop without soil? It’s a legit question that might be triggering your inner gardener as well. Well, a seedling doesn’t require soil for growth in its early developmental stages, at least for the first week or two. It gets all the necessary nutrients from the seed. That’s when seed starter mix can be a savior!
The good part is; you can make the best DIY seed starter mix at your home with just three simple ingredients. Moreover, its recipe is super quick and easy! You can either use the mix right away or keep it in the storage containers for later use. THERE IS NO EXPIRY DATE WHATSOEVER. Although the ingredients of this homemade recipe are easily available, but we have also mentioned the alternatives, in case you can’t find a thing. Hope the guide will help you. Good luck!