Ultimate Guide to Make Fertilizers at Home
Imagine if you can make your very own fertilizer at home to nourish your soil and boost your yield. Imagine if you can turn scraps and shreds of vegetable peels and dried greens into something rather useful. Such are the benefits of composting.
Composting brings more value and benefits to your home garden than you might expect. It is not only a wise approach to deal with waste which is great for the environment, but it also makes your lifestyle more self-sustaining. For some, the habit of composting seems to be arduous work – that it entails dirtying one’s hands and ending up with a nasty smell lingering in the household. Well, it will be, that is, if you do it the wrong way. This article will be your ultimate guide in making your fertilizer at home.
WHAT IS A COMPOST?
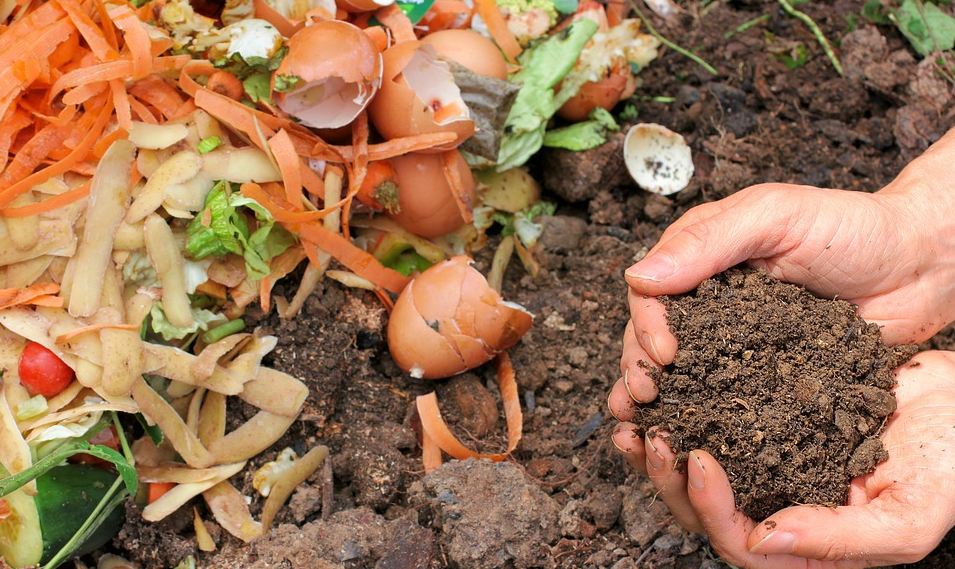
Compost is a product of decomposing organic materials such as vegetable peels, food scraps, and wastes used to nourish and fertilize the soil. The mixture contains plant nutrients and beneficial organisms like worms and fungal mycelium, which aid plant growth and health. It improves the soil quality, giving it a little boost to help the plants thrive.
HOT AND COLD COMPOSTING
Compost temperature dictates the kind and quality of compost that you can get in the process. Knowing what composting you want to work with or you think works best for you is essential in predicting the possible outcomes of the process. There are two types of composting – cold composting and hot composting.
Cold composting is as straightforward as collecting food waste and biodegradable, organic materials and enclosing them in a pile or bin. The mixture decomposes over a year, after which you can use the compost in your home garden.
On the other hand, hot composting requires a bit of effort, as you have to check and monitor your compost temperature to ensure that the mixture had the right amount of heat to aid the decomposition process. With the help of nitrogen, oxygen, carbon, and water, microorganisms thrive in the compost, speeding everything up. In one to three months, your compost is ready to feed your malnourished soil.
MAKE YOUR FERTILIZER AT HOME
1. Know what to include in your compost.
Before you gathering everything up in a heap, make sure that you know what materials must be included and what mustn’t. Here are some organic materials that you can readily find at home to collect and put in a mixture.
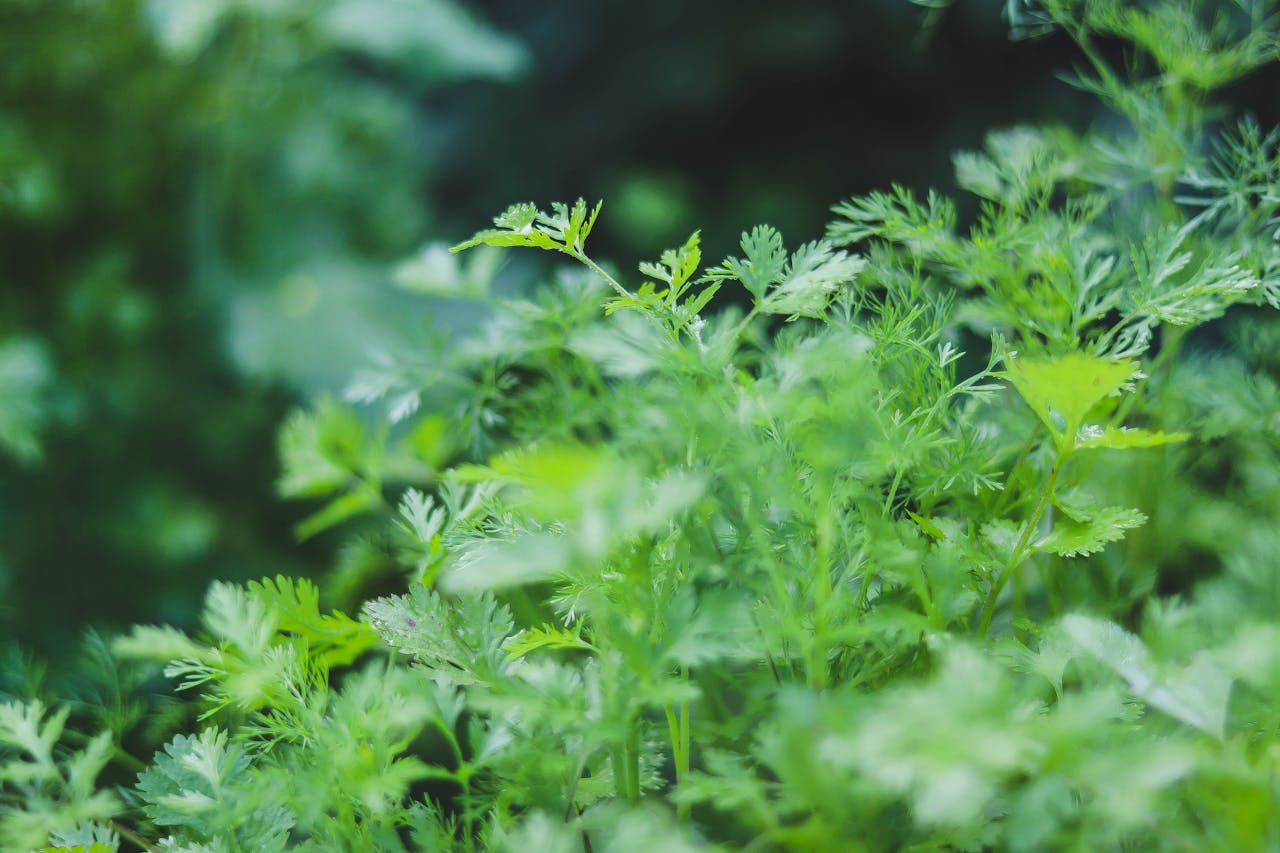
- Fruit leftovers
- Vegetable scraps
- Coffee grounds
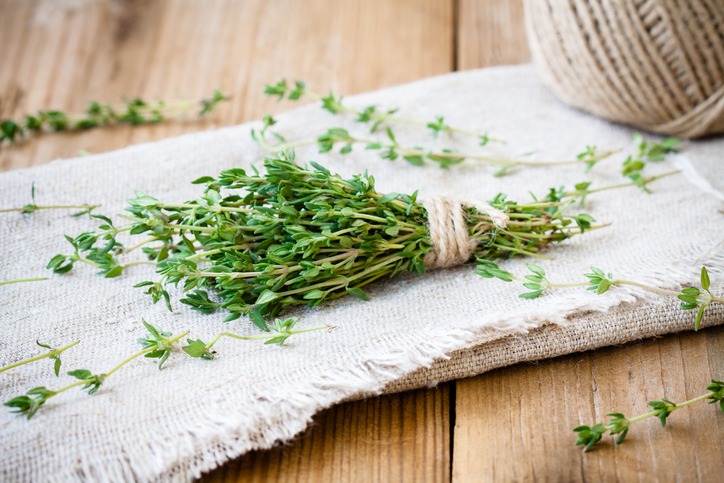
- Grass and other plant offcuts
- Dry leaves
- Finely chopped wood and bark chips
- Shredded newspaper
- Straw
- Sawdust (untreated wood)
- Eggshells
However, beware of some organic materials that can potentially ruin your compost. These materials are prone to attract harmful pests, animals, and organisms that can cause unpleasant odors. Some of them are as follows.
- Sawdust from pressure-treated wood (these have chemicals)
- Leftover food containing meat, oil, fat, or grease
- Contaminated plant material
- Weeds that go to seed
- Dog or cat waste
- Dairy goods
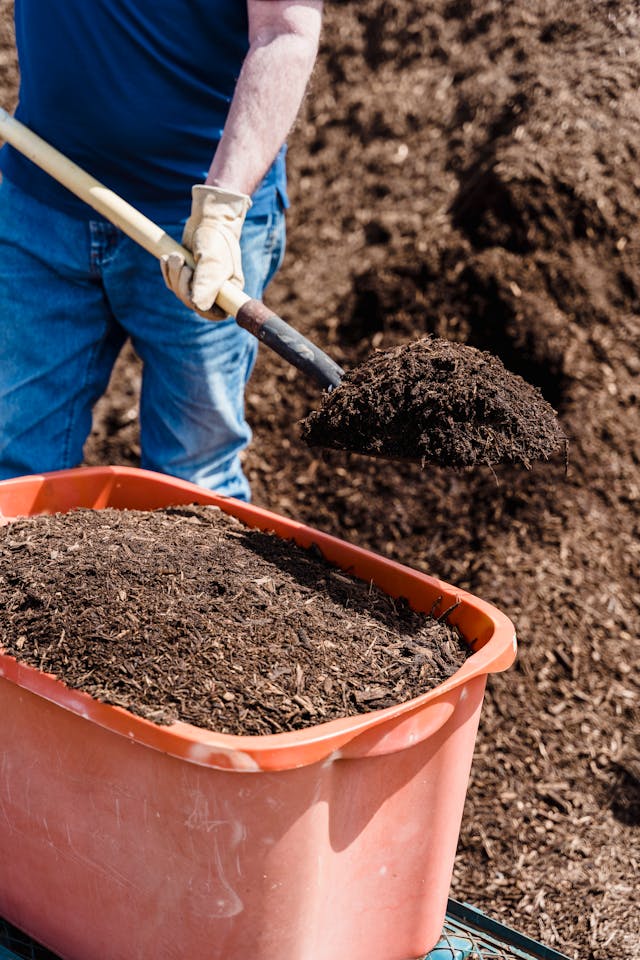
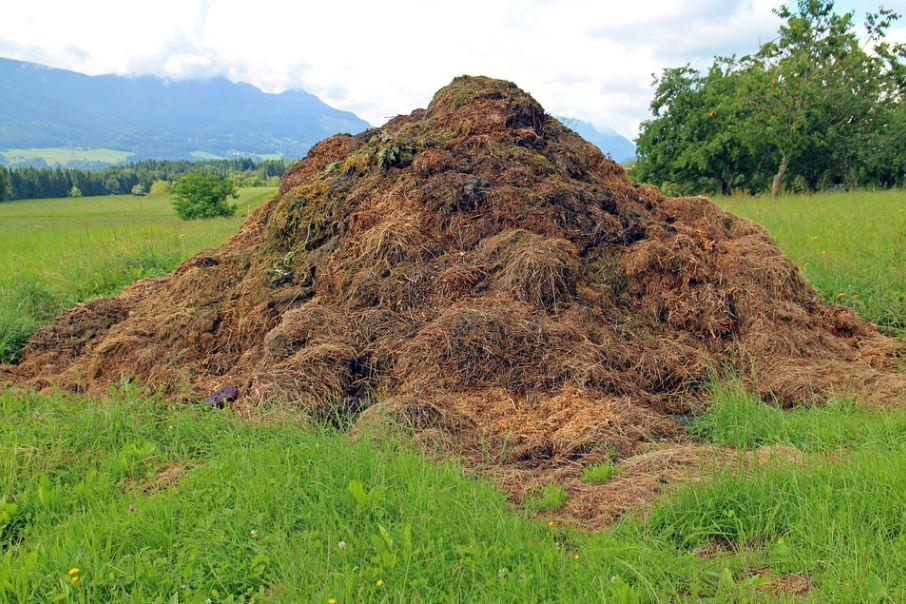
2. Mix the greens and browns.
Now that you have identified what to include, it’s time to pile your compost materials in a bin or an enclosure that conveniently locates near your garden. Experts suggest that a pile should be at least three feet deep to have more than enough compost for your standard-size garden. Green materials refer to your vegetable peels and scraps, fruit leftovers, plant and grass offcuts with some moisture left in them. On the other hand, the dried plant materials, such as fallen leaves, sawdust, and wood chips, are brown materials. The composition should have three parts brown and one-part green to achieve the ideal mixture.
3. Monitor the pile’s temperature.
Temperature plays a crucial role in creating your compost. In some cases, the pile might be a little too moist, while sometimes, it’s too dry. If the former happens, you only need to add more brown materials and aerate the heap. It will aid the distribution of heat within the mixture. On the other hand, if it is too dry, you can add more greens and sprinkle water from time to maintain the proper moisture needed for decomposition. Remember not to add too much water, though, as this may drown your mixture, and it will end up rotting instead of composting. Check the pile’s temperature. If it feels warm, then you’re in good hands.
4. Aerate the heap from time to time.
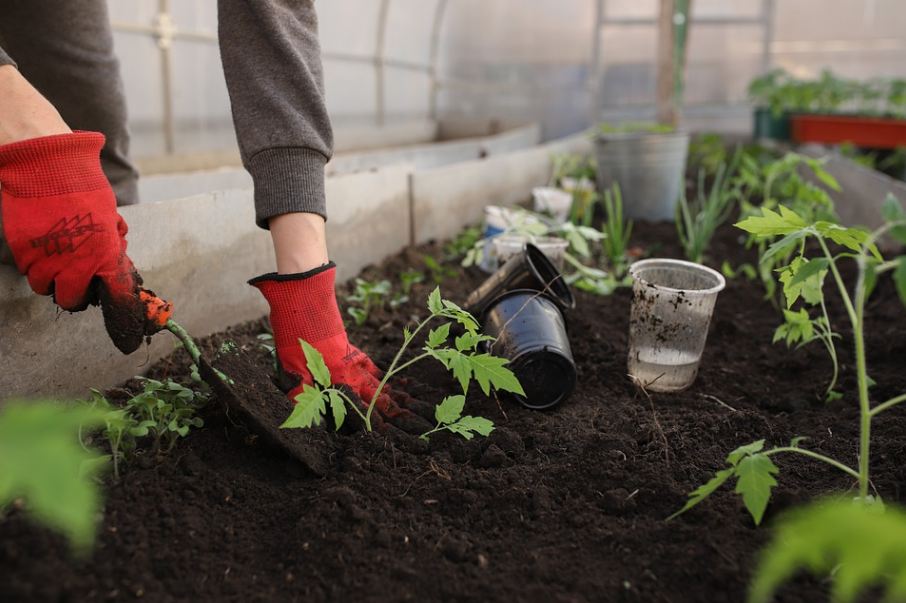
Get yourself a garden fork and stir up your mixture to allow oxygen through. The stirring allows for air to penetrate the lower, unexposed portions of your pile. It also makes the mixture more consistent in terms of decomposition and texture. Do the process once every week, ensuring that brown and green materials are well-distributed within the mix.
5. Nourish your garden.
You will know that your homemade fertilizer is ready to nourish your garden when it looks brownish and feels dry and crumbly in the hands. The temperature of the compost should have already subsided by that time as well; hence, your signal to finally use your DIY organic fertilizer. You may use about four to six inches of compost to nourish your pots and plant beds.