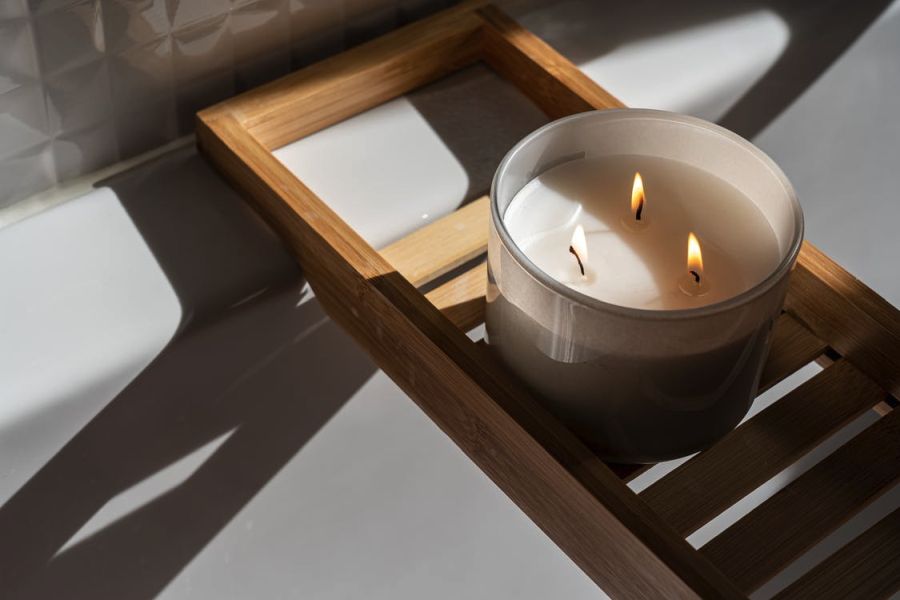
Make Pillar Candles Using Soy Wax
Throughout history, candle making evolved independently in many different locations. Romans began producing dipped candles made of tallow around 500 BCE. Candle molding equipment in Indonesia was in circa 1920. Candles made of whale fat were first documented in China during the Qin Dynasty of 221-206 BCE. For candles in temples, cinnamon wax that had been boiled was utilized in India. In the past, tallow and beeswax were the primary materials used to make candles. More recently, paraffin wax, spermaceti which is derived from sperm whales, and refined animal fats called stearin have been used.
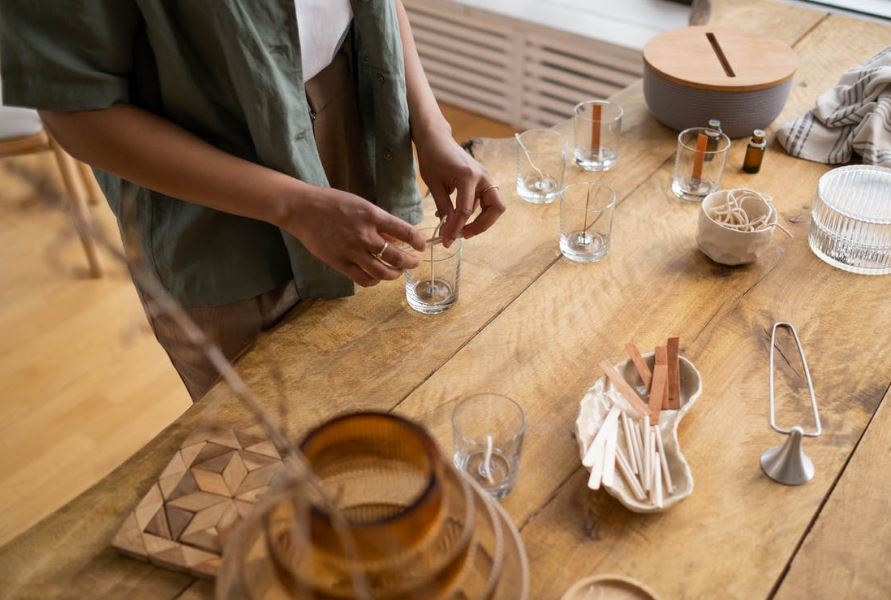
Recently, a refined version of soybean oil is used to make soy candles because soy wax often has a lower melting point than conventional waxes, they are normally container candles, but they can also be turned into pillar candles by adding ingredients to the soy wax. Gathering all the necessary materials is the first step in constructing your soy pillar candle. Everything should be easily available to ensure that the candle-making process runs as smoothly as possible.
Supplies Required
Pillar wax whether paraffin, soy, or palm, fragrance oils, candle dye, wicking, pouring pot, thermometer, candle mold/s, wick bars (optional), caution labels (optional but highly recommended), butcher paper or newspaper, paper towels, mold putty, cookie sheet or pan, metal spoon, or stir stick, skewer, utility knife and/or putty knife, scissors or nail clippers, saucepan, metal cookie cutter or trivet.
Step 1: Score and Weigh the Wax
With a utility knife, score the wax initially. Take the wax that has been scored and hang it from a table or countertop's edge. The wax on the score is then broken with the aid of pressure. To obtain the wax in pieces small enough to fit in the pouring pot, you might need to repeat this process a few times. Avoid cutting yourself or breaking your fingers while performing this. You can weigh the wax inside the pouring pot rather than transferring it from another container.
Step 2: Melt the Wax
In a double boiler, the wax must be heated to 180 degrees. Place the pouring pot in the saucepan with approximately an inch of water in it to create a double boiler. To raise the pouring pot, it is a good idea to place a cheap metal trivet or cookie cutter underneath. By doing this, you can be sure that no side is directly heating the wax. Set the thermostat to medium-low. Although the water must be boiling, it need not immediately reach a rolling boil. Water that has reached a roaring boil may splash out of the pan. Occasionally check the wax's temperature to make sure it is not getting too hot. As necessary, alter the temperature. You can proceed with the remaining stages while the wax is melting, but always keep an eye on it.
Step 3 - Prepare the Molds
While the wax is melting, get your mold/s ready. The manufacturing procedure may have left a tiny film of oil within the molds even though they are brand new. The wax should be poured into spotless molds for the prettiest-looking candles. Use a paper towel and a small bit of mold cleaner to thoroughly clean the inside of the molds. If you don't have mold cleaning on hand, a cooking spray like Pam will also work. Before the wax is poured into the mold, the wick can be placed there. Cut the required length of wick to accomplish this. You might add approximately 6 inches because it's preferable to have too much than not enough. You might discover that you can reduce that as you have more practice constructing pillars. Thread the wick through the mold's bottom hole, leaving a few inches of wicking hanging out.
Step 4: Anchor the Wick at the Bottom of the Mold
Take the wick and hold it parallel to the mold's bottom. Next, form a ball out of some of your putty or sticky tack and press it firmly into the mold's base. So that you achieve a good seal, and your mold sits flush to your surface, you'll want to smooth off the putty's edges. Wax will leak from the bottom of the mold putty if not supplied. The quality and proper placement of your wick matters in the longest burning candle in terms of quality because low quality and improper placement will result in poor performance of a candle.
Step 5: Anchor the Wick at the Top of the Mold
Turn your mold over after you have anchored your wick at the bottom and use the wick bar to do the same at the top. There should be no slack in the wick, which requires tight pulling. Insert the wick into the wick bar's slit. Place the mold on a pan or paper plate so that any potential leaks will be contained because there is a possibility that the wax will leak from the bottom of the mold.
Step 6: Measure and Add Fragrance Oil
You are prepared to add the fragrance oil once the wax has reached the right temperature. Per pound of wax, you might add 0.5 to 1.0 ounces of fragrance, depending on the type of wax you're using. The usual ratio is 1 ounce of scent to 1 pound of wax. The aroma can be measured most precisely by weight, but if the scale you have is not accurate enough to measure small amounts, you can also use a tablespoon. The weight of a tablespoon is 0.5 ounces. Stir the wax after adding the scent.
Step 7: Measure & Add Dye
Add the amount of dye that you want next. When utilizing dye blocks, cutting the block into little pieces will help it melt into the wax more rapidly. Stir the mixture once the correct amount has been added to ensure a smooth blend.
Add the required number of droplets when using liquid dyes. Since dye cannot be taken out once it has been put, it should only be used in little amounts, especially if you want a pale color. If it isn't black enough, you can always add a little more. Stir the mixture after adding the necessary amount until everything is well combined.
Step 8: Mix Thoroughly and Pour the Wax Mixture.
From the double boiler, remove the pouring pot. Use a heated pad or other items to shield your hand because the pouring pot's handle may become slightly warm. To absorb the water from the double boiler, you might also wish to place the pouring pot on some paper towels. As you prepare your containers, occasionally stir the wax mixture.
Make sure your temperature hasn't dropped too low by taking another reading. It is advised to pour this wax between 185 and 200 degrees. Pour the wax into the mold gradually, you can make shaped candles with soy wax by using varied shapes and sizes of the molds. It's possible for bubbles to develop on top of the wax if you pour too quickly. Wax can be poured so that it is level with the mold's top. Your pouring pot should still contain some wax after filling the mold. This wax is required for the second pour.
Step 9: Poke Relief Holes in the Wax and Pour the Wax Mixture Again
You must drill holes for relief as the wax begins to solidify in the candle. To relieve air pockets that form when the wax cools and shrinks, relief holes are pierced into candles. When you can see a "skin" forming on the wax, use the skewer to pierce relief holes to help the candle get ready for the second pour. There should be one on either side of the wick. When you are ready to perform the second pour, reheat the residual wax to around 185°F. Make sure to poke them deeply into the candle while being careful not to strike the side of the mold. To ensure that the second pour is successful, fill in the holes you have made in the candle equal to the initial pour. You'll probably see a "seam" line on your finished candle if you fill it past the level of the first pour.
Step 10: Remove the Candle from the Mold
You can take the candle out of the mold once the second pour has fully dried. First, you must take out the screw and mold putty from the mold's base. Gently slide the mold off the candle after removing the screw and the putty. Put it in the freezer for about 5 minutes if you're having difficulties getting it out to help the wax come loose from the mold. After putting it in the freezer, if you're still having problems, you can freeze it for an extra five minutes. If you freeze it for too long, the candle can break and crumble when you try to extract it from the mold. Use the wick as leverage to assist with candle removal but take care not to pull too hard or the wick may break or come out of the candle. Cut the wick to a length of 1/4" using wick trimmers, scissors, or nail clippers.